Hey London peeps! Hackaday and Tindie are doing a London meetup! It’s this Wednesday, the 17th.
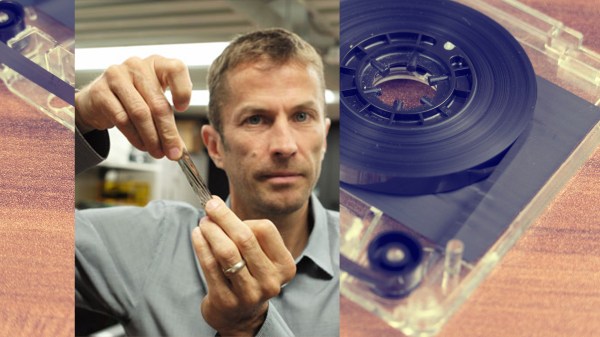
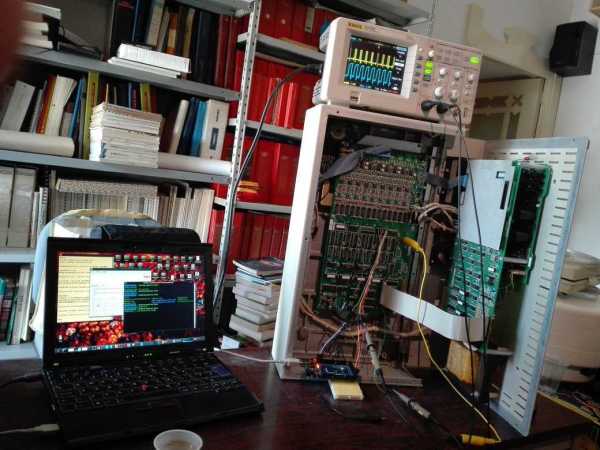
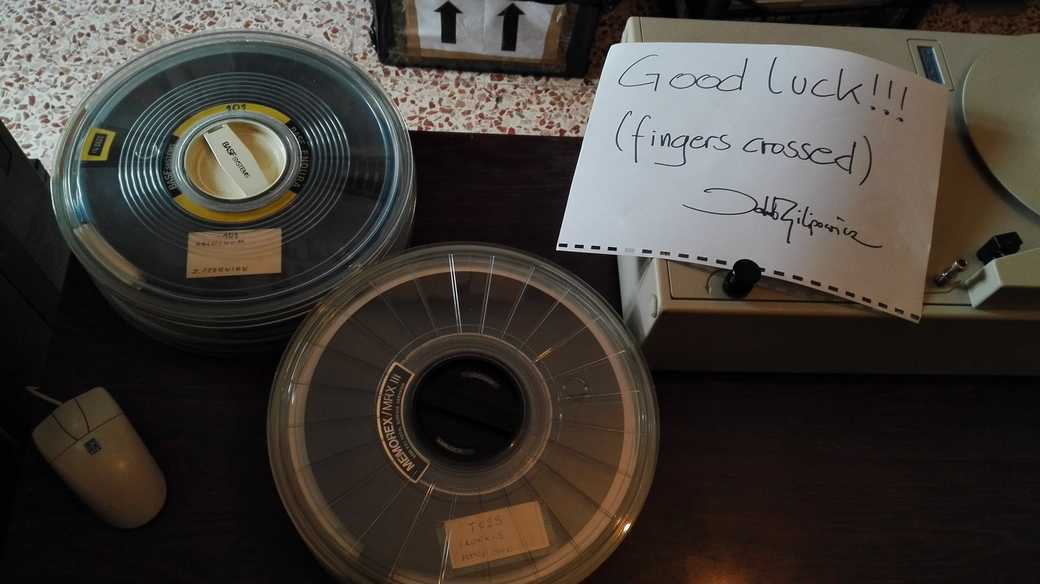
What do you do if you need Gigabytes of storages in the 80s? You get tape drives. What do you do if you need Terabytes of storage in the year 2000? You get tape. The IBM Totalstorage 3584 is an automated tape storage unit made sometime around the year 2000. It held Terabytes of data, and [Stephen] picked up two of them from a local university. Here’s the teardown. Unfortunately, there’s no footage from a GoPro stuck inside the machine when it’s changing tapes, but the teardown was respectable, netting two drives, the power supplies, and huge motors, fans, relays, and breakers.
A few years ago Motorola released the Lapdock, a CPU-less laptop with inputs for HDMI and USB. This was, and still is, a great idea – we’re all carrying powerful computers in our pocket, and carrying around a smartphone and a laptop is effort duplication. As you would expect, the best use for the Lapdock was with a Raspberry Pi, and prices of Lapdocks have gone through the roof in the last few years. The Superbook is the latest evolution of this Lapdock idea. It’s a small, thin, CPU-less laptop that connects to a phone using a special app and a USB cable. It also works with the Raspberry Pi. Very interesting, even if they didn’t swap the CTRL and Caps Lock keys as God intended.
Did you know we have a store? Yes! It’s true! Right now we need to get rid of some stuff, so we’re having a clearance sale. We got FPGA Arduino shields! Buy a cordwood puzzle! SUPERLIMINAL ADVERTISING.
The computers aboard Federation vessels in the 24th century were based on isolinear chips. Each chip plugged into a backplane, apparently giving certain sections of the ship different functions. Think of it as a reconfigurable PDP Straight-8. This is canon, from TNG, and doesn’t make any sense. [Bohrdasaplank] over on Thingiverse has a few different models of isolinear chips. After close examination of these chips, we can only come to one conclusion.
How do you get a pilot bearing out of a motor? The normal way is using grease (or caulk, or some other gooey substance) as a hydraulic ram, but a slice of bread works much better. This is a weird one, but it works perfectly, with hardly any cleanup whatsoever.
542-page PDF warning here. Here’s the operations manual for the Apollo 15, including operation of the AGC, how to fly the LM, the planned traverses and EVAs, and a nice glossary of handy equations. If anyone’s looking for a LaTeX, InDesign, or bookbinding project that would make the perfect bathroom reader, this is it.
Here’s something I’ve been having trouble with. This is an mATX computer case with a screen on the side and a cover for the screen that includes a keyboard and trackpad. Yes, it’s a modern version of the luggable, ‘portable’, plasma-screen monsters of the 80s. I don’t know where I can buy just the case, so I’m turning to the Hackaday community. There’s an entire line of modern luggable computers made by some factory in Taiwan, but as far as I can tell, they only sell to resellers who put their own mobo and CPU in the machine. I just want the case. Where can I buy something like this? If you’re asking why anyone would want something like this, you can put two 1080s in SLI and still have a reasonably portable computer. That’s a VR machine, right there.