If you’re going to be a hacker, learning C is a rite of passage. If you don’t have much experience with C, or if your experience is out of date, you very well may benefit from hearing [Nic Barker] explain tips for C programming.
In his introduction he notes that C, invented in the 70s by Dennis Ritchie, is now more than 50 years old. This old language still appears in lists of the most popular languages, although admittedly not at the top!
He notes that the major versions of C, named for the year they were released, are: C89, C99, C11, and C23. His recommendation is C99 because it has some features he doesn’t want to live without, particularly scoped variables and initializing structs with named members using designated initializers. Also C89 is plagued with non-standard integer types, and this is fixed by stdint.h in C99. Other niceties of C99 include compound literals and // for single-line comments.
Last time, we built a case for a PCB that handles 100 W of USB-C power, an old project that I’ve long been aiming to revive. It went well, and I’d like to believe you that the article will give you a much-needed easy-to-grasp FreeCAD introduction, Matrix knowledge upload style, having you designing stuff in no time.
Apart from my firm belief in the power of open-source software, I also do believe in social responsibilities, and I think I have a responsibility to teach you some decent FreeCAD design practices I’ve learned along the way. Some of them are going to protect your behind from mistakes, and some of them will do that while also making your project way easier to work with, for you and others.
You might not think the last part about “others” matters, but for a start, it matters in the ideal world that we’re collectively striving towards, and also, let’s be real, things like documentation are half intended for external contributors, half for you a year later. So, here’s the first FreeCAD tip that will unquestionably protect you while helping whoever else might work with the model later.
Okay, we’re all hackers, so I’ll start with zero-th FreeCAD tip – press Ctrl+S often. That’ll help a ton. Thankfully, FreeCAD’s autorecovery system has made big leaps, and it’s pretty great in case FreeCAD does crash, but the less you have to recover, the better. Now, onto the first tip.
[Simon Willison] has put together a list of how, exactly, one goes about using a large language models (LLM) to help write code. If you have wondered just what the workflow and techniques look like, give it a read. It’s full of examples, strategies, and useful tips for effectively using AI assistants like ChatGPT, Claude, and others to do useful programming work.
It’s a very practical document, with [Simon] emphasizing realistic expectations and the importance of managing context (both in terms of giving the LLM direction, as well as the model’s context in terms of being mindful of how much the LLM can fit in its ‘head’ at once.) It is useful to picture an LLM as a capable and obedient but over-confident programming intern or assistant, albeit one that never gets bored or annoyed. Useful work can be done, but testing is crucial and human oversight simply cannot be automated away.
Even if one has no interest in using LLMs to help in writing production code, there’s still a lot of useful work they can do to speed up the process of software development in general, especially when learning. They can help research options, interactively explore unfamiliar codebases, or prototype ideas quickly. [Simon] provides useful strategies for all these, and more.
If you have wondered how exactly glorified chatbots can meaningfully help with software development, [Simon]’s writeup hopefully gives you some new ideas. And if this is is all leaving you curious about how exactly LLMs work, in the time it takes to enjoy a warm coffee you can learn how they do what they do, no math required.
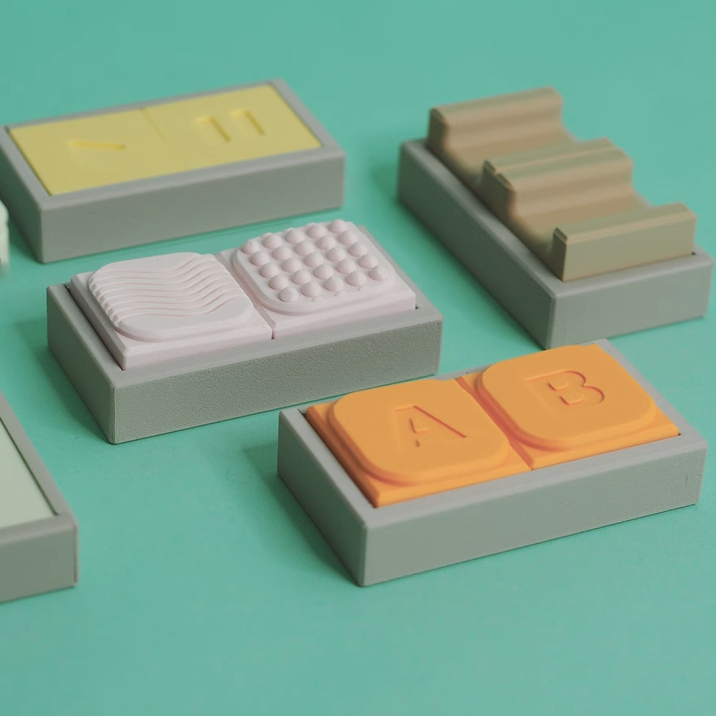
It’s about making things that are not just functional tools, but objects that are genuinely desirable and meaningful to people’s lives. There are going to be constraints, but constraints aren’t limits on creativity. Heck, some of the best devices are fantastic in their simplicity, like this magnetic spoon.
It’s not just about functionality. Colors, textures, and style are all meaningful — and have never been more accessible.
One item that is particularly applicable in our community is something our own [Jenny List] has talked about: don’t fall into the engineer-saviour trap. The video makes a similar point in that it’s easy and natural to jump straight into your own ideas, but it’s critical not to make assumptions. What works in one’s head may not work in someone’s actual life. The best solutions start with a solid and thorough understanding of an issue, the constraints, and details of people’s real lives.
Another very good point is that designs don’t spring fully-formed from a workbench, so prototype freely using cardboard, models, 3D printing, or whatever else makes sense to you. Don’t be stingy with your prototyping! As long as you’re learning something each time, you’re on the right path.
And when a design is complete? It has the potential to help others, so share it! But sharing and opening your design isn’t just about putting the files online. It’s also about making it as easy as possible for others to recreate, integrate, or modify your work for their own needs. This may mean making clear documentation or guides, optimizing your design for ease of editing, and sharing the rationale behind your design choices to help others can build on your work effectively.
The whole video is excellent, and it’s embedded here just under the page break. Does designing assistive technology appeal to you? If so, then you may be interested in the Make:able challenge which challenges people to design and make a 3D printable product (or prototype) that improves the day-to-day life of someone with a disability, or the elderly. Be bold! You might truly help someone’s life.
What’s the only thing cooler than building something electronic? That’s right — wearing it proudly for all to see.
But maybe you’re not into wearables. Maybe it’s because you’re afraid of sewing, or simply scared that you won’t be able to launder that blinkenshirt you’ve always wanted to make. Well, the undisputed queen of wearables — [Becky Stern] — has a bunch of beginner tips for making DIY wearables. She’s created dozens and dozens of wearable projects and matching tutorials over the years and has graced these pages many times.
As [Becky] points out, once you have your idea sorted, the next thing you need is the tools to get the skills to do the parts you don’t know how to do yet. Even if that’s almost all of it, then this is the guide for you. Importantly, [Becky] reminds us that we should only bite off what we can chew, and that ready-made modules and such are perfectly fine.
There are some tips here that may surprise you. For instance, [Becky] recommends against conductive thread for beginners who already know how to sew by hand, largely because of power delivery and other issues. She also is somewhat anti-lithium battery pouch, preferring instead to use a couple of AAs or a USB battery bank for the renewability aspect.
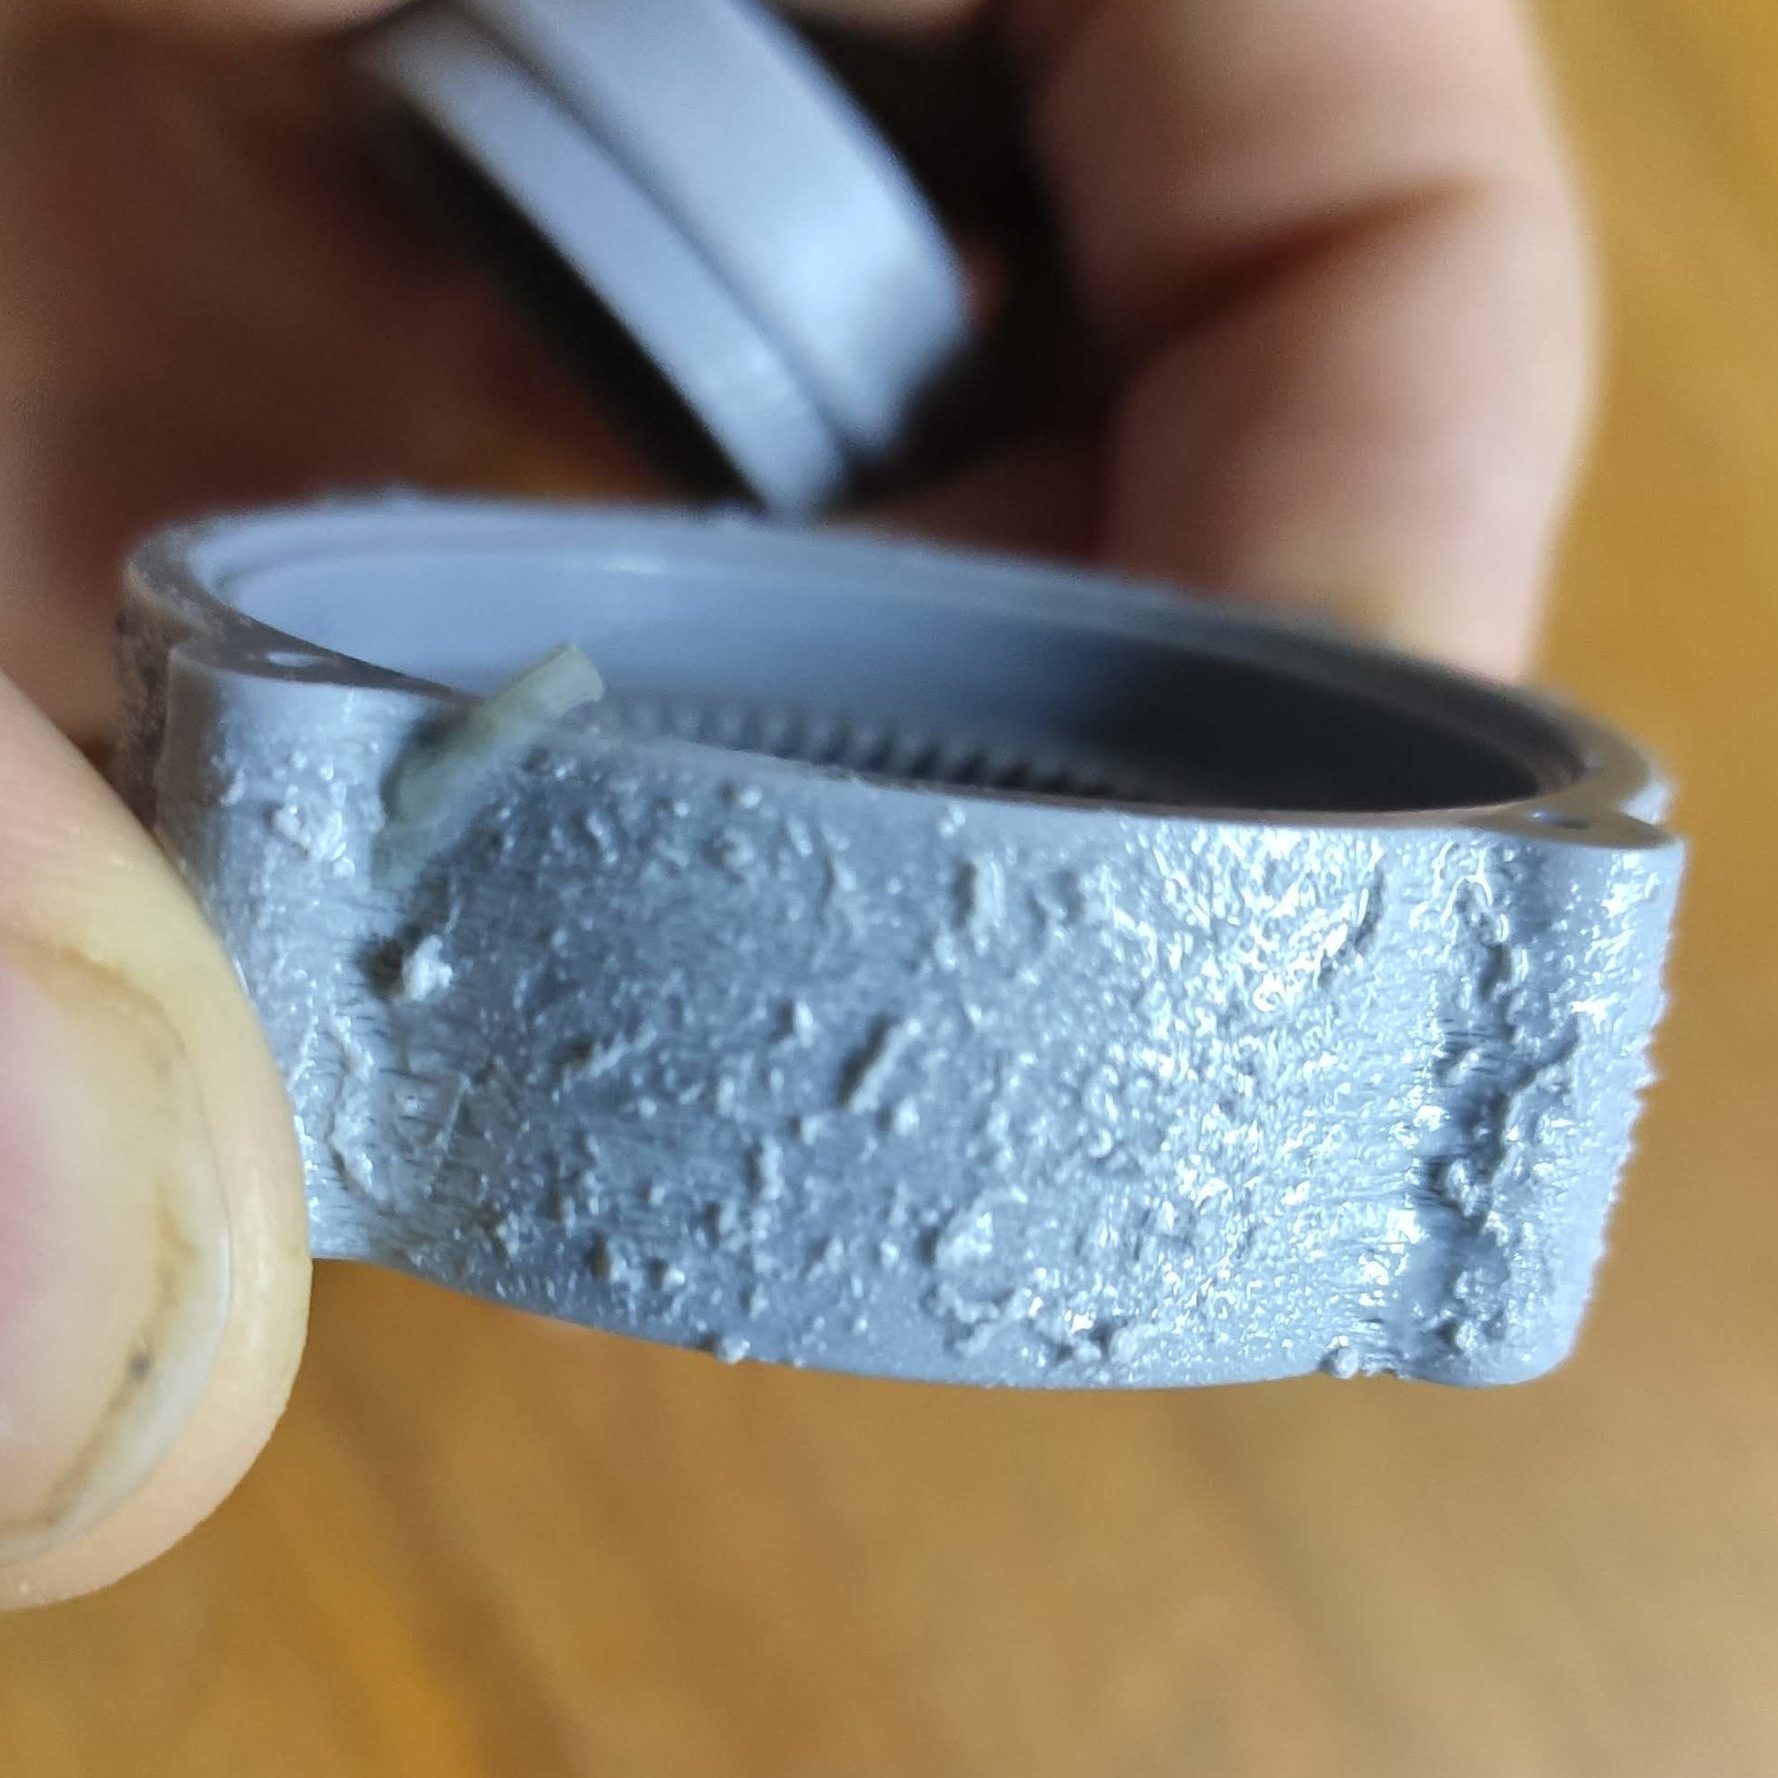
Was your 3D printer working fine over the summer, and now it’s not? With colder temperatures comes an overall surge in print failure reports — particularly with resin-based printers that might reside in outbuildings, basements, or garages. If you think this applies to you, don’t miss [Jan Mrázek]’s tips on improving cold-weather print results. His tips target the main reasons prints fail, helping to make the process a little more resilient overall. [Jan]’s advice is the product of long experience and experimentation, so don’t miss out.
With environmental changes comes the possibility that things change just enough to interfere with layers forming properly. The most beneficial thing overall is to maintain a consistent resin temperature; between 22 and 30 degrees Celsius is optimal. A resin heater is one solution, and there are many DIY options using simple parts. Some of the newer (and more expensive) printers have heaters built in, but most existing hobbyist machines do not.
An extreme case of blooming.
Temperature control isn’t the only thing, either. Layer formation and build plate adhesion can all be improved by adding rest times between layers. Yes, this increases print time. It also allows resin to settle before the next layer, improving adhesion and preventing blooming (a rough texture caused by an imperfect cure.) Since resin flows less readily at lower temperatures, rest times can help improve results. The best setting depends heavily on your particular setup, so [Jan] gives tips on finding optimal rest times.
Most common knowledge and advice from well-meaning communities online focuses on increasing exposure time or blaming the build plate. [Jan] feels that these are ultimately the wrong way to go about addressing failures. Usually, an environmental change (like the arrival of winter) has simply pushed a printer that was not optimized in the first place outside of its narrow comfort zone. A little optimization can set things back on track, making the printer more resilient and reliable overall.
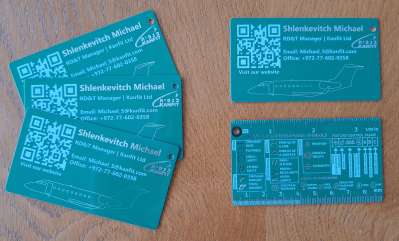
PCB business cards for electronics engineers might be very much old news in our circles, but they are still cool, not seen too much in the wild, and frankly inaccessible to those in other industries. For their entry into the 2024 Business Card Challenge, [Dima Shlenkevitch] is helping a little to alleviate this by providing a set of design examples and worked costs with suppliers.
Original green is still the cheapest option.
[Dima] lists key features every PCB business card should include, such as the expected thickness, restrictions for placing NFC components, and some aesthetics tips. Make sure to choose a supplier that allows you to remove their order number from the manufactured PCB, or it will look out of place.
Ordering PCBs with these specifications to keep costs reasonable requires effort, so [Dima] offers some example designs along with the results. If you want to have pretty gold lettering and graphics, you will need ENiG plating, increasing the price. Non-standard solder mask colors can also raise the price.
Will this help with the practical aspects of driving the PCB design software and actually placing the order? Obviously not, but the information provided gives you a leg up on some of the decisions so you don’t go down an expensive rabbit hole.


![Wearables queen [Becky Stern] with a microcontroller and a speaker. And a skull!](https://hackaday.com/wp-content/uploads/2025/01/becky-stern-800.jpg?w=600&h=450)