Amuse your friends, amaze your enemies, and perplex ants and other insects, insofar as they are capable of perplexment. Accomplish all this and more with this handy dandy homebrew acoustic levitator.
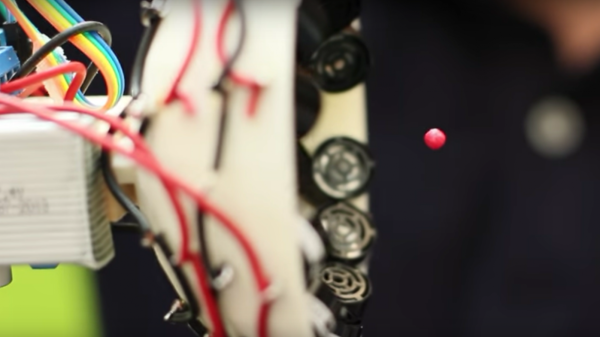
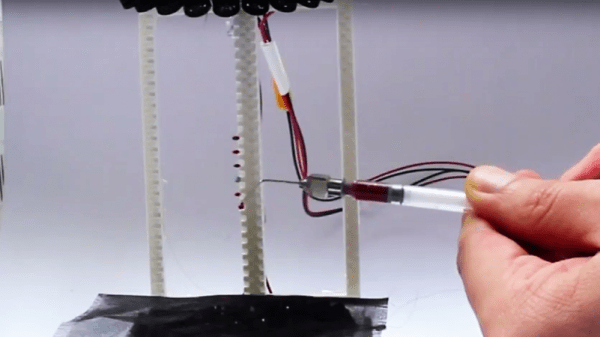
Before anyone gets to thinking about using this technique to build a hoverboard that actually hovers, it’s best that you scale your expectations way, way down. Still, being able to float drops of liquid and small life forms is no mean feat, and looks like a ton of fun to boot. [Asier Marzo]’s Instructable’s post fulfills a promise he made when he first published results for what the popular press then breathlessly dubbed a “tractor beam,” which we covered back in January. This levitator clearly has roots in the earlier work, what with 3D-printed hemispherical sections bristling with ultrasonic transducers all wired in phase. A second section was added to create standing acoustic waves in the middle of the space, and as the video below shows, just about anything light enough and as least as cooperative as an ant can be manipulated in the Z-axis.
There’s plenty of room to expand on [Asier]’s design, and probably more practical applications than annoying bugs. Surface-mount devices are pretty tiny — perhaps an acoustic pick and place is possible?
Continue reading “Floating Ants And Drops Of Liquid With An Acoustic Levitator”