The ISA bus is a relic of the distant past, and no longer supported by the PC mainstream. Outside of retro fanatics and likely some long-term industrial users, it’s all but forgotten. That hasn’t stopped [Manawyrm] from hacking away, however, and she’s developed a nifty adapter for the modern era.
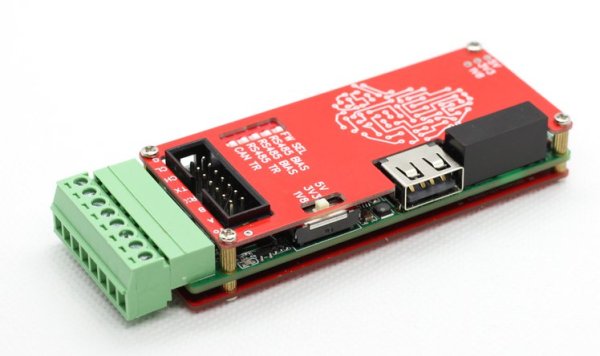
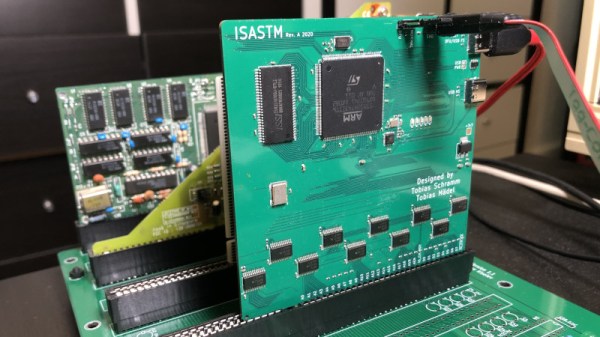
Still in its early stages of development, the ISASTM is a ISA-over-USB adapter that allows a modern computer to work with older expansion cards. Running on an STM32H743, and using the microcontroller’s native USB1 interface, the ISASTM card is able to be slotted into a backplane in order to address multiple cards with one adapter. [Manawyrm] demonstrates the hardware by running Monkey Island 1 in the PCem emulator, with sound provided by an AdLib ISA soundcard.
There are some throughput issues, which [Manawyrm] aims to solve by switching to USB2 and making some tweaks and improvements to the code. Regardless, it’s an impressive tool that we imagine could have some use in keeping some legacy hardware alive, too. Incidentally, it’s been a long while since we’ve seen a solid ISA hack around these parts. Video after the break.