DC power bricks were never a particularly nice way to run home electronics. Heavy and unwieldy, they had a tendency to fall out and block adjacent outlets from use. In recent years, more and more gadgets are shipping with USB ports for power input. However, power over USB has always been fraught with different companies using all manner of different methods to communicate safe current limits between chargers and hardware.
These days, we’re lucky enough to have the official USB Power Delivery standard in place. Even laptop chargers are using USB now, and [FPVtv DRONES] decided to see if it was possible to use such a device as a high current power supply to charge batteries.
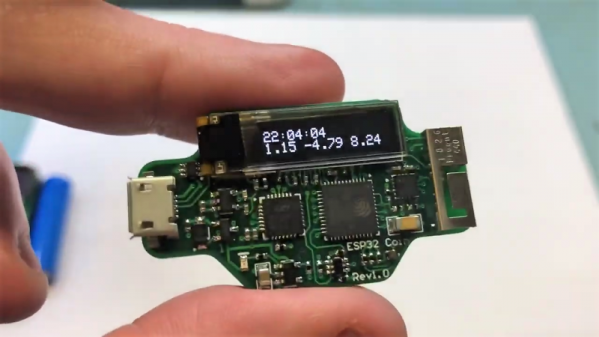
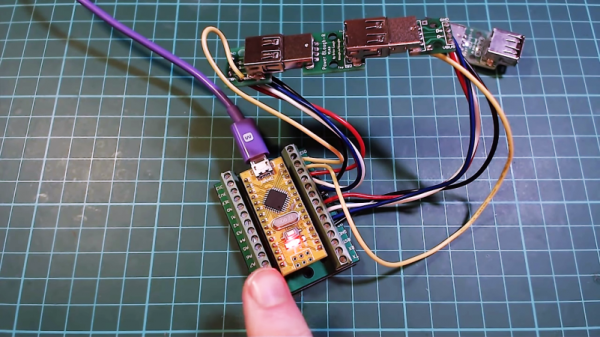
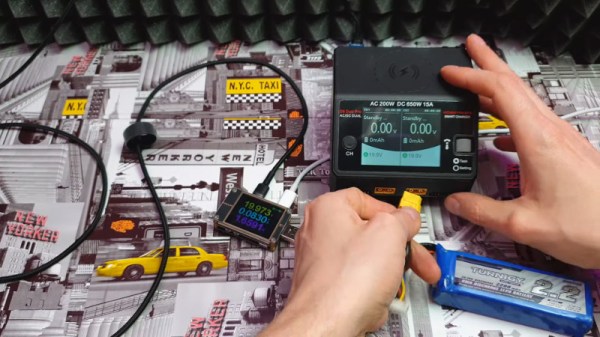
The test starts with a MI brand USB C laptop charger. A USB power meter is plugged inline to determine voltage and current output of the charger, while a small microcontroller device is used to speak with the laptop charger and set it to high voltage, high current delivery mode. A lithium battery charger is then plugged in, and the setup is tested by charging two large 4-cell LiPos at over 1.4 amps concurrently.
The setup demonstrates that, with the right off-the-shelf modules, it’s possible to use your laptop charger to run high-current devices, as long as you can spoof it into switching into the right mode. This is the natural evolution of USB power technology – a road which started long ago with projects like the MintyBoost, way back when. Video after the break.