BlinkM Gets Upgraded To A USB Mass-market Device

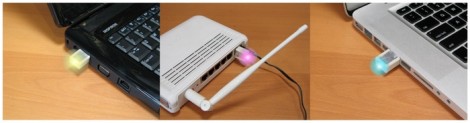
[TodBot] has a new piece of hardware on the way up. His Blink(1) is currently about 50% funded on Kickstarter. It’s a USB nub that has an RGB LED inside of it. When plugged into a computer it can be used as a status indicator. At first that sounds like a let down, but his marketing is fantastic as the myriad of uses really caught our attention. If you’re on the road you can use it to report back your server statistic. Plug one into each rack-mounted servers for quick visual indication of which one has crashed. Or find your own use.

You probably remember [TodBot] as the creator of the BlinkM. Recently he was calling it the world’s smallest Arduino. Well this Blink(1) is being marketed as Arduino programmable as well. The board size is about the same, and both have an RGB LED module. The difference is that the BlinkM had an ATtiny85 and needed a serial converter to program it. This has a USB plug so we’d bet he’s swapped the tiny for an ATmega8u2 or something from the same family.

Don’t think one blinky LED is going to cut it? For folks that just need more resolution there are other hardware options out there. For instance, this project gives you a wireless 8×8 RGB led display to use as an indicator.

Facedancer Board Lets Your Python Programs Pretend To Be USB Hardware

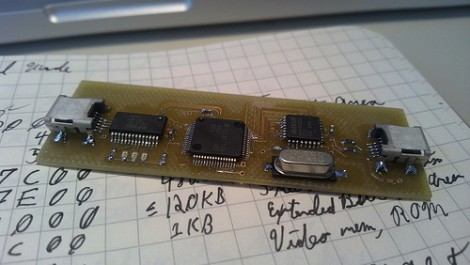
This is the prototype board for [Travis Goodspeed’s] new USB development tool called the Facedancer. He took on the design with USB security exploits in mind, but we think it’s got a lot of potential for plain old development as well.

Kudos on the [Frank Herbert] reference when naming the project. Like the characters from the Dune mythology that can perfectly mimic any person they touch, this device let’s you mimic whatever you can imagine. One the USB ports connects to the victim (or host) the other connects to a development machine. Python can then be used to send USB commands in real time. Think of this as doing the same thing the Bus Pirate does for SPI and i2c, except that it’s doing it on the USB protocol itself. This way you can feel your way through all of the road-bumps of developing a new device (or testing an exploit) without the need to continually compile and flash your hardware.

A Tale Of (un)bricking A $10k Microsoft Surface Unit

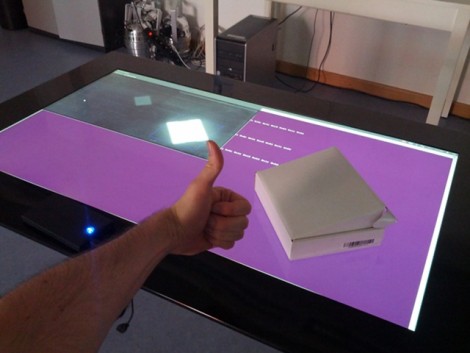
We’ve all had that sinking feeling as a piece of hardware stops responding and the nasty thought of “did I just brick this thing?” rockets to the front of our minds. [Florian Echtler] recently experienced this in extremis as his hacking on the University of Munich’s Microsoft Surface 2.0 left it unresponsive. He says this is an 8,000 Euro piece of hardware, which translates to around $10,000! Obviously it was his top priority to get the thing working again.

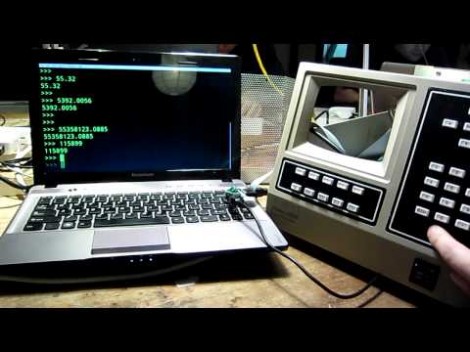
So what’s the first thing you should do if you get your hands on a piece of hardware like this? Try to run Linux on the thing, of course. And [Florian] managed to make that happen pretty easily (there’s a quick proof-of-concept video after the break). He took a Linux kernel drive written for a different purpose and altered it to interface with the MS Surface. After working out a few error message he packaged it and called to good. Some time later the department called him and asked if his Linux kernel work might have anything to do with the display being dead. Yikes.

He dug into the driver and found that a bug may have caused the firmware on the USB interface chip to be overwritten. The big problem being that they don’t just distribute the image for this chip. So he ended up having to dump what was left from the EEPROM and rebuild the header byte by byte.

Continue reading “A Tale Of (un)bricking A $10k Microsoft Surface Unit”

Turning An Arduino Into A USB Keyboard

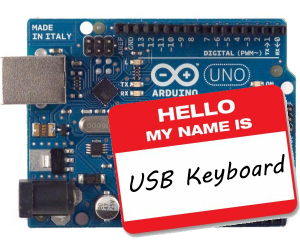
The newly released Arduino Leonardo has a few very interesting features, most notably the ability to act as a USB keyboard and mouse thanks to the new ATmega 32U4 microcontroller. This feature isn’t exclusive to the Leonoardo, as [Michael] explains in a build he sent in – the lowly Arduino Uno can also serve as a USB HID keyboard with just a firmware update.

The Arduino Uno (and Mega) communicate to your computer through a separate ATmega8U2 microcontroller. Simply by uploading new firmware with the Arduino Device Firmware Upgrade, it’s easy to have your old Arduino board gain some of the features of newer boards such as the Teensy or Leonardo.

[Michael] goes through the steps required to make this upgrade work and ends his build by showing off an Arduinofied ‘cut, copy and paste’ button project as well as a few multimedia controls. You can check those builds out in the video after the break.

If emulating a USB keyboard isn’t your thing, it’s also possible to install LUFA firmware to emulate everything from joysticks to USB audio devices. Very cool, and very useful.

Continue reading “Turning An Arduino Into A USB Keyboard”

I/O Extender Board And Case For A Cheap WiFi Router

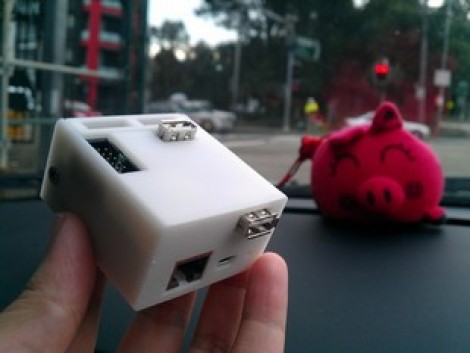
This 3d printed case houses the already small [TP-Link TL-WR703N] but also makes room for a custom expansion board. The expansion board is designed to make the device more hacker friendly, and who doesn’t need a nice case to hold it?

Since the router board already has a USB port (intended for use with USB 3G modems) the add-on acts as a USB hub. The stock USB connector is replaced by a pin header which mates with a DIL socket on the underside of the expansion board. Through the use of an FTDI chip the expander offers three USB ports and a 2×10 pin header to break out the GPIO pins from the router’s processor. Only two USB ports are visible in the image above. That’s because the third is recessed, and an opening has not been added to the enclosure. This struck us as odd until we read that the port is meant to be used with a low-profile thumb drive, essentially adding internal storage for the device.

[Thanks buZz]

Building A Clutch For Vim

Whether you’re using emacs, vi, or vim, your fingers will be performing acrobatics on your keyboard because of the mouseless interface. [alevchuk] thought his feet could be used as a way to reduce the amount of keystrokes, so he built the vim clutch. It’s a USB-enabled foot pedal that will insert characters before the cursor in vim.

Vim requires the user to type the letter ‘i’ to insert text before the cursor. [alevchuk] thought this function could be easily replicated by a foot pedal, so he found an extremely cheap USB foot pedal to serve as his vim clutch. Ideally, the pedal should send ‘i’ when it is pressed and Esc when it’s released. [alevchuk] took two pedals, programmed one to send ‘i’ and the other to send Esc, and put them in the same enclosure.

The result is a working clutch for inserting before the cursor in vim. [alevchuk] is looking into a three-pedal model to add inserting at the beginning and end of the line to his vim clutch, so we’ll keep an eye out for when he posts that build.

Multi-system Nintendo Emulator Uses Stock Controllers

The first month of [WoolyDawg5’s] summer break went into building one Nintendo emulator to rule them all. He thinks there’s nothing like playing the games on the original controllers, and we agree with him 100%. Here you can see that the cartridge door on this NES enclosure hides the extra connectors he needs.

With that door closed this looks like a stock console, but only from the front. If you take a look at the back of it you’ll see how he pulled this off. There’s a Zotac motherboard whose I/O panel has been fitted into the back. It’s responsible for emulating games for the NES, SNES, and GameCube consoles — we’re sure it can do more but that covers the controller ports seen here. Each port is wired to a USB controller module. The cables for these modules exit the back of the case and plug into the motherboard’s I/O panel. There is WiFi for the board, and that’s what [WoolyDawg] uses for configuration, tunneling into the OS instead of connecting a keyboard or mouse.

Of course you could just shoehorn all-original console hardware into one package to accomplish something like this.

[Thanks KoldFuzion]