The Yamaha DX7 is one of the most iconic synthesizers that emerged in the early 1980s, and is still very popular today. That said, with even the newest of these having left the factory back in 1989, the average DX7 can use a bit of tender love and care. In particular the battered DX7 that [Drygol] recently got handed to ‘just fix the PSU voltage switch’. As it turned out, this poor DX7 had a few more issues than just a busted voltage selector.
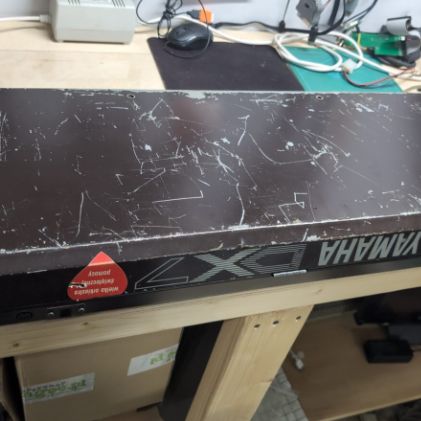
In addition to missing slider caps and a vanished key, the paint of the case also had clearly lost a fight with various hard surfaces in addition to a thick coating of unidentifiable dust and grime inside the synthesizer. Feeling a pang of sympathy, [Drygol] thus decided to give the old girl a complete restoration.
After taking the synthesizer apart for a good scrub-down, the parts were assessed for further damage. This turned out to include the plastic stubs on some keys to hold a spring for which a replacement was modelled and 3D printed, along with replacements for the missing slider caps.
Next the case was painted, with a brand new Yamaha DX7 vinyl logo rather than trying to fix up the old paint and logo. With the outside fixed up, the broken and dodgy controls, audio jacks and potentiometers were addressed, followed by the busted onboard battery, leaving just the original voltage selector. This one got replaced by an IEC 60320 C13 jack, with the transformer hardwired for 230 VAC input, out of convenience grounds.
We’re always excited when [Drygol] sends in another restoration project — from a glowing Amiga 500 to vacuum-formed keycap covers, they’re always remarkable displays of ingenuity.