SLA printer rigged for time lapse

Silky Smooth Resin Printer Timelapses Thanks To Machine Vision

The fascination of watching a 3D printer go through its paces does tend to wear off after you spent a few hours doing it, in which case those cool time-lapse videos come in handy. Trouble is they tend to look choppy and unpleasant unless the exposures are synchronized to the motion of the gantry. That’s easy enough to do on FDM printers, but resin printers are another thing altogether.

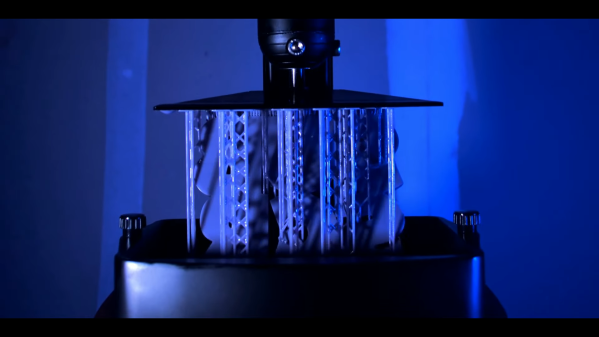
Or are they? [Alex] found a way to make gorgeous time-lapse videos of resin printers that have to be seen to be believed. The advantage of his method is that it’ll work with any camera and requires no hardware other than a little LED throwie attached to the build platform of the printer. The LED acts as a fiducial that OpenCV can easily find in each frame, one that indicates the Z-axis position of the stage when the photo was taken. A Python program then sorts the frames, so it looks like the resin print is being pulled out of the vat in one smooth pull.

To smooth things out further, [Alex] also used frame interpolation to fill in the gaps where the build platform appears to jump between frames using real-time intermediate flow estimation, or RIFE. The details of that technique alone were worth the price of admission, and the results are spectacular. Alex kindly provides his code if you want to give this a whack; it’s almost worth buying a resin printer just to try.

Is there a resin printer in your future? If so, you might want to look over [Donald Papp]’s guide to the pros and cons of SLA compared to FDM printers.

Continue reading “Silky Smooth Resin Printer Timelapses Thanks To Machine Vision”

A 3D Printed Camera Arm For Great 3D Print Timelapses

If you’re a maker that publishes projects online, you’ll be well across the production values arms race that’s been raging over the past decade. For those in the 3D printing space, this means that you’ll need to be producing slick timelapse videos of your prints. [BuildComics] is now doing just that, with a custom camera arm to help do the job. (Video, embedded below.)

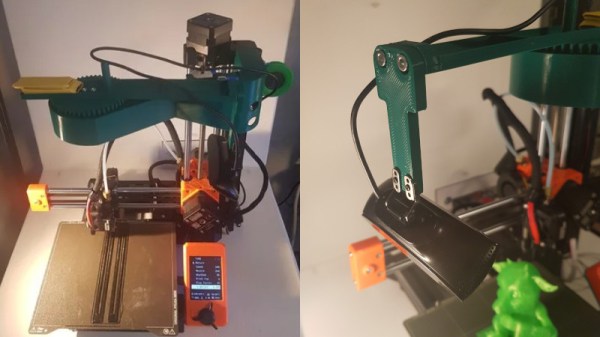
The arm relies on a 3D-printed gear train that allows a stepper motor to turn it slowly throughout the print’s duration. It’s controlled by an Arduino that receives commands via Firmata. The arm is mounted on top of the printer, holding a webcam above the build plate for a good view. It’s setup via Octolapse to take images as each layer is finished, giving that haunting look of a model materialising on the print bed throughout the duration of the timelapse.

Files are available for those wishing to build their own. The design as used is for the Prusa Mini, but it should be adaptable to other printers without too much trouble. We’ve reported on Octolapse before, with its videos proving to be the gold standard when it comes to the art of the printing time lapse.

Continue reading “A 3D Printed Camera Arm For Great 3D Print Timelapses”

Automatic Timelapses, Made Educational And Easy

Timelapse fragment from an infrared sky camera watching cloud patterns.

There are plenty of ways to create timelapse videos, but [Andy] has an efficient method for ensuring up-to-date ones exist for his infrared sky camera, and he has it running thanks to some well-documented shell scripts on a spare Raspberry Pi. The resulting timelapse video is always available from the web, and always up-to-date for the current day.

The idea is to automatically fetch images from a remote source (in his case, an infrared sky camera) and turn them into a cumulative video that is regularly updated for the day in question. The resulting video file is either served from the same machine, or sent elsewhere. All that’s needed besides a source for the stills are two shell scripts and some common Linux utilities.

Since [Andy] is mainly interested in tracking clouds his system only runs during daylight hours, but it can be easily changed. In fact, [Andy]’s two shell scripts are great project resources, not only because they are easily modified and well documented, but because he doesn’t make assumptions about how well one might know the command line. He also provides tips from experience; for example he has found that a 120 second interval makes for the best timelapses.

[Andy] runs his scripts on an Raspberry Pi 4, but any Linux system will do. For those who might prefer a more embedded approach, the ESP32-CAM can make a great time lapse camera with remarkably little effort.

Automated Weatherproof Timelapse System With DSLR And Raspberry Pi

[madis] has been working on time lapse rigs for a while now, and has gotten to the point where he has very specific requirements to fill that can’t be done with just any hardware. Recently, he was asked to take time lapse footage of a construction site and, due to the specifics of this project, used a Raspberry Pi and a DSLR camera to take high quality time lapse photography of a construction site during very specific times.

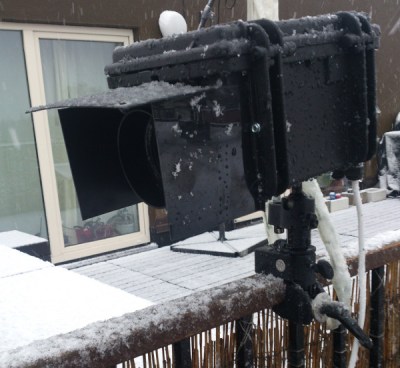
One of his earlier rigs involved using a GoPro, but he found that while the weatherproofing built into the camera was nice, the picture quality wasn’t very good and the GoPro had a wide-angle lens that wouldn’t suit him for this project. Luckily he had a DSLR sitting around, so he was able to wire it up to a Raspberry Pi and put it all into a weatherproof case.

thumbOnce the Pi was outfitted with a 3G modem, [madis] can log in and change the camera settings from anywhere. It’s normally set up to take a picture once every fifteen minutes, but ONLY during working hours. Presumably this saves a bunch of video editing later whereas a normal timelapse camera would require cutting out a bunch of nights and weekends.
The project is very well constructed as well, and [madis] goes into great detail on his project site about how he was able to build everything and configure the software, and even goes as far as to linking to the sites that helped him figure out how to do everything. If you’ve ever wanted to build a time lapse rig, this is probably the guide to follow. It might even be a good start for building a year-long time lapse video. If you want to take it a step further and add motion to it, check out this time lapse motion rig too!

camera dolly

Timelapse Photography On An Android-Powered Dolly

If you’re heading off on a trip to Alaska, you need to make sure you have plenty of supplies on hand for the wilderness that awaits. If you’re [Bryce], that supply list includes some interesting photography equipment, including a camera dolly that he made to take time-lapse video of the fantastic scenery.

On the hardware side, the dolly carries the camera on a rail that is set up on a slant. The camera starts on one side and moves up and towards the otherside which creates a unique effect in the time-lapse. The rig is driven by a stepper motor, and rides on some pretty fancy bearings. The two cameras [Bryce] plans to use are a Canon T2i and a EOS-M which sit on the top from a tripod.

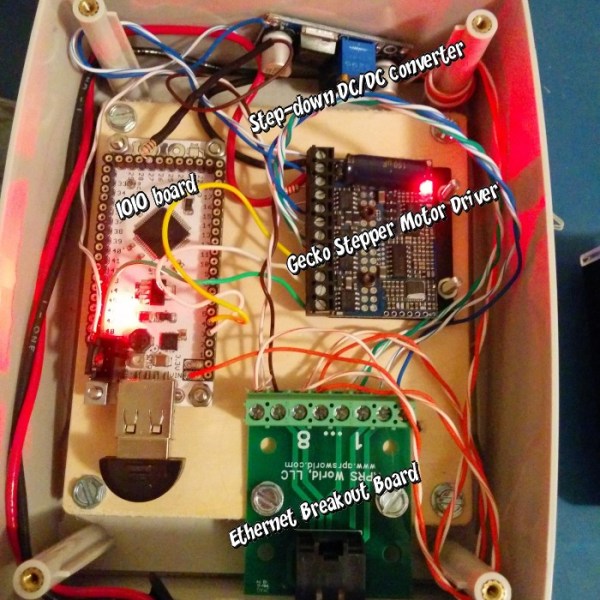
The software and electronics side is interesting as well. Instead of the usual Arduino, [Bryce] opted for controlling the rig through Android and a IOIO board. This gives the project a lot of options for communications, including Bluetooth. The whole thing is powered by a 19V battery pack. If you’re looking for something a little simpler, you might want to check out the egg timer for time lapse! Check out the video of [Bryce]’s rig in action after the break.

Continue reading “Timelapse Photography On An Android-Powered Dolly”

Sliding Gopro Rig For Timelapse

timelapsethumb

This week I released a project for LIFE. involving a timelapse rig.

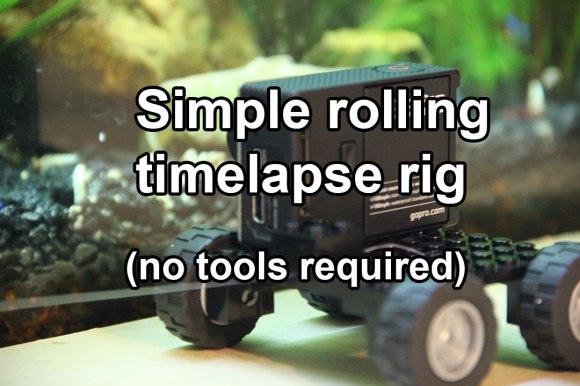
After seeing this super simple timelapse egg timer we had earlier this week, I wanted to have a try at doing a “no tools required” rig for moving timelapse.  I used an egg timer to pull it along a table.  It wasn’t perfect but it worked. Admittedly not as well as if I had just pulled out a teensy and a geared motor, but still ok.


Timelapse Of The 3d Printed Gun Being Printed.

Once the DoD requested the 3d printed gun files be removed from the internet, a couple things happened.

  1.   The Streisand Effect went into full force. The file was shared all over and can still be found easily.
  2.   I suddenly realized that I was going to be printing a 3d printed gun and doing another article on it even though I had just written an opinion piece about how I don’t care.

I’m not above admitting that it is childish of me. I was told I couldn’t have this thing and suddenly I knew I had to make it. I see it with my kids all the time. Toys can sit in a corner collecting dust for ages, but the second it is in threat of being removed, they have renewed interest, at least for a few minutes.

I figured, if I’m going to be childish about it and print a gun that a) won’t work because I don’t have the right printer, and b) I won’t use anyway because I don’t generally play with guns, I might as well make a fun timelapse video of the more recognizable parts being made.

It initially seemed like it was going to be quick and easy. However, I quickly found that just printing this thing was going to be a time consuming and frustrating task.

1. the scale on the individual files was way off. 

I suspect this has something to do with the printer it was designed for. It seemed very close to being 1 inch = 1 mm. Not a completely uncommon problem. Manually resizing got some files to look right, but I found many simply wouldn’t resize.

2. Almost every single item had errors.

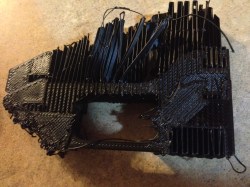
If you’ve done 3d printing, you’ve found that a model can have all kinds of issues that will stop it from printing correctly. I found every single item for the gun had errors. I actually learned a lot about how to repair non-manifold items from this exercise, so it was good in the end.

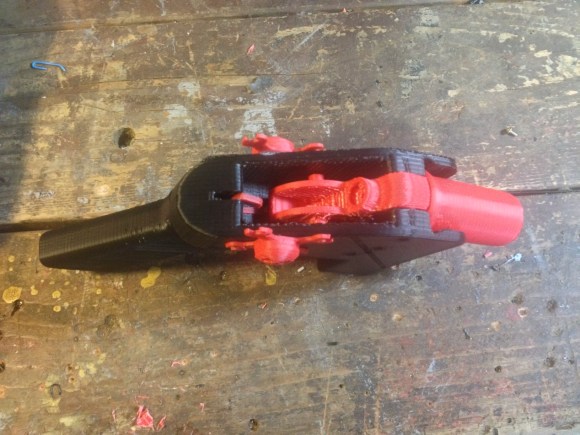
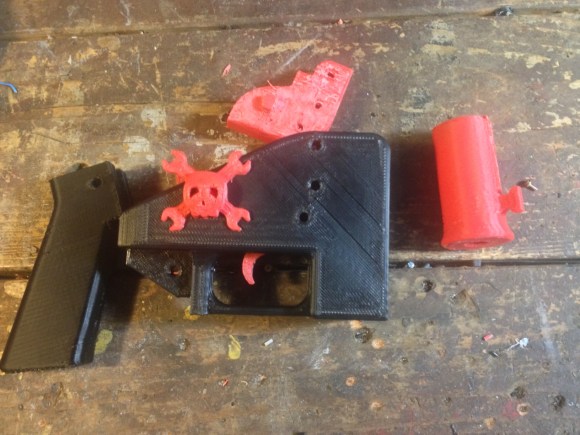
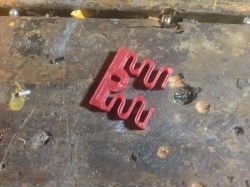
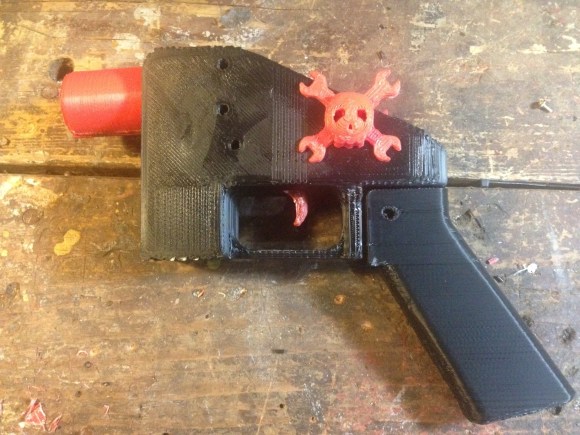
Some items, like the hammer and the hammer springs simply would not print. I ran them through systems to repair them and fix errors. It would say that everything was fixed, but when I tried to “slice” them for printing, the software would crash.  This means that my gun is incomplete. It has no hammer. Not really that big of a deal to me.

photo(53)
the whole gun
photo(52)
Note that it is missing the hammer mechanism. More on that later.
photo(51)
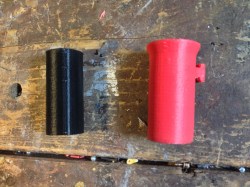
disassembled

Do I care now?

Nope. I climbed to the top of the fridge and got my cookies. I’m a happy child. The reality is that a zip gun is still cheaper, easier, safer, and more reliable.  Here’s an example.