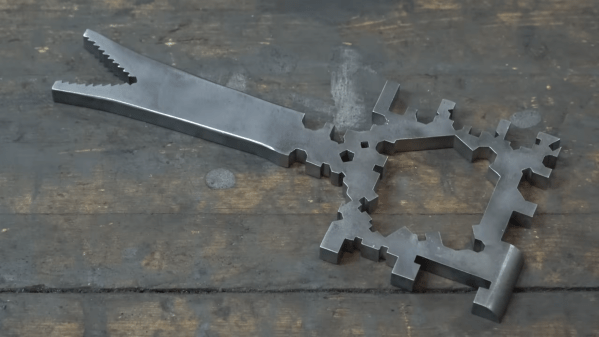
When [Hand Tool Rescue] came across a 1919 patent for a one size fits all wrench, he couldn’t help but recreate it. Described in the patent as “a new, original, ornamental design for a wrench”, the wrench had a slot for possibly every fastener that the inventor could think of. Not only did it have slots for several hexagonal fasteners, but many others for octagonal, square and even a pentagonal fastener.
[Hand Tool Rescue] reckons there are 47 slots for various sizes and types of fasteners, not counting the ones whose purpose he could not fathom. Just in case he missed any fastener sizes, the original designer decided to add an alligator wrench at the other end of the handle, potentially negating the need for any of the other slots. The tool even features a sharp edge along one of the sides, possibly for use as a scraper of some kind.
 Why such a crazy design was patented, or what were the functions of some of its slots are questions that will likely remain unanswered. At best, we can all take guesses at solving the mystery of this tool. [Hand Tool Rescue] scales the original drawing such that one of the slots has a width of 1 inch, and then uses that as a template to recreate the wrench. He starts with a slab of 3/8th inch thick, grade 4140 steel, which has a high strength to weight ratio and can be case hardened after machining, making it suitable for this ornamental project.
He then embarks on his journey of excessive milling, drilling, filing, band sawing and shaping (using a slotting attachment), totaling about 11 hours worth of drudgery. Of course, one could argue that it would have been much easier, and accurate, to have used modern machining methods. And we are spoilt for choices here among laser cutting, water jet cutting or even EDM machining, any of which would have done the job faster, cleaner and more precisely. But we guess [Hand Tool Rescue] wanted to stick to traditional methods as would have been available in 1919 to an inventor who wanted to make a prototype of his awesome, all in one wrench.
If you can help explain the overall function of this wrench, or identify some of the more vague slots in it, then [Hand Tool Rescue] would be happy to get the feedback. And talking about less desirable wrenches, check out how this Sliding Wrench Leaves a Little to be Desired.
Continue reading “One-Size-Fits-All Wrench Points To A Nut Job” →

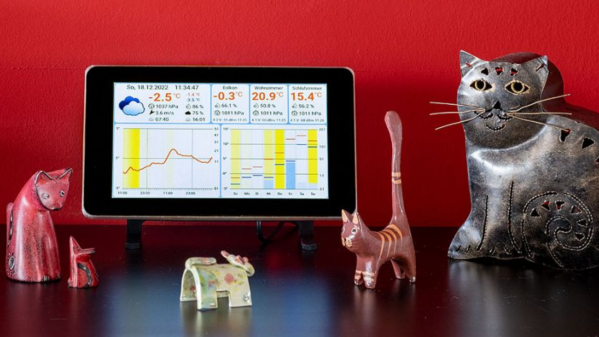
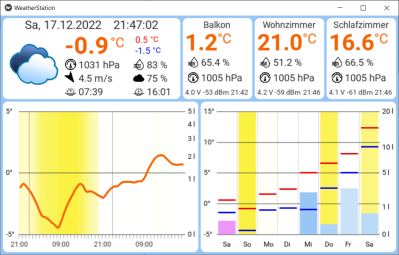 The architecture is quite straightforward. The ESP32 based sensor nodes publish their readings to an MQTT broker running on the Raspberry Pi. The Pi subscribes to these sensor node topics to pick up the relevant sensor data. This makes it easy to add additional sensor nodes in future. Weather forecast data is collected by connecting to the OpenWeatherMap API. All of the collected information is then displayed through an app built using the Kivy: open source Python app development framework.
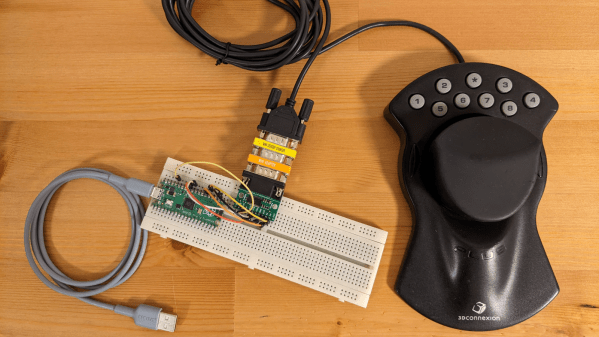

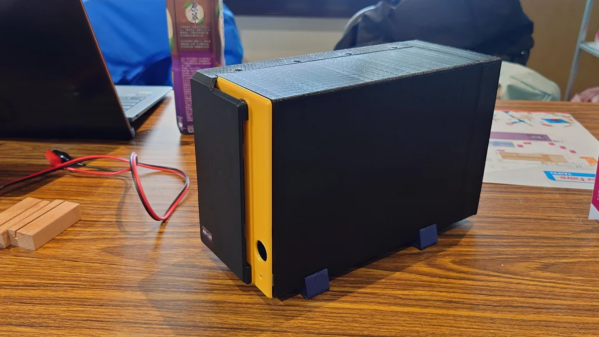
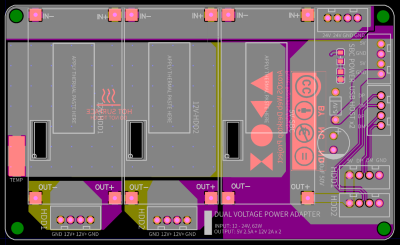 Assembling the device will need some planning and preparation, even though most of the hardware is off the shelf. You will need a SATA to USB 2.0 adapter, a SBC (Orange Pi Zero, Raspberry Pi 4, Orange Pi Zero 2, etc) , three buck converters — one each to provide 12 V to the two hard disks and a third to provide 5 V to the SBC. You’ll also need a 12 V / 6 A or 24 V / 3 A external power brick, or a USB-C 65 W GaN charger with a triggering module to set the desired voltage and current.