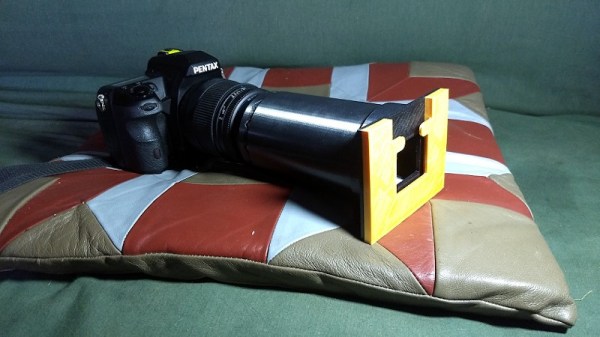
If you’ve got old family photos on slides there’s an excellent chance you’ve considered digitizing them at one point or another, but perhaps didn’t know the best way of going about it. In that case, this 3D printed adapter designed by [Rostislav Persion] that lets you photograph slides with a standard DSLR may be exactly what you were waiting for.
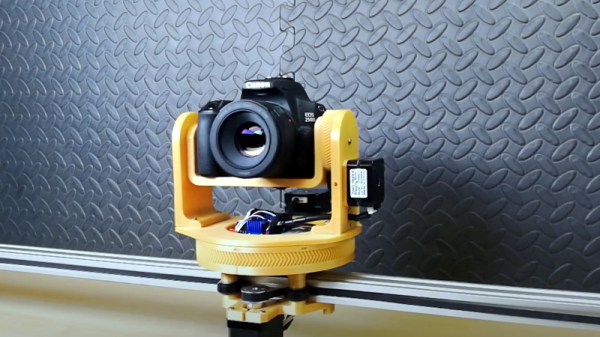
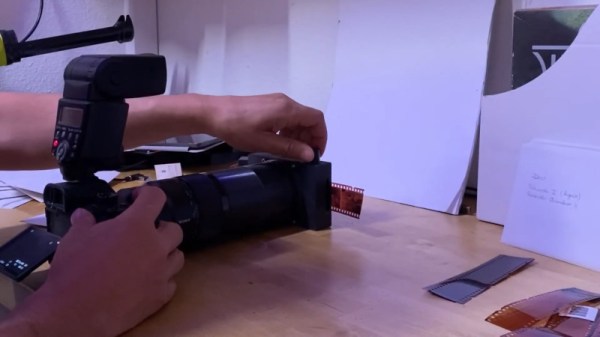
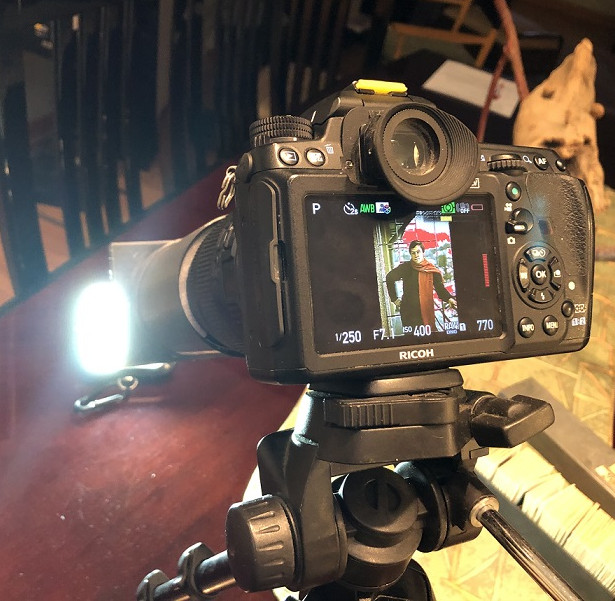 The idea is simple enough, you place the slide inside the adapter, get your focus right, and snap a picture. But of course, you’ve also got to provide some illumination. In this case, the camera is mounted on a tripod and pointed at an appropriate light source. Once you’ve experimented a bit and got the image backlit the way you want it, you can lock everything in place and easily power through a stack of vintage family memories in no time.
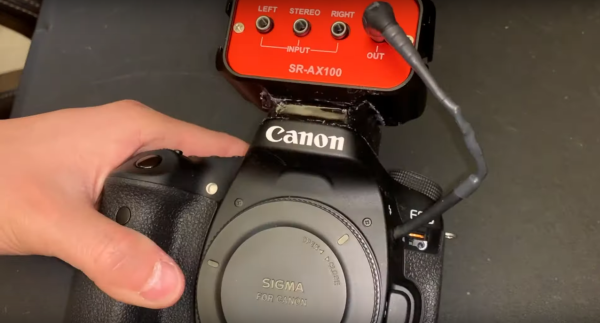
For such a straightforward concept, we really appreciate the little details in the execution. For example, rather than just sliding a 3D printed cylinder over the DSLR’s lens, [Rostislav] came up with a foam-padded “shim” that’s strong enough to hold the adapter on without marring anything. The two-part slide spacer that features a bit of springiness to hold everything tight is also a very nice touch.
An approach like this should work nicely for the amount of slides most families are likely to have, but if you’re in a position where you need to digitize thousands of images, some automation would certainly help things along.