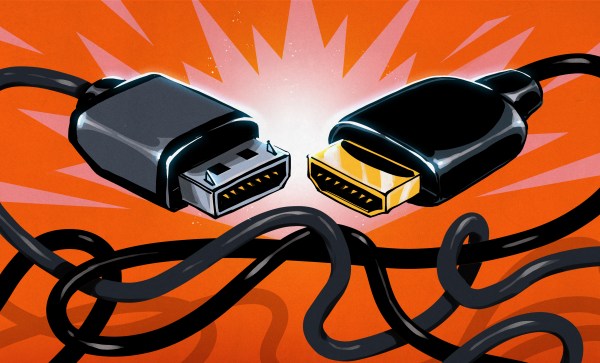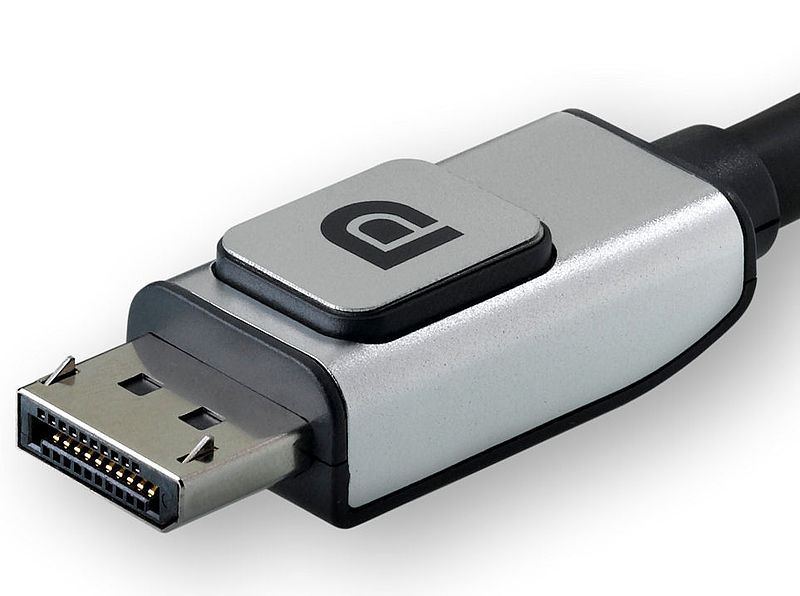
Although new VGA-equipped monitors can still be bought, the old standard is definitely on its way out by now, being replaced by high-speed digital interfaces like HDMI and DisplayPort. It therefore makes sense to prepare for a VGA-less future, as [Yeo Kheng Meng] is doing. He designed an 8-bit ISA display card with an HDMI output that enables even the very first generation of PCs to talk to a modern monitor.
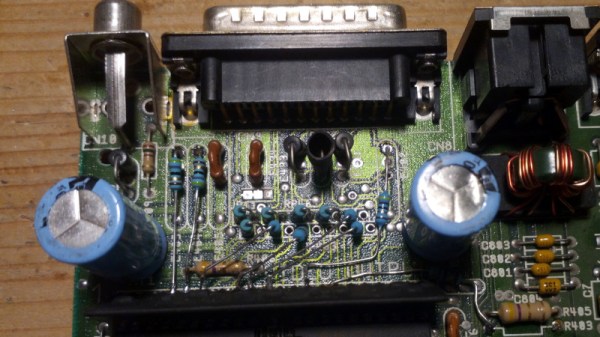
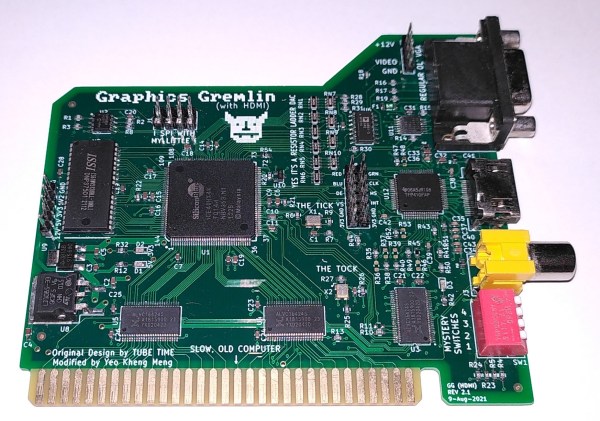
The design is based on the Graphics Gremlin by [Tube Time], which is an 8-bit ISA display card that aims to be software compatible with the obsolete MDA and CGA display formats while outputting a clean VGA signal. [Yeo Kheng Meng] modified the board by adding a TFP410 HDMI bus driver and replacing the rarely-used 9-pin RGBI connector with an HDMI version. He also updated the HDL code for the Lattice FPGA, which forms the heart of the graphics card, to account for the new digital output. While he was at it, he also added a few features he was missing in the original product, such as the option to select the color displayed in MDA mode and the ability to output both HDMI and composite video at the same time.
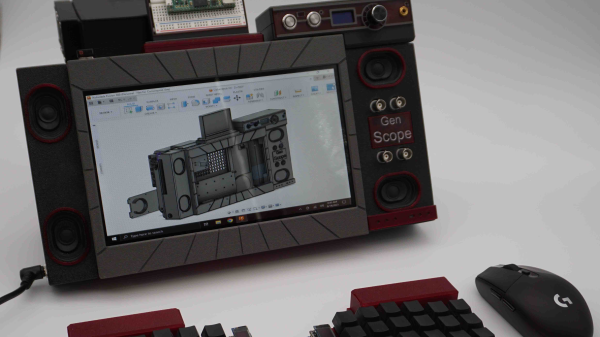
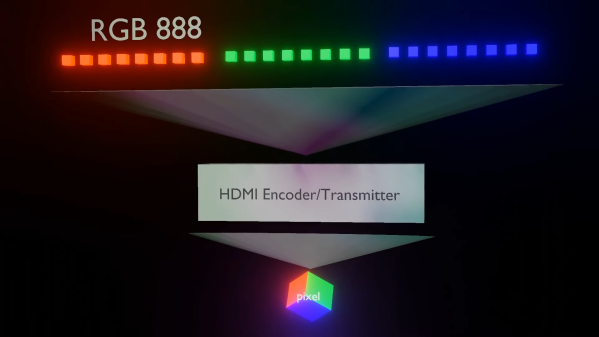
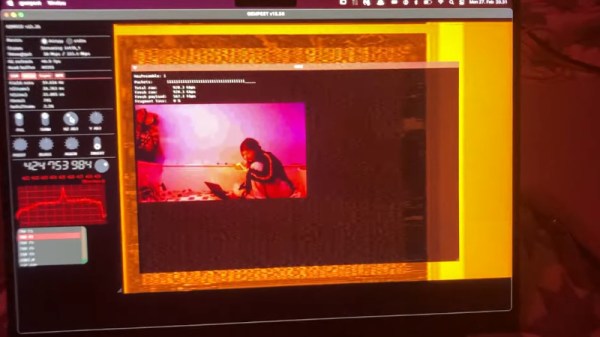
The video below shows the updated card in action in an IBM 5155 Portable PC. The HDMI port connects to a modern monitor, while the composite video output is routed to the 5155’s internal CRT as well as a small color monitor on top. The IBM thereby joins a small list of retro computers that have received an HDMI upgrade — the Amiga 500 and PlayStation 2 being other examples. HDMI might be a lot more complex to work with than VGA, but luckily there are open-source implementations that do much of the work for you.
Continue reading “Upgraded Graphics Gremlin Adds HDMI Video To Vintage PCs”