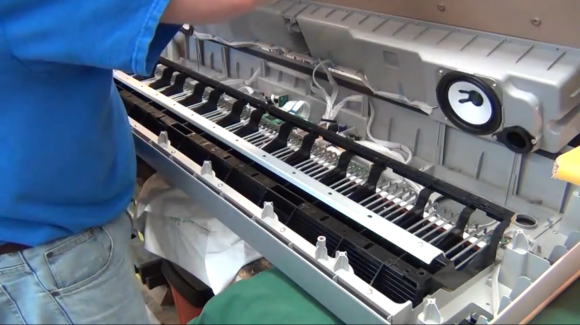
We’re not sure if [Apachem25] is just lucky, or if installing Auxiliary ports on most car stereos is this easy. The dealership wanted $95 to put one in, but he managed to add a 3.5mm audio-in port to his car stereo for just a couple of bucks.
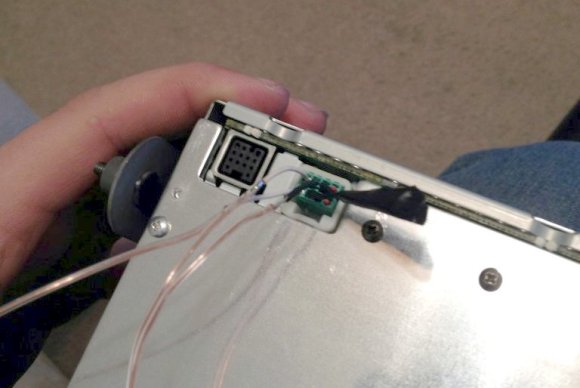
The connector on the back of his head unit is a 2×4 set of pins recessed in a protective plastic ring. It turns out that the audio connector cable for a PC CD-ROM drive has a 1×4 socket that is perfect for this. [Apachem25] simply clipped one of those cables in half and used both ends to interface with the Aux port. He found the pin-out for his particular model on the Internet. He needed a specific resistance value between two of the pins to get the deck to let him use the input. All that he needed was a quick bit of soldering. The left, right, and ground are brought around the side and soldered to an audio jack he added in the face plate of the unit.
If you’re still rockin’ the cassette deck our favorite automotive Bluetooth solution is still this one for a classic Beetle.
[via Reddit]