Big Spinning Disk Makes A Small Color Video Display

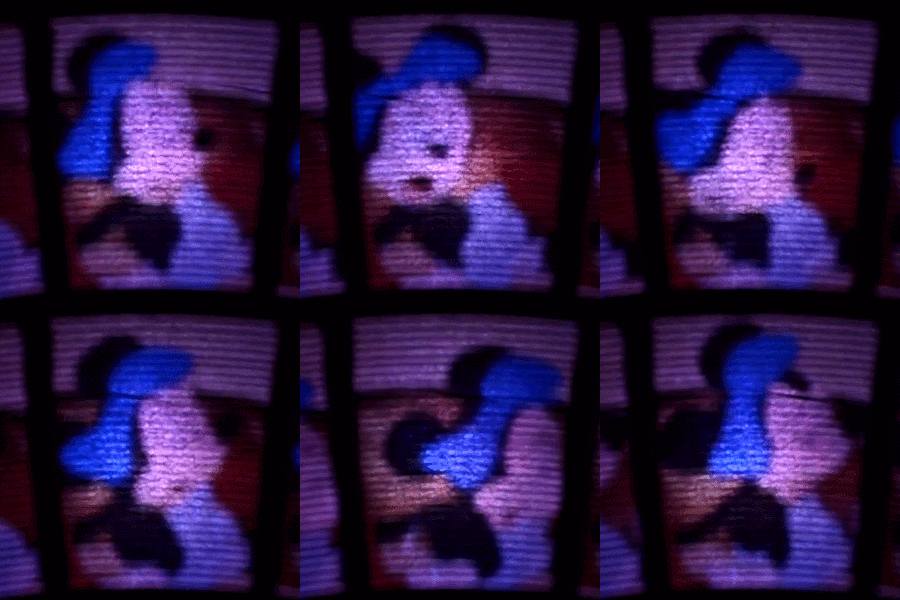
Believe it or not, the Mickey Mouse clip used for this demonstration is actually in the public domain.

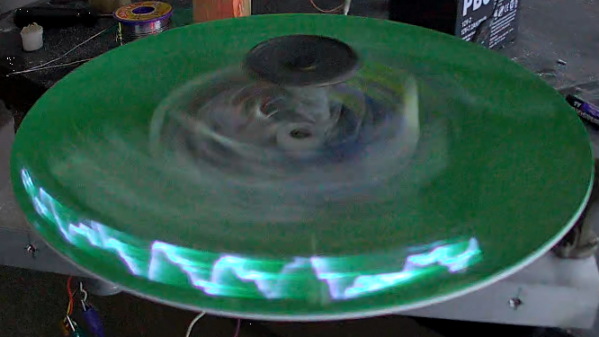
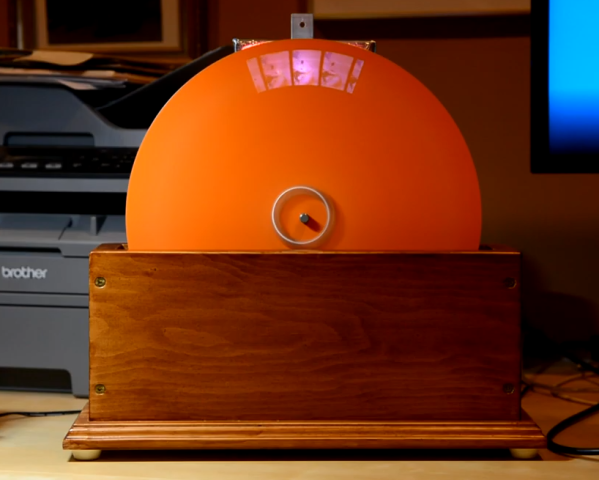
The earliest televisions used a spinning disk technology called the Nipkow disk, which is exactly what [Science ‘n’ Stuff] recreated with their Arduino-based mechanical color television (video link, also embedded below.) The device reads video and audio from an SD card, and displays the video using a precisely-timed RGB LED visible through a perforated spinning disk. The persistence of vision effect results in a video that is small, relative to the size of the disk, but perfectly watchable. A twist is that the video is in color!

A Nipkow disk is a fairly simple and electromechanical device that relies on timing; something a modern microcontroller and RGB LED is perfectly capable of delivering. In this device, the holes in the disk create 32 vertical scanlines with 96 “pixels” making up each of those lines. Spinning disk technology was always limited to being monochromatic, but in this implementation, each “pixel” is given its own unique color by adjusting the RGB LED accordingly.

The first video shows off the device and demonstrates it working; note that it may look like there are multiple little screens, but the center one can be thought of as the “true” display with the others essentially being artifacts due to light leakage. If you’re interested in the nuts and bolts of exactly how a Nipkow disk works, then the second video is what you’ll be more interested in, because it goes through all the details of exactly how everything functions.

Another neat thing about Nipkow disks is that image acquisition is really not much more complex than image display.

[via Arduino Blog]

Continue reading “Big Spinning Disk Makes A Small Color Video Display”

This POV Clock Combines A Nixie With A Pendulum

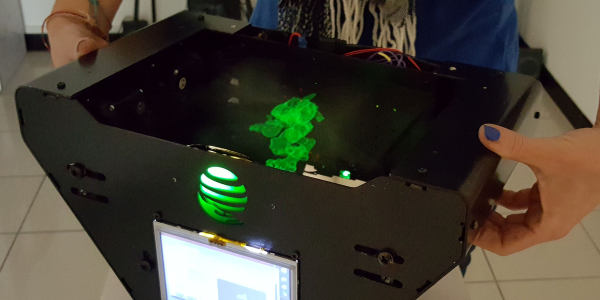
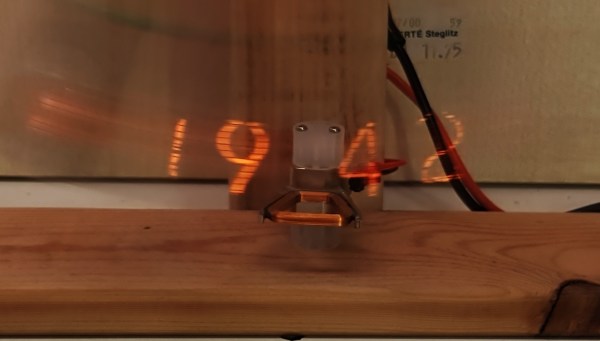
Talk about your mixed timekeeping metaphors: there are clocks, and pendulum clocks, and there are Nixie clocks, and persistence of vision clocks. But this is a Nixie pendulum POV clock, and we think it’s pretty cool.

We first spied this on Twitter and were subsequently pleased to learn that [Jayzon Oeve] has posted a more detailed build log over on Hackaday.io. Rather than a moving array of dots to create the characters to display, this uses a single IN-12b Nixie tube at the end of a pendulum. The pendulum is kept moving by a small nudge created by a pulse through a fixed hard drive voice coil acting on a magnet affixed to the bottom of the pendulum — we’ve seen a similar approach used before.

Pretty much all of the electronics are mounted on the pendulum arm, including a Nano, an RTC, and an accelerometer to figure out where in the swing the bob is and when to flash a number on the display. There’s a video below that shows it at work both at full speed and in slow-motion; as always with POV clocks, these things probably look better in person than on video. And while swinging Nixies around like that seems a little dicey, we like the way this turned out.

Continue reading “This POV Clock Combines A Nixie With A Pendulum”

Motor-Driven Movement Modernizes POV Toy

Just as we are driven today to watch gifs that get better with every loop, people 100+ years ago entertained themselves with various persistence of vision toys that used the power of optical illusions to make still images come to life. [jollifactory] recently recreated one of the first POV devices — the phenakistoscope — into a toy for our times.

The original phenakistoscopes were simple, but the effect they achieved was utterly amazing. Essentially a picture disk with a handle, the user would hold the handle with one hand and spin the disk with the other while looking in a mirror through slits in the disk. Unlike the phenakistoscopes of yore that could only be viewed by one person at a time, this one allows for group watching.

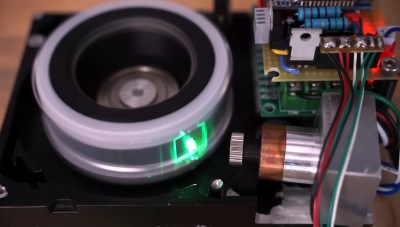
Here’s how it works: an Arduino Nano spins a BLDC motor from an old CD-ROM drive, and two strips of strobing LEDs provide the shutter effect needed to make the pictures look like a moving image.The motor speed is both variable and reversible so the animations can run in both directions.

To make the disks themselves, [jollifactory] printed some original phenakistiscopic artwork and adhered each one to a CD that conveniently snaps onto the motor spindle. Not all of the artwork looks good with a big hole in the middle, so [jollifactory] created a reusable base disk with an anti-slip mat on top to spin those.

If you just want to watch the thing in action, check out the first video below that is all demonstration. There be strobing lights ahead, so consider yourself warned. The second and third videos show [jollifactory] soldering up the custom PCB and building the acrylic stand.

There are plenty of modern ways to build old-fashioned POV toys, from all-digital to all-printable.

Continue reading “Motor-Driven Movement Modernizes POV Toy”

Proto-TV Tech Lies Behind This POV Clock

If it weren’t for persistence of vision, that quirk of biochemically mediated vision, life would be pretty boring. No movies, no TV — nothing but reality, the beauty of nature, and live performances to keep us entertained. Sounds dreadful.

We jest, of course, but POV is behind many cool hacks, one of which is [Joe]’s neat Nipkow disk clock. If you think you’ve never heard of such a thing, you’re probably wrong; Nipkow disks, named after their 19th-century inventor Paul Gottlieb Nipkow, were the central idea behind the earliest attempts at mechanically scanned television. Nipkow disks have a series of evenly spaced, spirally arranged holes that appear to scan across a fixed area when rotated. When placed between a lens and a photosensor, a rudimentary TV camera can be made.

For his Nipkow clock, though, [Joe] turned the idea around and placed a light source behind the rotating disk. Controlling when and what color the LEDs in the array are illuminated relative to the position of the disk determines which pixels are illuminated. [Joe]’s clock uses two LED arrays to double the size of the display area, and a disk with rectangular apertures. The resulting pixels are somewhat keystone-shaped, but it doesn’t really distract from the look of the display. The video below shows the build process and the finished clock in action.

The key to getting the look right in a display like this is the code, and [Joe] put in a considerable effort for his software. If only the early mechanical TV tinkerers had had such help. [Jenny List] did a nice write-up on the early TV pioneers and their Nipkow disk cameras; we’ve also seen other Nipkow displays before, but [Joe]’s clock takes the concept to another level.

Continue reading “Proto-TV Tech Lies Behind This POV Clock”

Edge-Mounted LEDs Make This Spherical POV Look Fantastic

For as many of them as we’ve seen, we still love a good persistence of vision display project. There’s something fascinating about the combination of movement and light creating the illusion of solid surfaces, and there’s always fun to be had in electromechanical aspects of a POV build. This high-resolution spherical POV display pushes all those buttons, and more.

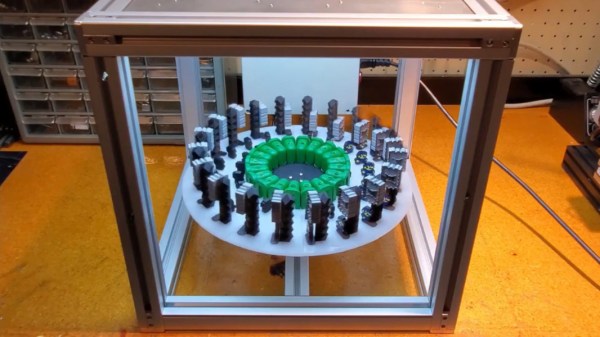
Called “Flicker” for obvious reasons by its creator [Dan Foisy], this POV display started with a pretty clear set of goals in terms of resolution and image quality, plus the need to support animated images, all in a spherical form factor. These goals dictated the final form of the display — a PCB disc spinning vertically. The shaft has the usual slip rings for power distribution and encoders for position feedback. The PCB, though, is where the interesting stuff is.

[Dan] chose to use an FPGA to slice and dice the images, which are fed from a Raspberry Pi’s HDMI port, to the LED drivers. And the LEDs themselves are pretty slick — he found parts with 1.6 mm lead spacing, making them a perfect fit for mounting on the rim of the PCB rather than on either side. A KiCAD script automated the process of laying out the 256 LEDs and their supporting components as evenly as possible, to avoid imbalance issues.

The video below shows Flicker in action — there are a few problem pixels, but on the whole, the display is pretty stunning. We’ve seen a few other spherical POV displays before, but none that look as good as this one does.

Continue reading “Edge-Mounted LEDs Make This Spherical POV Look Fantastic”

POV LED Staff Takes Art For A Spin

The human body does plenty of cool tricks, but one of the easiest to take advantage of is persistence of vision (POV). Our eyes continue to see light for a fraction of a second after the light goes off, and we can leverage this into fun blinkenlight toys like POV staffs. Sure, you can buy POV staffs and other devices, but they’re pretty expensive and you won’t learn anything that way. Building something yourself is often the more expensive route, but that’s not the case with [shurik179]’s excellent open-source POV staff.

There’s a lot to like about this project, starting with the detailed instructions. It’s based on the ItsyBitsyM4 Express and Adafruit’s Dotstar LED strips. You could use the Bluetooth version, but it’s already quite easy to load images to the staff because it shows up as a USB mass storage device. We like that [shurik179] added an IMU and coded the staff so that the images look consistent no matter how fast the staff is spinning. In the future, [shurik179] might make a Bluetooth version that’s collapsible. That sounds like quite the feat, and we can’t wait to see it in action.

As cool as it is to wave a POV staff around, there’s no real practical application. What’s more practical than a clock?

Abused Hard Drive Becomes POV Clock

We all know that there’s not much to do with an old hard drive. Once you render the platters unreadable and perhaps harvest those powerful magnets, there’s not much left of interest. Unless, of course, you turn the whole thing into a persistence-of-vision clock.

At least that’s what [Leo] did when he created “PendoLux”. The clock itself is pretty simple; like any POV project, it just requires a way to move an array of flashing LEDs back and forth rapidly enough that they can trick the eye into seeing a solid image. [Leo] put the read head mechanism of an old HDD into use for that, after stripping the platters and motor out of it first.

The voice coil and magnet of the head arm are left intact, while a 3D-printed arm carrying seven RGB LEDs replaces the old heads. [Leo] added a small spring to return the arm to a neutral position, and used an Arduino to drive the coil and flash the LEDs. Getting the timing just right was a matter of trial and error; he also needed to eschew the standard LED libraries because of his heavy use of interrupts and used direct addressing instead.

POV clocks may have dropped out of style lately — this hard drive POV clock and a CD-ROM version were posted years ago. But [Leo]’s clock is pretty good looking even for a work in progress, so maybe the style will be making a comeback.

Continue reading “Abused Hard Drive Becomes POV Clock”