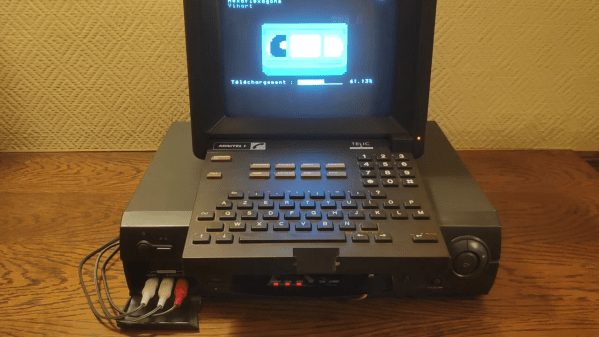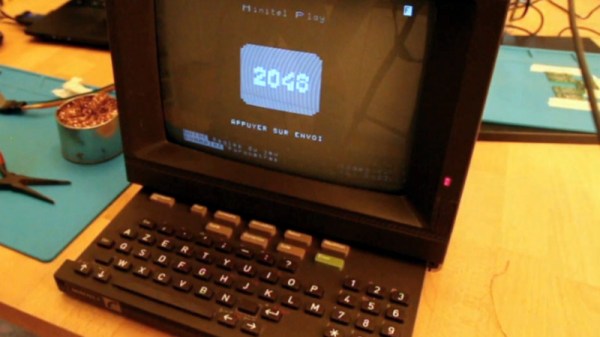
We’ve made no secret over the years here at Hackaday of our admiration for the Minitel. The ubiquitous CRT terminals which made 1980s France the most connected country in the world never made it to where we grew up, but OH! how we wanted them to! We’ve seen quite a few Minitels repurposed as serial terminals here, but for the time being we think [Louis H] has won the Minitel Internet with his plugin game console cartridges. These have a DIN plug to fit the Minitel serial port, and present themselves as a serial game.
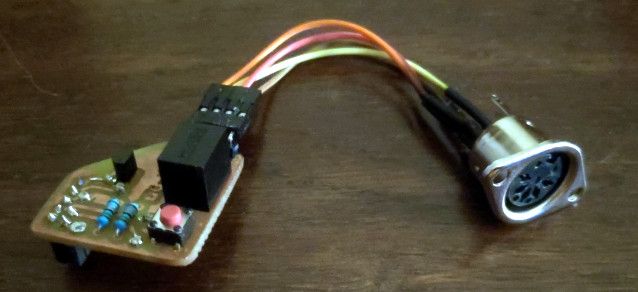
The cartridge itself is an extremely simple affair, a tube which fits over the DIN plug body, containing a slim PCB with an ATmega328 and its supporting components. The games must be programmed such that their gameplay can work over a serial interface, so as an example the first game is a version of 2048.
We applaud both the simplicity and creativity of this project, and we love it that a new 1980s console we never knew we had has been unearthed, without the need for hardware modification. Meanwhile if you’d like to peer inside an Alcatel Telic 1, we can take you there.