If you are a devotee of audiophile-quality analogue hi-fi, switching between sources simply can not be done through a solid-state device. Only physical switches will do because they come without the risk of extra noise or distortion that their silicon equivalents might bring.
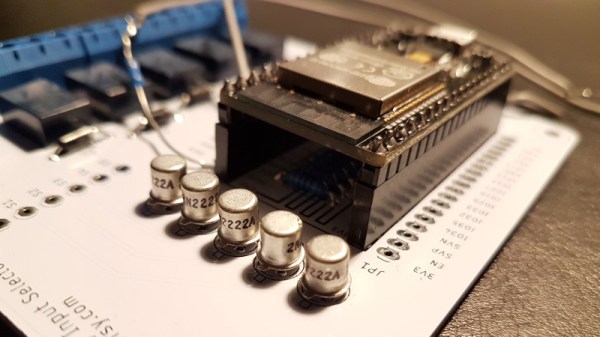
That is the philosophy that lies behind [Skrodahl]’s relay-based audio switching board, which boasts 5 high-quality relays each handling a stereo input, with their control passed either to a rotary switch or to an ESP32 module. The ground connections on audio and switching sides are isolated from each other to avoid transient noise finding its way to the speakers.
You might think that an audio switching board is a very simple device indeed and thus not worthy of Hackaday’s attention, but it’s surprisingly easy to make a mess of a module like this one and they have put in some effort to avoid the pitfalls. The metal-can version of the switching transistors seems a little overkill, but fancy audio is a funny business.
If the ESP isn’t your bag, we’ve brought you another relay based audio switcher in the past that used an Atmel chip.