Epoxy resin is useful stuff. Whether for gluing stuff together or potting components, epoxy is a cheap and versatile polymer that finds its way into many hackish projects. But let’s face it – the stock color of most commercially available epoxies lacks a certain pizzazz. Luckily, [Rupert Hirst] at Tallman Labs shows us that epoxy is easily tinted with toner powder from a laser printer or copier.
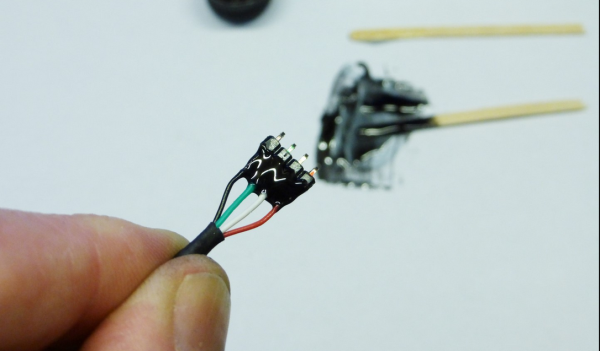
Looking for a way to make his epoxy blend into a glue-up, [Rupert] also demonstrates that colored epoxy makes a professional looking potting compound. There’s just something about the silky, liquid look of a blob of cured black epoxy. [Rupert] harvested his toner powder from a depleted printer cartridge; only a smidgen is needed, so you should be able to recover plenty before recycling the cartridge. We’ve got to admit that seeing toner handled without gloves gives us the willies, though. And don’t forget that you can find cyan, magenta and yellow cartridges too if basic black isn’t your thing.
Sometimes it’s better to leave your epoxy somewhat clear, like when you’re potting an LED matrix for a pendant. But this neat trick might just spiff up your next project a bit.
[Thanks, Jake]