Silicon Photolithography The PCB Way

[ProjectsInFlight] has been doing some fantastic work documenting his DIY semiconductor fab lately. Next up: exploring down-and-dirty photolithography methods.

If you’ve been following along with this series — and why wouldn’t you? — you’ll recall [ProjectsInFlight]’s earlier experiments, like creating oxide layers on silicon chips with a homebrew tube furnace and exploring etchants that can selectively remove them. But just blasting away the oxide layer indiscriminately isn’t really something you need to do when etching the fine features needed to fabricate a working circuit. The trouble is, most of the common photoresist solutions used by commercial fabs are unobtainium for hobbyists, leading to a search for a suitable substitute.

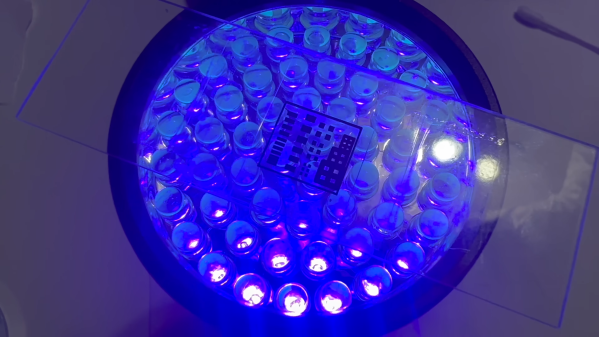
Surprisingly, PCB photoresist film seemed to work quite well, but not without a lot of optimization by [ProjectsInFlight] to stick it to the silicon using a regular laminator. Also in need of a lot of tweaking was the use of a laser printer to create masks for the photolithography process on ordinary transparency film, including the surprisingly effective method of improving the opacity of prints with acetone vapor. There were also extensive experiments to determine the best exposure conditions, a workable development process, and the right etchants to use. Watch the video below for a deep dive into all those topics as well as the results, which are pretty good.

There’s a lot to be said for the methodical approach that [ProjectsInFlight] is taking here. Every process is explored exhaustively, with a variety of conditions tested before settling on what works best. It’s also nice to see that pretty much all of this has been accomplished with the most basic of materials, all of which are easily sourced and pretty cheap to boot. We’re looking forward to more of the same here, as well as to see what others do with this valuable groundwork.

Continue reading “Silicon Photolithography The PCB Way”

Clean Up Your Resin-Printing Rinse With Dialysis

There’s a lot to like about resin 3D printing. The detail, the smooth surface finish, the mechanical simplicity of the printer itself compared to an FDM printer. But there are downsides, too, not least of which is the toxic waste that resin printing generates. What’s one to do with all that resin-tainted alcohol left over from curing prints?

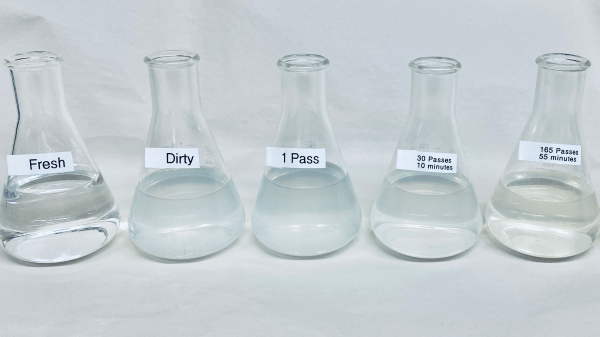
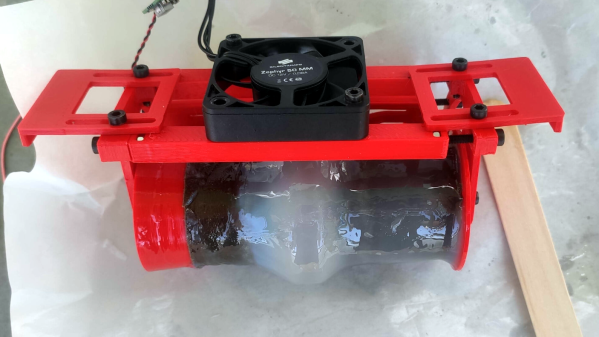
How about sending it through this homebrew filtering apparatus to make it ready for reuse? [Involute] likens this process to dialysis, and while we see the similarities, what’s going on here is a lot simpler than the process used to filter wastes from the blood in patients with failing kidneys — there are no semipermeable membranes used here. Not that the idea suffers from its simplicity, mind you; it just removes unpolymerized resin from the isopropyl alcohol rinse using the same photopolymerization process used during printing. Continue reading “Clean Up Your Resin-Printing Rinse With Dialysis”

Old Film Camera Modified For Different Chemistry

While most photographers have moved on to digital cameras with their numerous benefits, there are a few artists out there still taking pictures with film. While film is among the more well-known analog photographic methods available, there are chemically simpler ways of taking pictures available for those willing to experiment a little bit. Cyanotype photography is one of these methods, and as [JGJMatt] shows, it only takes a few commonly available chemicals, some paper, and a slightly modified box camera to get started.

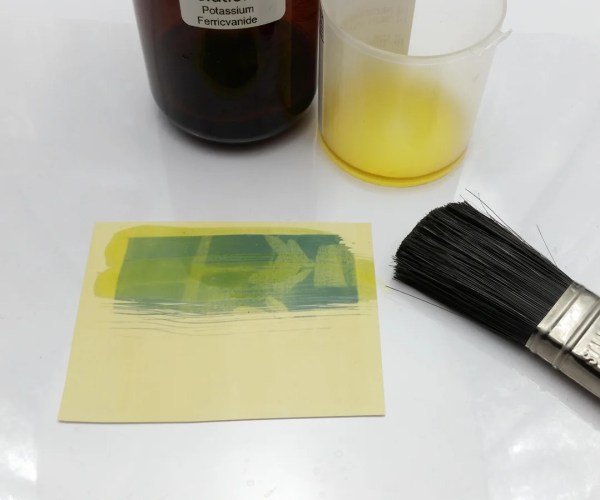
Cyanotype photography works by adding UV-reactive chemicals to paper and exposing the paper similarly to how film would be exposed. The photographs come out blue wherever the paper wasn’t exposed and white where it was. Before mixing up chemicals and taking photos, though, [JGJMatt] needed to restore an old Kodak Brownie camera, designed to use a now expensive type of film. Once the camera is cleaned up, only a few modifications are needed to adapt it to the cyanotype method, one of which involves placing a magnet on the shutter to keep it open for the longer exposure times needed for this type of photography. There is some development to do on these pictures, but it’s relatively simple to do in comparison to more traditional chemical film development.

For anyone looking for a different way of taking photographs, or even those looking for a method of taking analog pictures without the hassle of developing film or creating a darkroom, cyanotype offers a much easier entry point and plenty of artists creating images with this method don’t use a camera at all. There are plenty of other photographic chemistries to explore as well; one of our favorites uses platinum to create striking black-and-white photos.

These 3D Printed Biocatalytic Fibers Scrub Carbon Dioxide

On today’s episode of “What If?” — what if the Apollo 13 astronauts had a 3D printer? Well, for one thing, they may have been able to avoid all the futzing with duct tape and procedure list covers to jury rig the lithium hydroxide filters, at least if they’d known about these 3D printed enzymatic CO2 filters. And time travel…they probably would have needed that too.

A bit of a stretch, yes, but environmental CO2 scrubbing is at least one use case for what [Jialong Shen] et al from the Textile Engineering Department at North Carolina State University have developed here. The star of the show isn’t so much the 3D printing — although squirting out a bio-compatible aerogel and cross-linking it with UV light on the fly is pretty cool. Rather, the key to developing a CO2-scrubbing textile is carbonic anhydrase, or CA, a ubiquitous enzyme that’s central to maintaining acid-base homeostasis. CA is a neat little enzyme that coordinates a zinc ion in its active site and efficiently catalyzes the addition of water to carbon dioxide to produce bicarbonate and hydrogen ions. A single CA molecule can catalyze the conversion of up to a million CO2 molecules per second, making it very attractive as a CO2 filter.

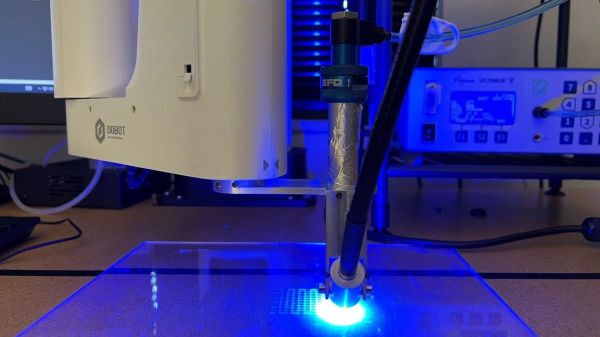
In the current work, an aerogel of poly(ethylene glycol) diacrylate/poly(ethylene oxide) (PEG-DA/EO) was used to entrap CA molecules, holding them in place in a polymer matrix to protect them from denaturation while still allowing access to gaseous CO2. The un-linked polymers were mixed with photoinitiators and a solution of carbonic anhydrase and extruded through a fine nozzle with a syringe pump. The resulting thread was blasted with 280–450 nm UV light, curing the thread instantly. The thread is either wound up as a mono-filament for later weaving or printed directly into a 2D grid.

The filament proved to be quite good at CO2 capture, managing to scavenge 24% of the gas from a mixture passed over it. What’s more, the entrapped enzyme appears to be quite stable, surviving washes with various solvents and physical disruptions like twisting and bending. It’s an exciting development in catalytic textiles, and besides its obvious environmental uses, something like this could make cheap, industrial-scale bioreactors easier to build and run.

Photo credits: [Sen Zhang] and [Jialong Shen], NC State; [Rachel Boyd], Spectrum News 1

[via Phys.org]

UV Photography Box Is Great For Shooting Fancy Rocks

If you want to shoot photographs of various fluorescent UV-related phenomena, it’s hard to do so when ambient light is crowding out your subject. For this work, you’ll want a dedicated UV photography box, and [NotLikeALeafOnTheWind] has a design that might just work for you.

The build is set up for both UVA and UVC photography. Due to the danger posed by the latter, and even the former in some cases, the builder recommends never using the box with a direct-view camera. If it must be done, the eyepiece should be covered to avoid any exposure to harmful light. The key rule? Never look directly into a UV source.

Light sources that can be used include UV LEDs, lamps, and tubes. The box is sealed to keep out external light. It then features a turntable that can be manipulated from outside the box, allowing samples inside to be rotated as necessary. Using a camera with a macro or wide-angled lens is recommended for the work.

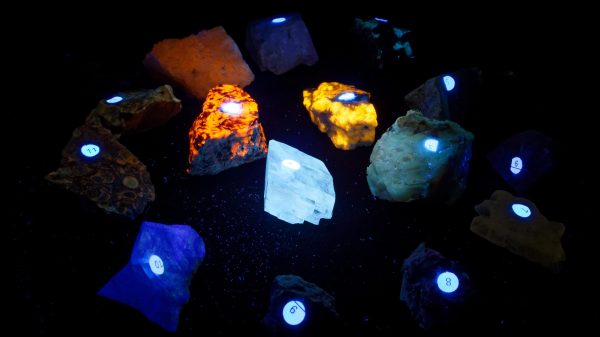
The photographs taken inside the box are stunning. They remind us of childhood museum trips, where we marvelled at the magic of the fluorescent rock displays. We’ve featured some other great fluorescence projects before, too. If you’re cooking up your own great scientific builds in the lab, we’d love to see those too. Hit us up on the tipsline!

Broken Genes And Scrambled Proteins: How Radiation Causes Biological Damage

If decades of cheesy sci-fi and pop culture have taught us anything, it’s that radiation is a universally bad thing that invariably causes the genetic mutations that gifted us with everything from Godzilla to Blinky the Three-Eyed Fish. There’s a kernel of truth there, of course. One only needs to look at pictures of what happened to Hiroshima survivors or the first responders at Chernobyl to see extreme examples of what radiation can do to living tissues.

But as is usually the case, a closer look at examples a little further away from the extremes can be instructive, and tell us a little more about how radiation, both ionizing and non-ionizing, can cause damage to biochemical structures and processes. Doing so reveals that, while DNA is certainly in the crosshairs for damage by radiation, it’s not the only target — proteins, carbohydrates, and even the lipids that form the membranes within cells are subject to radiation damage, both directly and indirectly. And the mechanisms underlying all of this end up revealing a lot about how life evolved, as well as being interesting in their own right.

Continue reading “Broken Genes And Scrambled Proteins: How Radiation Causes Biological Damage”

Toilet Paper Tube Pulls Dissolved Resin From IPA, Cures It For Disposal

SLA 3D printing with resin typically means rinsing parts with IPA (isopropyl alcohol). That process results in cloudy, used IPA containing a high concentration of dissolved resin. The dual goals of cleaning and reusing IPA are important ones, and we have to say, [Jan Mrázek]’s unusual experiment involving a UV source and slowly-rotating paper tube to extract and cure dissolved resin might look odd, but the results are definitely intriguing.

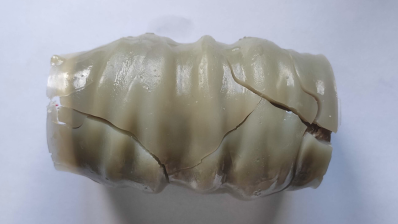
Dissolved resin successfully pulled from IPA and cured onto a cardboard roll. This particular one rotated a bit too quickly, trapping IPA in the curing process and yielding a slightly rubbery wad instead of a hard solid.

The best way to dispose of liquid resin is to cure it into a solid, therefore making it safe to throw away. But what about resin that has been dissolved into a cleaning liquid like IPA? [Jan] felt that there was surely a way to extract the dissolved resin somehow, which would also leave the IPA clean for re-use. His solution? The device shown here, which uses a cardboard tube to pull dissolved resin from an IPA bath and a UV source to cure it onto the tube.

Here’s how it works: the tube’s bottom third sits in dirty IPA, and UV LEDs shine on the top of the tube. The IPA is agitated with a magnetic stirrer for best results. A motor slowly rotates the cardboard tube; dissolved resin gets on the tube at the bottom, UV cures it at the top, and the whole thing repeats. Thin layers of cured resin slowly build up, and after long enough, the roll of cured resin can be thrown away and the IPA should be clean enough for reuse.

So far it’s a pretty successful test of a concept, but [Jan] points out that there are still some rough edges. Results depend on turning the tube at a good rate; turning it too quickly results in IPA trapped with the cured residue. On the plus side, the UV source doesn’t need to be particularly powerful. [Jan] says that Ideally this would be a device one could run in a sealed container, cleaning it over one or two days.

Resin printing is great, but it’s a messy process, so anything that makes it less wasteful is worth checking out. Got any ideas for improving or building on this concept? If so, don’t keep ’em to yourself! Let us know in the comments.