Reverse Engineering Saves Weller With A Wonky LCD From The Trash Pile

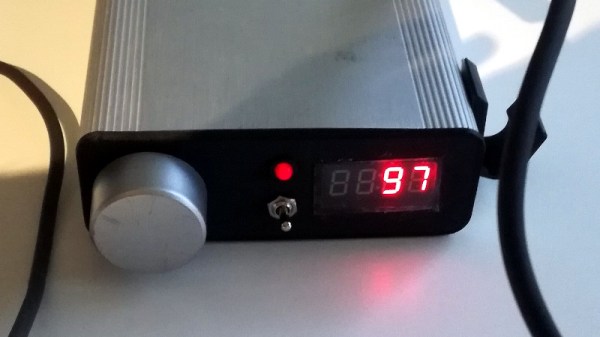
There’s nothing more satisfying than finding a broken piece of gear in the trash and bringing it back to life. Satisfying, but also potentially more time-consuming — someone tossed it for a reason, after all. Figuring out what that reason is and finding a way to back it better is where the fun — and the peril — are.

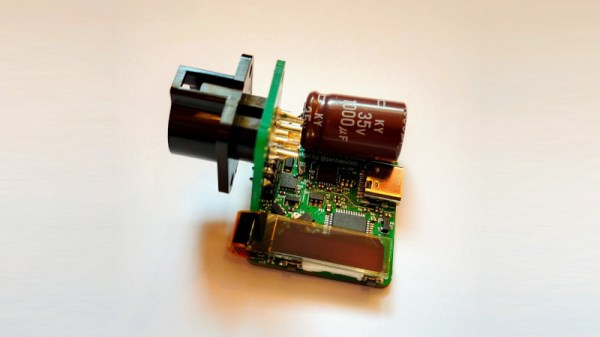
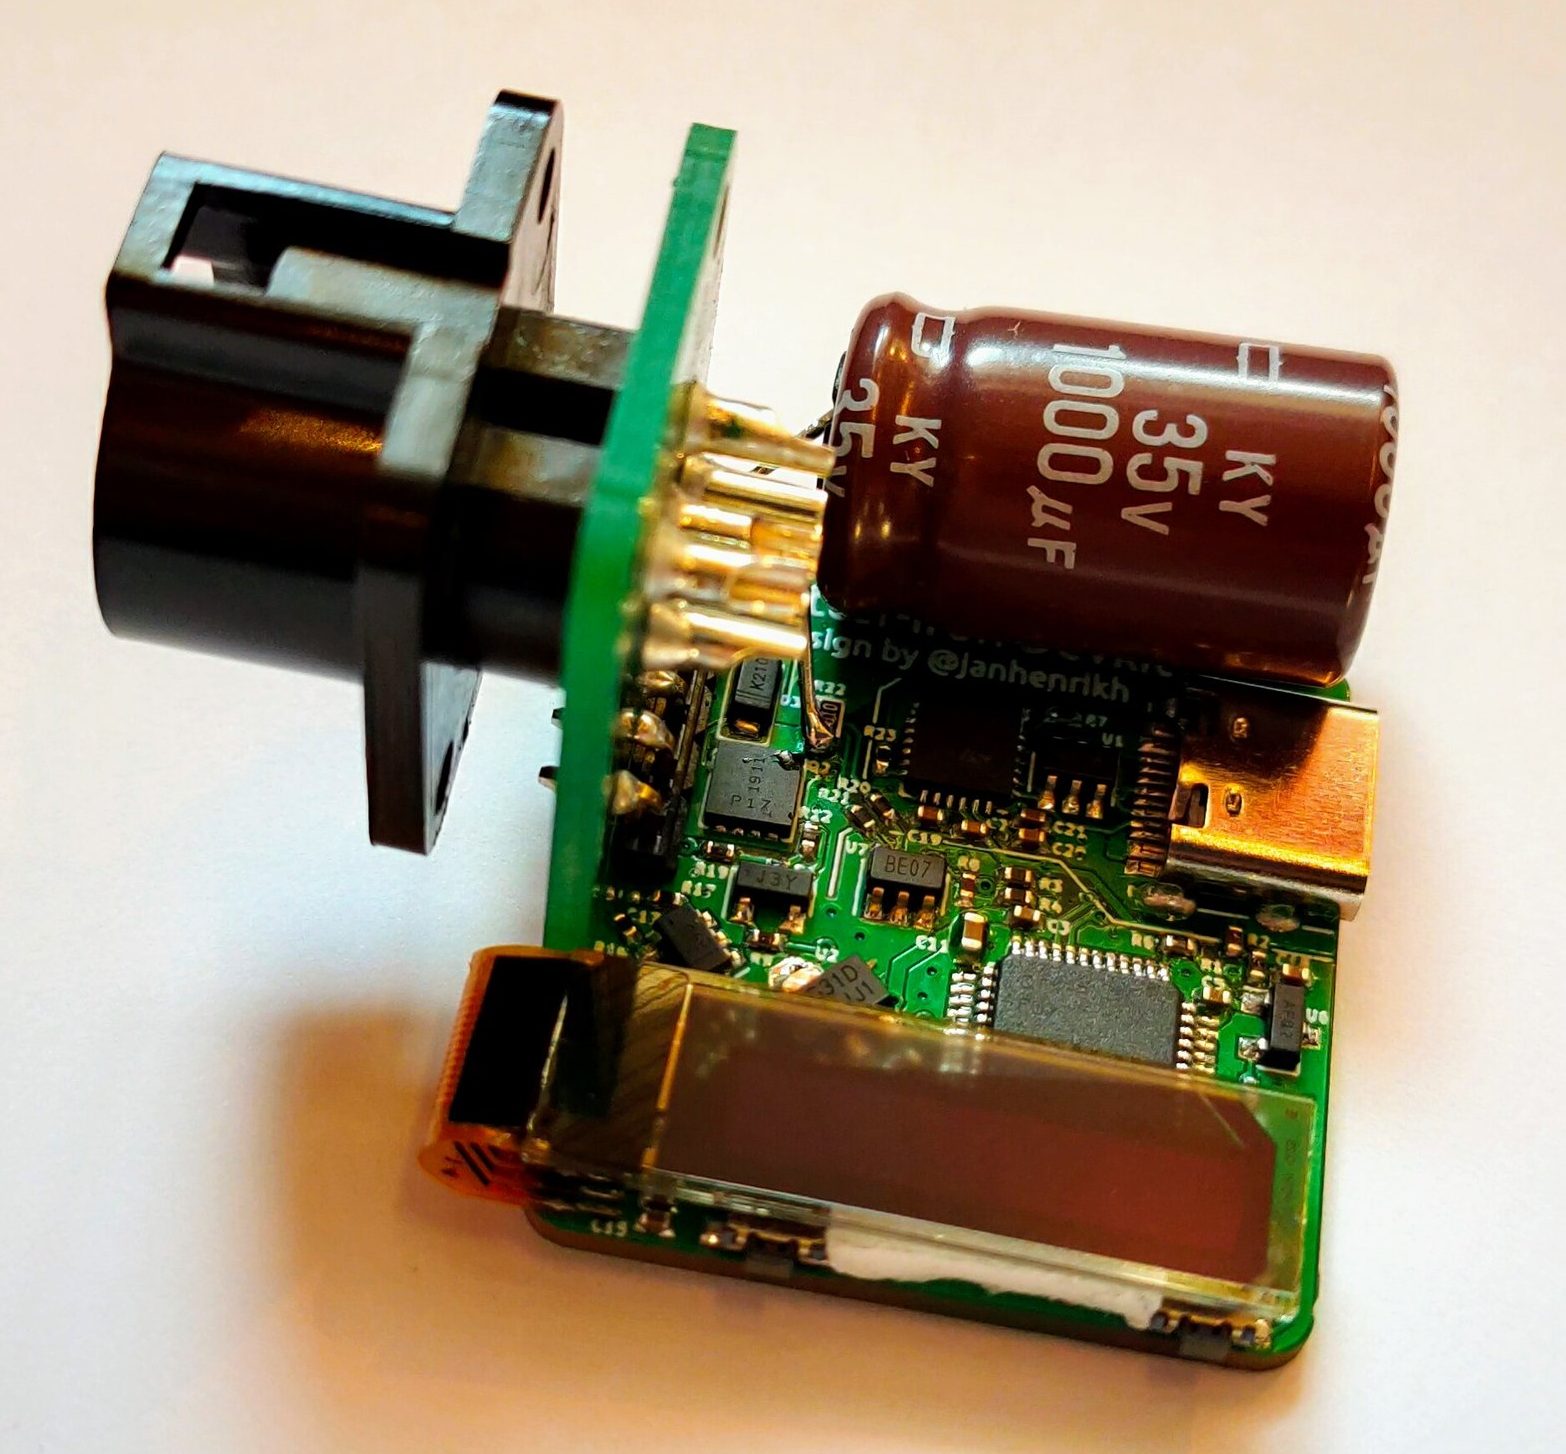
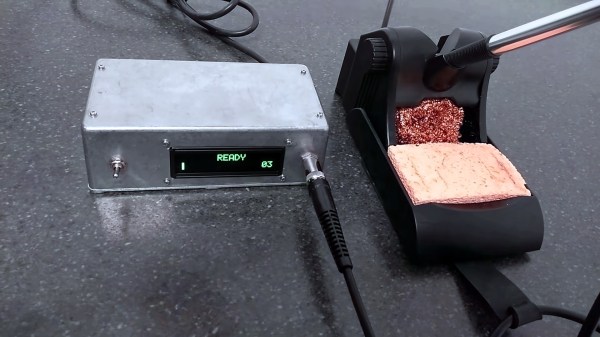
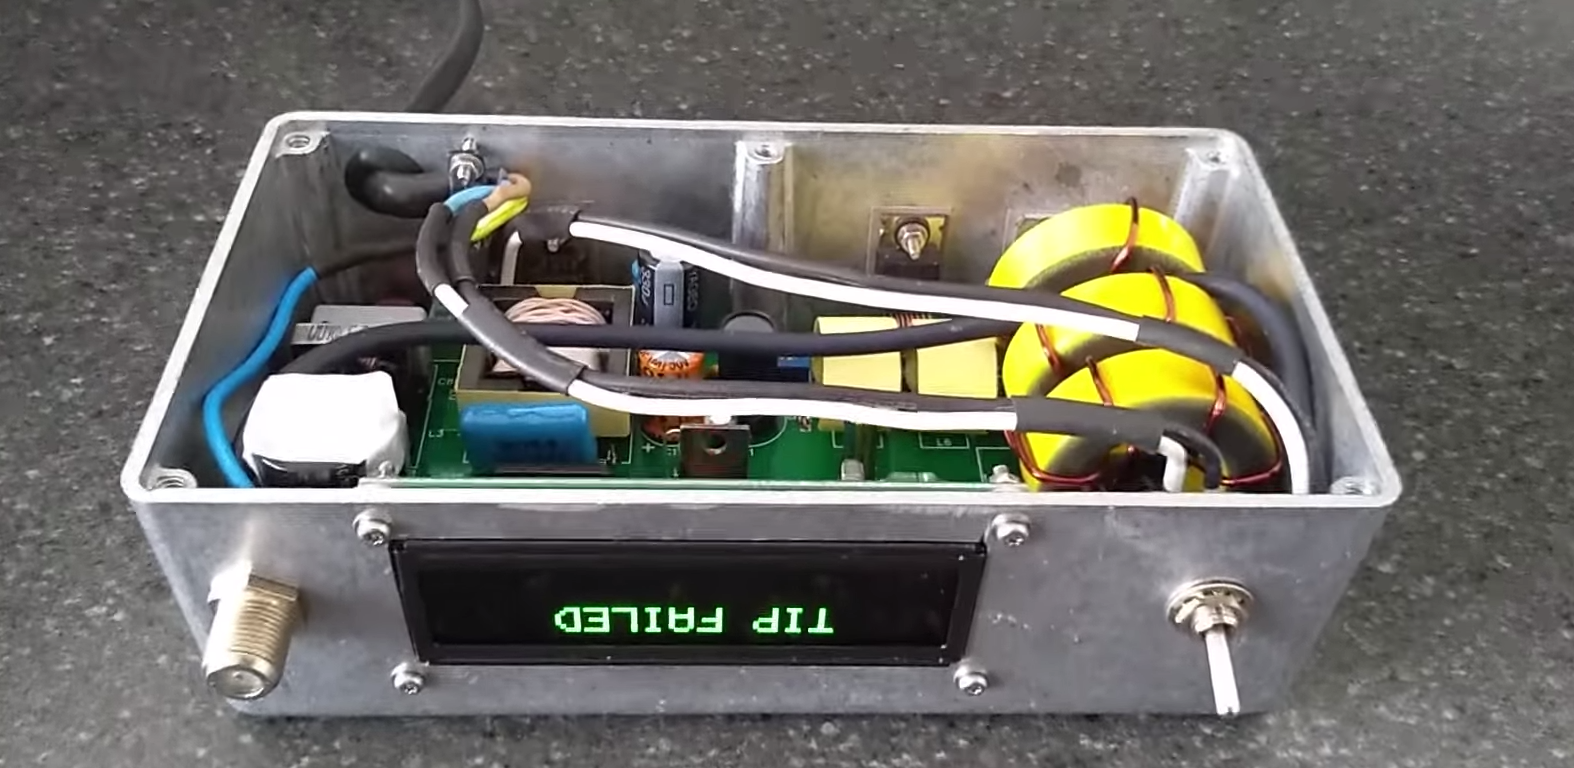
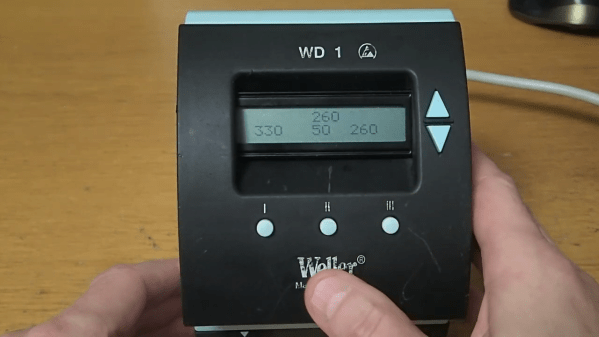
Luckily, some pieces of equipment have a relatively short list of well-known failure modes, a fact that [Lauri Pirttiaho] relied on for this fix of an old Weller WD1 soldering station. The unit, sporting the familiar light blue Weller livery and more than a few scratches and dings, had an LCD that was DOA. Typically it’s the driver that’s the problem here, but [Lauri]’s diagnosis revealed it was the LCD module itself that was bad.

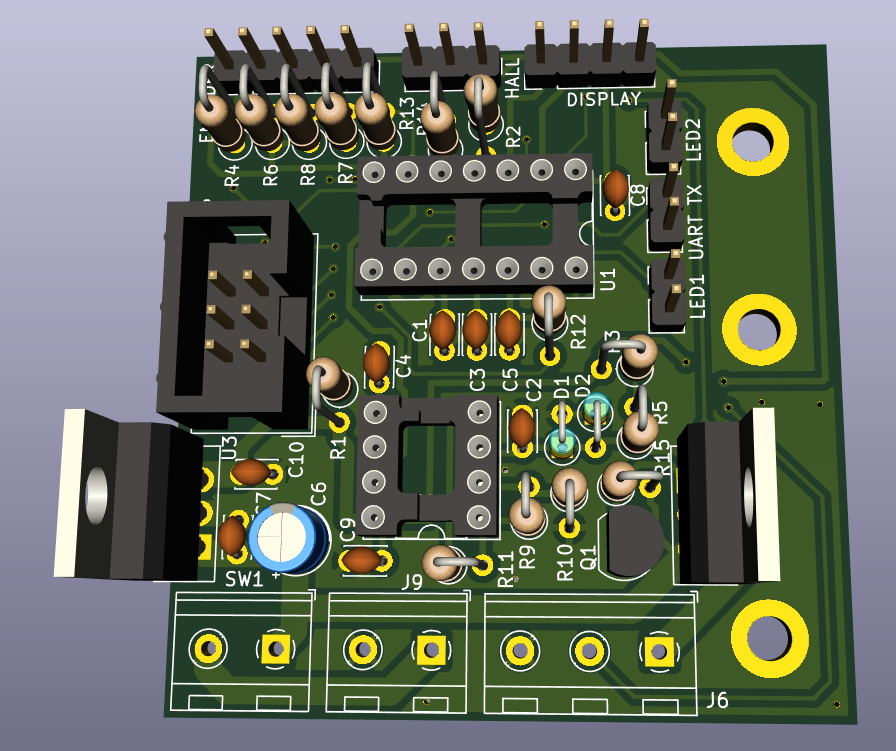
With OEM replacements being basically unobtainium at this point, the fix was to intercept the data heading from the driver to the old LCD and send it to a new, easily sourced 16×2 character LCD display. This began with an inspection of the display controller’s datasheet, and a bit of probing of the old display to find out which segments and backplanes map to which pins. A little bit of case modding allowed the new display to fit, the old controller chip was removed, and a PIC16 went into its place, in a tidy nest of Kapton tape and bodge wires. The PIC does the job of translating the original display, which had a fair number of custom icons and symbols, into sensible text-based equivalents and sending them to the 16×2 via I2C. The video below shows the hack in action; it honestly looks like it could have come from the factory like that.

The nice thing here is that [Lauri]’s fix applies to a whole range of Weller stations, so if you find one in the trash, you might be able to resuscitate it. Failing that, you could always roll your own Weller from (more-or-less) scratch.

Continue reading “Reverse Engineering Saves Weller With A Wonky LCD From The Trash Pile”

Have JBC Soldering Handle, Will USB-C Power Deliver

Frequent converter-of-tools-to-USB-C [Jana Marie Hemsing] is at it again, this time with a board to facilitate using USB Power Delivery to fuel JBC soldering iron handles. Last time we saw [Jana] work her USB-C magic was with the Otter-Iron, which brought Power Delivery to the trusty TS100 with a purpose built replacement PCBA. This time he’s taking a different approach by replacing the “station” of a conventional soldering station completely with one tiny board and one giant capacitor.

If you’ve been exposed to the “AC fire starter” grade of soldering iron the name JBC might be unfamiliar. They make tools most commonly found with Metcal’s and high end HAKKOs and Wellers on the benches of rework technicians and factory floors. Like any tool in this class each soldering station comes apart and each constituent piece (tips, handles, base stations, stands, etc) are available separately from the manufacturer and on the used market at often reasonable prices, which is where [Jana] comes in.

The Otter-Iron PRO is a diminutive PCBA which accepts a USB-C cable on one side and the connector from a standard JBC T245-A handle on the other. JBC uses a fairly typical thermistor embedded in the very end of the iron tip, which the Otter-Iron PRO senses to provide closed loop temperature control. [Jana] says it can reach its temperature setpoint from a cold start in 5 seconds, which roughly matches the performance of an original JBC base station! We’re especially excited because this doesn’t require any modification to the handle or station itself, making it a great option for JBC users with a need for mobility.

Want to make an Otter-Iron PRO of your own? Sources are at the link at the top. It sounds like v3 of the design is coming soon, which will include its own elegant PCB case. Check out the CAD render after the break. Still wondering how all this USB-PD stuff works? Check out [Jason Cerudolo’s] excellent walkthrough we wrote up last year.

Continue reading “Have JBC Soldering Handle, Will USB-C Power Deliver”

A Homebrew Weller RT Soldering Station

Like a number of hackers before him, [MarcelMG] was impressed with Weller’s RT soldering iron tips, but considerably less enthused about the high purchase price on the station they’re designed to go into. Inspired by similar projects, he decided to try his hand at building his own soldering station which reaps the benefits of these active tips without the sticker shock.

The station’s user interface was kept intentionally simple, with little more than a four digit LED display to show the temperature and a rotary encoder to set it. The display alternates between the current temperature and the set temperature every few seconds while the knob is being turned, and if you push it in, the set temperature will be saved as the default for next time.

[MarcelMG] also included a feature that drops the iron’s temperature when it’s sitting in the holder, reducing tip wear and energy consumption. He originally planned on using a Hall effect sensor to detect when the iron was holstered without needing to physically interface with it, but in the end he realized the easiest approach was to simply connect one of the input pins on the microcontroller to the metal holder. Since the tip is grounded, he could easily detect if it was in place with a couple lines of code.

Speaking of which, the station is powered by an ATtiny24A with firmware written in C using the Atmel Studio IDE. [MarcelMG] mentions that the limited storage on the 24A was a bit of a challenge to work around, and suggests that anyone looking to follow in his footsteps uses something with a bit more flash under the hood. The LED display is a very common TM1637 type, the rotary encoder was salvaged from a radio, and the power supply was from an old laptop. All told, this looks like a very economical build.

Depending on your needs, a DIY soldering station can either have features to rival the commercial models or be exceedingly simplistic. In either case, the advent of low-voltage irons and active tips have made self-built soldering stations much more approachable. Attempts without the use of these modern niceties tended to be somewhat less glamorous.

Homemade Magic Makes The Metcal Go

First soldering irons are often of the Radioshack or Maplin firestarter variety. They’re basically wall power shorted across a nichrome heater or similar with some inline resistance to make it harder to burn down the house. You plug them in, the current flows, and they get hot. Done.

If you stick with the hobby for a while, these eventually get replaced with something like the venerable HAKKO FX-888D or that one Weller everyone likes with the analog knob. These are much improved; having temperature control leads to a more consistently heated tip and much improved soldering experience.

Entering the electronics workplace one comes across the next level of quality soldering iron: high end HAKKOs, Metcals, JBCs, and the like. Using one of these irons is practically a religious experience; they heat in a flash and solder melts while you blink. They even turn off when you put the handpiece down! But they’re expensive to buy (hint: think used). What’s a hobbyist to do?

[SergeyMax] seems to have had this problem. He bit the bullet, figured out how the Metcal works, and made his own base. This is no mean feat as a Metcal might look like a regular iron but it’s significantly more complex than ye olde firestarter. The Metcal magic is based on a oscillating magnetic fields (notice the handpiece is connected via BNC?) interacting with a tip bearing a special coating. In the presence of the changing field the tip heats up until it hits its Curie temperature, at which point it stops interacting with the magnetic field and thus stops heating.

When the user solders, the tip cools by sinking its heat into the part and drops below the Curie temperature again, which starts the heating again. It’s like temperature control with the sensor placed absolutely as close to the part as possible and a nearly instant response time, without even a control loop! [SergeyMax] has a much more thorough description of how these irons work, which we definitely recommend reading.

So what’s the hack? Based on old schematics and some clever reverse engineering from photos [SergeyMax] built a new base station! The published schematic is as rich with capacitors and inductors as one could hope. He didn’t post source or fab files but we suspect the schematic and photos of the bare board combined with some tinkering are enough for the enterprising hacker to replicate.

The post contains a very thorough description of the reverse engineering process and related concerns in designing a cost efficient version of the RF circuitry. Hopefully this isn’t the last Metcal replacement build we see! Video “walkthrough” after the break.

Edit: I may have missed it, but eagle eyed commentor [Florian Maunier] noticed that [SergeyMax] posted the sources to this hack on GitHub!

Continue reading “Homemade Magic Makes The Metcal Go”

A USB -C Soldering Iron For Weller Tips

There was a time when a decent temperature controlled soldering iron took the form of the iron itself and a box of electronics, but now it’s just as likely to be a miniaturised affair with the temperature controller built into a slim and lightweight handle. Irons such as the Miniware TS series have become firm favourites, displacing a traditional soldering station for many.

[Thomas.lepi] has combined the best of both worlds, with a TS-style microprocessor-driven handle driving the familiar Weller RT elements. Its interface is very simple, but through its USB power socket a serial port provides opportunities for adjustment. Providing control is an STM32F042G6U6 ARM Cortex M0 microcontroller, with USB power control coming from an STUSB4500QTR .

If you are used to irons such as the Miniware TS100 then this one with its smartly 3D-printed case will be very straightforward to use. Whether or not the ready availability of the TS100 or its USB-C sibling would remove the need to build this iron is up to you, but then again that’s hardly the point. The Weller tips are some of the better ones of their type, so perhaps that might make this project worth a second look.

Continue reading “A USB -C Soldering Iron For Weller Tips”

Auction Finds Combined For A Unique Desoldering Station

If you are in the market for a high-quality soldering iron, a rewarding pursuit can be attending dispersal auctions. It is not unusual to see boxes of irons, as anything remotely iron-like is bundled up together by the auctioneer into a lot with little consideration for what combination has been gathered. [Stynus] found himself in this position, the proud owner of a Weller DSX80 desoldering iron from an auction, but without its accompanying solder station required for it to work. Fortunately, he had another Weller solder station, not suitable for the DSX80 as it stood, but which provided a perfect platform for a home-made Weller DSX set-up.

The old station had a side-mounted valve and a 24V input, so he had to install a toroidal mains transformer and move the valve frontwards. Fortunately, this style of Weller station case was frequently available with just such a transformer installed, so there was plenty of space in the enclosure. A custom board was then created for a temperature controller centered upon a PIC microcontroller, and a new front panel was crafted to accommodate a Nokia 5110-style LCD display.

The resulting unit with its upper half repainted, is a pleasing and professional-looking project. Heated desoldering irons are an extremely useful tool that anyone should consider for their arsenal, but not all of them are as good as this Weller-based one. We recently reviewed a much cheaper example, with comedic results.

Is It A MagLite Or A MagnaStat?

[David Schneider]’s love affair with Weller temperature controlled soldering irons began many years ago, but when he came to the point of needing a cordless iron he had problems finding one that replicated his trusty mains-powered soldering station. His solution was simple, to build his own, and in a stroke of genius he did so with an odd combination of a Weller MagnaStat element and bit, and a repurposed MagLite flashlight.

The Weller parts are all available off-the-shelf as spares, and the MagLite was easy to source. But its D cells would never give the required 24 V for the iron, so he had to incorporate a set of 14500 Li-ion cells with built-in electronic protection. The element protrudes from the front of the flashlight, giving an iron that seems to do the business but to our eyes looks rather unwieldy. Still, it does the job, and provides a far more sturdy and reliable iron than any cordless one we’ve yet seen, so we think that’s a result.

We’ve reviewed a Weller MagnaStat in the past,with a special look at availability of bits for older models.