Easy GUI Front Ends For Arduino, Rasberry Pi, And More With MyOpenLab

If you want to integrate a nice graphical interface with a microcontroller or single-board computer for a useful piece of custom equipment, how will you go about it? MyOpenLab is a platform that makes it easy to design virtual interfaces your electronic builds. If you want controls and readouts for Arduino, Raspberry Pi, Android, or anything with a serial port, this is worth a try.

MyOpenLab reminds me of LabView. Not so much modern LabView with all of its add-ons and extras, but LabView back when it did just a few things but did them really well. The open source MyOpenLab project has been around for a while. The website and documentation are not in English, which may have kept some people from giving it a try, but the software itself is available in German, English, and Spanish. I took the plunge and found the language barrier didn’t cause me trouble.

As an example of what you can do, image you want to build a custom bench tool. You build virtual device (they call it a “VirtualMachine”) that uses your computer as the control panel and readout, and your electronic project as the physical interface. In myOpenLab your device will consist of two parts: a diagram and a front panel. Some things only live on the diagram, like a timer or a connection to an Arduino. But some things live on both like switches, LEDs, graphs, and so on. You can connect all the little boxes together to build up applications. They can stand alone, but the power comes in being able to connect to an Arduino or Raspberry Pi (or a few other options) for I/O.

Continue reading “Easy GUI Front Ends For Arduino, Rasberry Pi, And More With MyOpenLab”

Convince Your Boss To Send You To Supercon

The Hackaday Superconference is rapidly approaching and you need to be there. The good news is, if you play your cards right you can get your boss to sign off on sending you to Supercon as part of your professional development.

This is the Ultimate Hardware Conference. This is your chance to recharge your batteries and come back energized for an amazing year ahead. You’ll be among hundreds of people who love to push the boundaries of what is possible. Dozens of talks and workshops take place over the backdrop of three days worth of a Hacker Village atmosphere focusing on a badge hacking demoscene.

We’re here to help you get to yes with the powers that be in your company. If you have a tight set of requirements that dictate what counts as professional development, we have a template to use in formulating your ask. Fill in this letter with the details that work for you and head over to the corner office with this in hand.

If you already have a supervisor who understands the hacker lifestyle, the best route is to show off the best Supercon has to offer. Share the playlist of talks from 2017 with them and you’re a shoe-in for your company’s conference attendance budget. And while you’re at it, try to convince your boss to come along for the fun!

See you in November!

Continue reading “Convince Your Boss To Send You To Supercon”

Prusa Unveils Their Own Line Of PLA Filament

There’s little debate that the Original Prusa i3 MK3 by Prusa Research is just about the best desktop 3D printer you can buy, at least in its price bracket. It consistently rates among the highest machines in terms of print quality and consistency, and offers cutting edge features thanks to its open source iterative development. Unless you’re trying to come in under a specific budget, you really can’t go wrong with a Prusa machine.

But while the machine itself can be counted on to deliver consistent results, the same can’t always be said for the filament you feed into it. In a recent blog post, [Josef Prusa] explains that his team was surprised to see just how poor the physical consistency was on even premium brands of 3D printer filament. As a company that prides itself with keeping as much of the 3D printing experience under their control as possible, they felt they had an obligation to do better for their customers. That’s why they’ve started making their own filament which they can hold to the same standards as the rest of their printer.

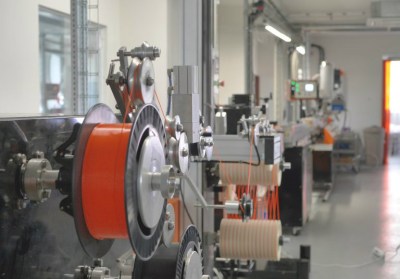
Their new filament, which is aptly called “Prusament”, is held to higher physical standards of not only diameter but ovality. Many manufacturers simply perform spot checks on the filament’s diameter, but this can miss bulges or changes in its cross-sectional shape. On your average 3D printer this might cause some slightly uneven extrusion and a dip in print quality, but likely not a failure. But the Prusa i3 MK3, specifically with the Multi Material upgrade installed, isn’t most printers. During testing even these slight variations were enough to cause jams.

But you won’t have to take their word for it. Every spool of Prusament will have a QR code that points to a page which tells you the exact production date, length, percent ovality, and standard diameter deviation of that particular roll. An interactive graph will even allow you to find the filament’s diameter for a specific position in the spool, as well as determine how much filament is remaining for a given spool weight. It should be very interesting to see what the community will do with this information, and we predict some very interesting OctoPrint plugins coming down the line.

Prusament is currently only available in PLA, but PETG and ASA variants are coming soon. You can order it now directly from Prusa Research in Prague for $24.99 per kilogram, but it will also be available on Amazon within the month for help keep the shipping costs down.

Continue reading “Prusa Unveils Their Own Line Of PLA Filament”

The N64 Controller Gets Brass Gears Through 3D Printing

The controller for the Nintendo 64 is a masterpiece of design, and despite being more than two decades old, people are still using this controller competitively. Smash Bros, you know. Those competitive gaming enthusiasts are hard on their controllers, and after decades and tournaments, the analog stick will wear out. Previously, this required a rebuild or simply replacing the entire controller. Now there’s another option: a completely re-engineered analog stick, all made possible thanks to 3D printing.

[Nam Le] is a student at Cal Poly, and as would be expected for a very specific subset engineering students, had to track down new N64 controller every few months. The stick on these controllers wear out, so [Nam] decided to make the most durable joystick that has ever fit inside an N64 controller.

The design of the N64 stick is pretty simple, and exactly what you would expect if you’ve ever opened up an analog joystick. There’s the stick itself, which is connected to gears on the X and Y axes, which are in turn connected to encoders. This entire assembly sits in a bowl. After twenty years, the mating surface between the stick and the gears wear down, and the bowl becomes deformed. The solution here is obviously to engineer something sturdier, and despite what most of the 3D printing community will tell you, ABS and PLA just won’t cut it.

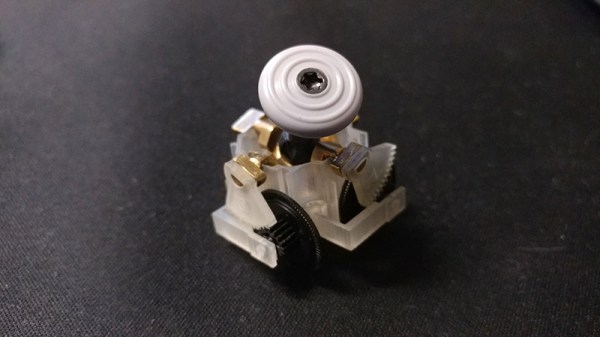
[Nam] re-designed the gears and bowl out of brass using lost-wax casting using 3D printed parts. These brass parts were mated with 3D printed gears and an enclosure for the bowl. The stick is nylon, an important design choice because this is the first part to wear down anyway, and it’s also the easiest part to replicate. Yes, this is designing an analog stick for the strength of materials and Real Engineering™ for those of you keeping track at home.

Right now, the joystick works as intended, and lasts much longer than the stock version. The goal now is to get this stick tournament-legal for some serious Smash time, in the hopes of not replacing controllers every few months.

555 timer circuit robot

555 Timer Robots Will Rule The World

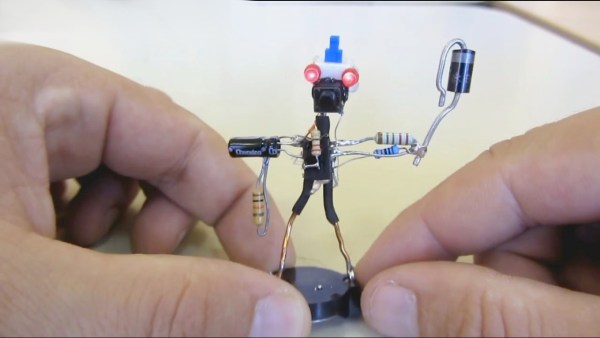
A running joke we see in the comments by Hackaday readers whenever a project includes an Arduino or Raspberry Pi that seems like overkill is to proclaim that “I could have done it with a 555 timer!” That’s especially the case if the project amounts to a blinking light or anything which oscillates. Well [Danko Bertović] has made a whole robot out of a 555 timer circuit in his latest Volos Projects video.

Okay, it’s really a dead bug circuit in the shape of a robot but it does have blinking lights. We also like how the base is the battery, though some unevenness under it seems to make the whole thing a bit unstable as you can see in the video below. There are also a few parts which are cosmetic only. But it’s cute, it’s a 555 timer circuit, and it’s shaped like a robot. That all makes it a win.

We do wonder how it can be taken further. After all, a walk cycle is a sort of oscillation so the 555 timer circuit could run some servo motors or at least some piezoelectric feet. Ideas anyone?

On the other hand, if you’re looking for a dead bug circuit which belongs in a fine arts museum then you need look no further than The Clock.

Continue reading “555 Timer Robots Will Rule The World”

New Part Day: Put An Alexa In Everything

The last great hope for electronics manufactures is smart home assistants. The Alexas and Siris and OK Googles are taking over homes across the country. At its best, it’s HAL 9000, only slightly less homicidal. It will entertain your children, and you can order cat litter just by saying you want cat litter. This is the future, whether we like it or not.

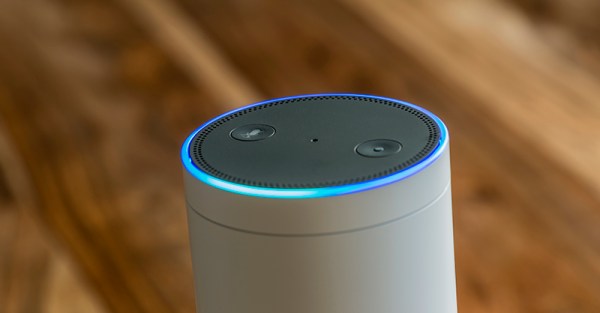
In an attempt to capture the market, Amazon has released the Alexa Connect Kit. This is an Amazon-Echo-On-a-Chip — a piece of hardware that adds Alexa to microwaves, blenders, and whatever other bit of home electronics you can imagine.

The Alexa Connect Kit is the hardware behind Amazon’s efforts to allow developers easy integration with Alexa. The options for adding Alexa to a product up until now have been using Zigbee to connect an Echo Show or Echo Plus, or simply giving a device the ability to connect to an Echo through Bluetooth. The Alexa Connect Kit, however, is a pure hardware solution that puts Alexa in anything.

Unfortunately you can’t get one yet. Right now, the Alexa Connect Kit is just a preview, and if you want to get your hands on one — or get any specs on this bit of hardware — you’ll need to apply to the developer program. We’ve signed up and will share and juicy details that come our way as part of the program.

According to the Wall Street Journal (try Google referral link if you hit the pay wall), several companies are already working on integrating the Alexa Connect Kit into their existing product lines. Hamilton Beach and Procter & Gamble are both working on something, although the press doesn’t say what kind of device will now be loaded up with a voice assistant. Amazon, however, has a microwave using the technology that the owner can, “command the microwave to do things like defrost a half-pound of chicken, or set it up to automatically reorder a favorite type of popcorn on Amazon”.

Despite the sparse details, this is relatively game-changing when it comes to the world of homebrew electronics. We’ve seen dozens of projects using hacked Raspberry Pis and other microcontrollers to at Alexa to hacked coffee machines, to shoot Nerf darts, and to control a projector. If you can actually get one of these Alexas-on-a-chip, all those projects could be done with one simple piece of hardware.

Brandt Kuykendall ISP

One Man’s Journey To Becoming His Own ISP

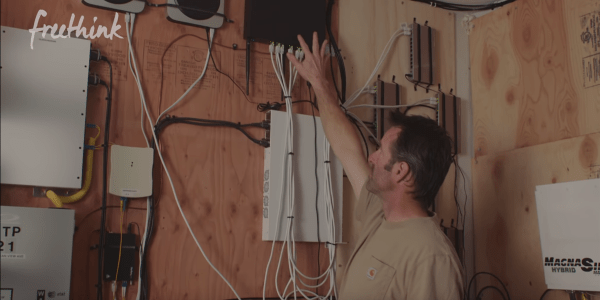
America is a BIG country. There are pockets all across the land where broadband Internet is slow-to-nonexistent, and many individuals are left with wireless cell service as their only means of internet connection. This is the situation [Brandt Kuykendall] found himself in upon moving his family to Dillon Beach, CA. So he started up his own fiber ISP. (YouTube, embedded below.)

“Cell phone service was really our only option, but that proved to be extremely expensive. My wife came home with the bill (of) $707, and that was the last straw.”

Despite being a mere two hours from the technological hub of San Francisco [Brandt] found himself dissatisfied with the level of service he was receiving from his provider. However, instead of shredding his current contract altogether he decided to go directly to the source. He tracked down the location of the AT&T cell tower in his area and made every call he could in order to find out who was in charge of “opening up the taps”. Months of negotiation between AT&T and [Brandt] ensued and eventually resulted in a fiber line being installed directly into his garage.

The story didn’t stop there, because [Brandt] took it upon himself to spread the wealth by providing his neighbors with Wi-Fi access to the fiber optic line in exchange for a small monthly fee. Employing the use of industrial-grade small cell transmitters he essentially created a point-to-point network along his neighbors’ roofs. [Brandt’s] garage serves as the network monitoring hub enabling him to diagnose any traffic issues. What began as one man seeking decent internet speeds burgeoned into a journey to becoming his own ISP which now serves over 100 other residents of the Dillon Beach area.

Continue reading “One Man’s Journey To Becoming His Own ISP”