Maritime shipping is big business, with gigantic container ships responsible for moving the vast majority of the world’s goods from point A to points B, C and D. Of course, there’s a significant environmental impact from all this activity, something ill befitting the cleaner, cooler world we hope the future will be. Thus, alternatives to the fossil fuel burning ships of old must be found. To that end, Norwegian company Yara International has developed a zero-emission ship by the name of Yara Birkeland, which aims to show the way forward into a world of electric, autonomous sea transport.
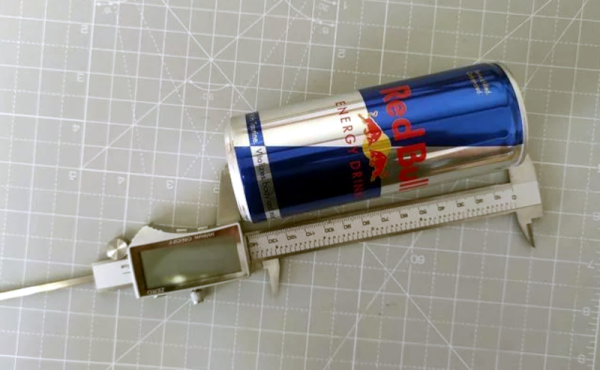
There are many scanners — both commercial and homemade — that can take a variety of scans or images of a 3D object and convert it into something like a 3D printable file. When the process works, it works well, but the results can be finicky at best and will require a lot of manual tuning. According to [Samuel Garbett], you might as well just draw your own model using Blender. He shows you how using a Red Bull can which, granted, isn’t exactly the most complicated thing ever, but it isn’t the simplest either.
He does take one photo of the can, so there is a camera involved at some point. He also takes measurements using calipers, something you probably already have laying around.
Since it is just a can, there aren’t many required pictures or measurements as, say, a starship model. Once you have the measurements, of course, you could use the tool of your choice and since we aren’t very adept with Blender, we might have used something we think is easier like FreeCAD or OpenSCAD. However, Blender has a lot of power, so we suspect making the jump from can to the USS Enterprise might be more realistic for a Blender user.
Looking across your hard drive and GitHub, you might find hundreds of notes and skeletons of Git repositories. A veritable graveyard of software side projects. The typical flow for many of these projects is: get an idea, ruminate on the idea until it becomes exciting, eventually becoming more exciting than the current side project, notes are captured, a repository is created, and work begins at a blistering pace as the focus and excitement are there. There might be some rewrites or some changes in direction. Questions of whether the project is worthwhile or “what even should this project actually be” start to arise. Eventually, enthusiasm wanes as these questions continue to multiply. Progress slows as the path forward seems less clear-cut as it once did. The project is either sunset with a mournful promise to someday return or quietly put aside as something new and exciting comes to take its place. Sound familiar? Perhaps not, but the principles here could be helpful.
This particular article is largely a piece of opinion from one engineer to another. It’s about engineering the process by which you design a project to have better outcomes. There are many reasons why a project could be shelved or scrapped and not all of them are from a lack of clear project definition. In the case where it isn’t clear what the project is, it can be helpful to think about it in a more holistic/meta sense. There are two types of personal projects in broad strokes: technology demos and products.
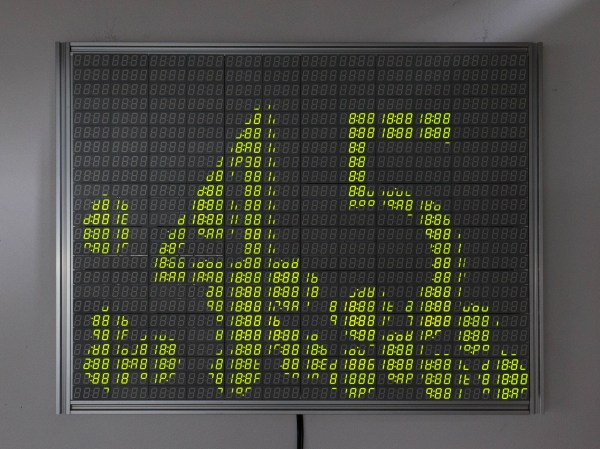
If you look around your desk right now, odds are you’ll see a 7-segment display or two showing you some vital information like the time or today’s weather. But think of how much information you could see with over 1,100 digits, like with [Chris Combs’] 7200-segment display.
For [Chris], this project started the same way that many of our projects start; finding components that were too good of a deal to pass up on. For just “a song or two plus shipping”, he was the proud owner of two boxes of 18:88 7-segment displays, 500 modules in total. Rather than sitting and using up precious shelf space, [Chris] decided to turn them into something fancy he could hang on the wall.
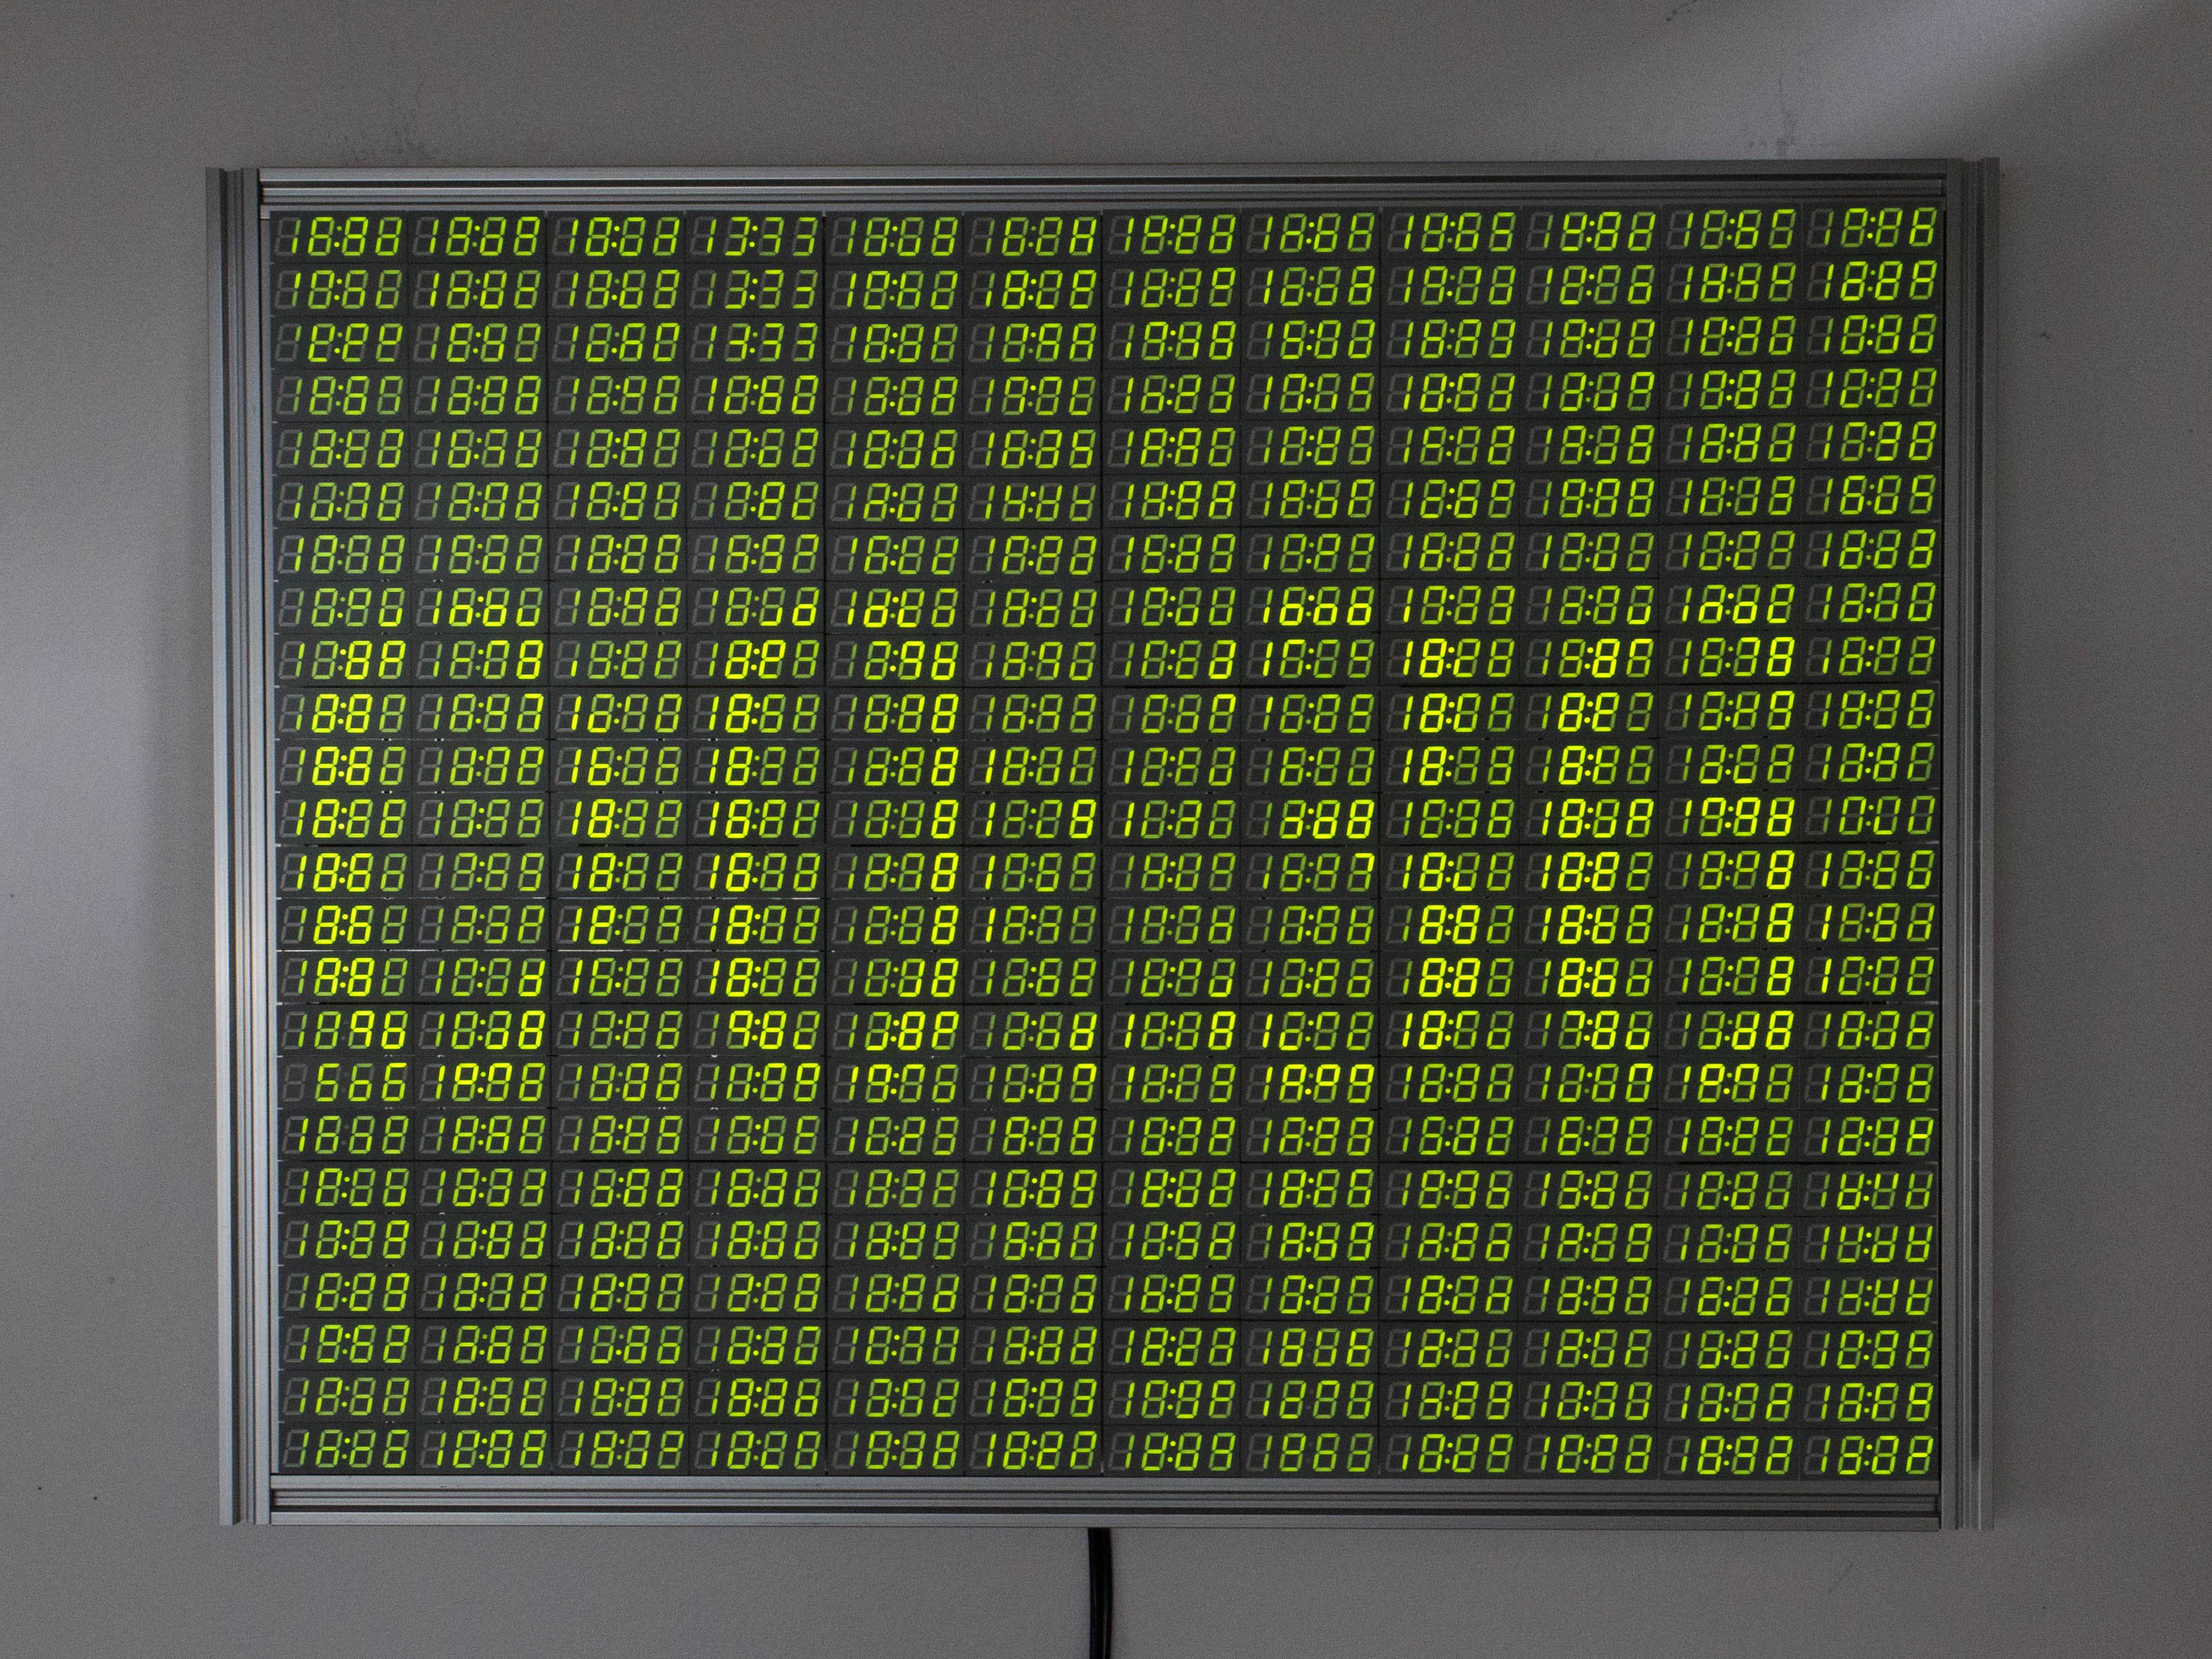
The IS31FL3733 can produce 8 levels of dimming 8-bit PWM, allowing [Chris] to display in grayscaleThe first challenge was trying to somehow get a signal to all of the individual segments. Solutions exist for running a handful of displays in one device, but there are certainly no off-the-shelf solutions for this many. Even the possible 16 addresses of the IS31FL3733 driver IC [Chris] chose for this project were not enough, so he had to get creative. Fearing potential capacitance issues with simply using an i2C multiplexer, he instead opted to run 3 different i2C busses off of a Raspberry Pi 4, to interface with all 48 controllers.
The second challenge was how to actually wire everything up. The finished display comes out to 26 inches across by 20.5 inches tall, much too large for a single PCB. Instead, [Chris] opted to design a series of self-contained panels, each with 6 of the display modules and an IS31FL3733 to drive them. While the multiplexing arrangement did leave space for more segments on each panel, he opted to go for this arrangement as it resulted in a nice, clean, 4:3 aspect ratio for the final display.
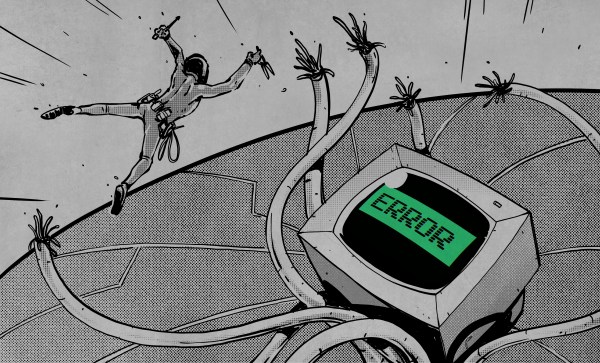
The end result was a unique and beautiful piece, which Chris titled “One-to-Many”. He uses it to display imagery and art related to the inevitability of automation, machines replacing humans, and other “nice heartwarming stuff like that”, as he puts it. There’a video after the break, but if you are interested in seeing the display for yourself, it will be on display at the VisArt’s Concourse Gallery in Rockville, MD from September 3 to October 17, 2021. More info on [Chris’s] website.
Sure the box said they would last for years or even decades, but anyone who’s picked up some bargain LED bulbs knows the reality is a bit more complicated. Sometimes a few LEDs in the array pop, reducing the overall light output. More commonly, the power supply starts to fail and the bulb begins to flicker or hum. In either event, you end up pulling the bulb and replacing it.
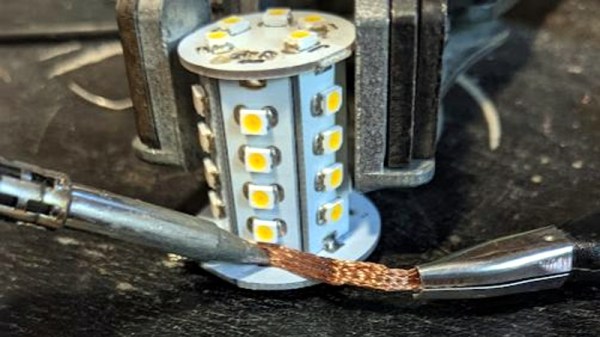
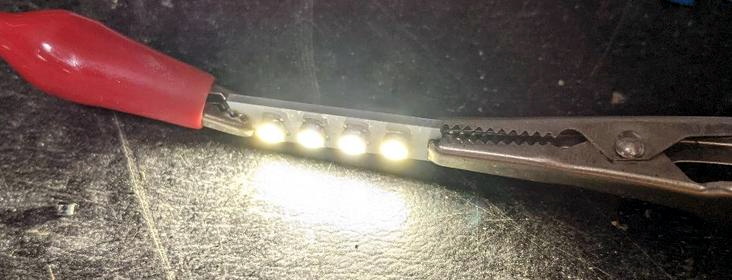
But [Bifferos] thinks we can do a bit better than that. Rather than just chalking it up to poor QA and tossing the bulb, why not do a little exploratory surgery to identify salvageable LEDs in an otherwise “dead” bulb? After pulling apart a couple of burned out bulbs (name brand and otherwise), he was able to pull out an impressive number of handy LED panels that could be easily repurposed. Naturally, with a little more coaxing, the individual SMD LEDs could be liberated and pushed into service as well.
Separate PCBs with banks of LEDs are ideal for reuse.
As you might expect, there are far too many different LED bulbs out there to create a comprehensive teardown guide, but [Bifferos] does provide some tricks to help get the bulb open without hurting yourself or destroying the thing in the process. Once inside, the design of the bulb will dictate what happens next. Bulbs with multiple arrays of LEDs on their own PCBs can be easily broken down, but if there’s just the single board, you may want to pull the LEDs off individually. To that end, the write-up demonstrates efficient methods of stripping the LEDs using either hot air or a pair of soldering irons.
We’ve talked previously about the rather underwhelming performance of modern LED bulbs compared to the manufacturer’s lofty claims. We’d rather see these bulbs designed well enough that they actually live up to their full potential, but the ability to salvage useful components from the failed luminaries at least softens the blow of having to toss them early. Though that’s not the only reason you should disassemble your LED bulbs before you put them in the trash.
At the beginning of the home computer revolution, the humble compact cassette was far and away the most popular choice for microcomputer data storage, especially on the European continent. As a volunteer at the Museum of Computing, [Keith] was instrumental in recovering and archiving the early works of Roger Dymond, a pioneering developer of early computer software in the United Kingdom.
In his video, [Keith] goes to great lengths detailing the impact that Roger Dymond had on the early home computing scene. After being let go from his council apprenticeship, Roger turned his attention to developing games for the ZX81, and later the ZX Spectrum. With the help of his family, he went on to run a moderately successful mail-order games publishing venture for several years. Increasing advertising costs and a crowded development scene saw Roger’s business become nonviable by 1983, but not before developing several gambling-style games and a standout Space Invaders clone.
Fast forward to 2021, and while some of Roger’s Spectrum software had been archived, much had been marked as ‘missing’ by online archivists. After further research, [Keith] realized that another potentially important tape had been forgotten about. ‘Games Compendium’ for the ZX81 had been completely lost to time, with the only evidence that it had ever existed coming from a 1983 advert in ‘Sinclair User’ magazine. Being written for the earlier model ZX81, the compendium would undoubtedly be of interest to software archivists and game historians.
[SSZCZEP] had a tough time understanding ray tracing to create 3D-like objects on a 2D map. So once he figured it out, he wrote a tutorial he hopes will be more accessible for those who may be struggling themselves.
If you’ve ever played Wolfenstein 3D you’ll have seen the technique, although it crops up all over the place. The tutorial borrows an animated graphic from [Lucas Vieira] that really shows off how it works in a simplified way. The explanation is pretty simple. From a point of view — that is a camera or the eyeball of a player — you draw rays out until they strike something. The distance and angle tell you how to render the scene. Instead of a camera, you can also figure out how a ray of light will fall from a light source.
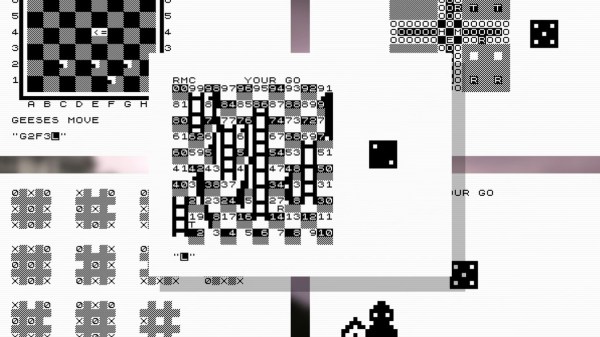
There is a bit of math, but also some cool interactive demos to drive home the points. We wondered if Demos 3 and 4 reminded anyone else of an obscure vector graphics video game from the 1970s? Most of the tutorial is pretty brute force, calculating points that you can know ahead of time won’t be useful. But if you stick with it, there are some concessions to optimization and pointers to more information.
Overall, a lot of good info and cool demos if this is your sort of thing. While it might not be the speediest, you can do ray tracing on our old friend the Arduino. Or, if you prefer, Excel.