
If you’re designing a robot for a specific purpose, you’re probably ordering fresh parts and going with a clean sheet design. If you’re just building for fun though, you can just go with whatever parts you have on hand. That’s how [Sorush Moradisani] approached building Esghati—a “robot made from garbage.”
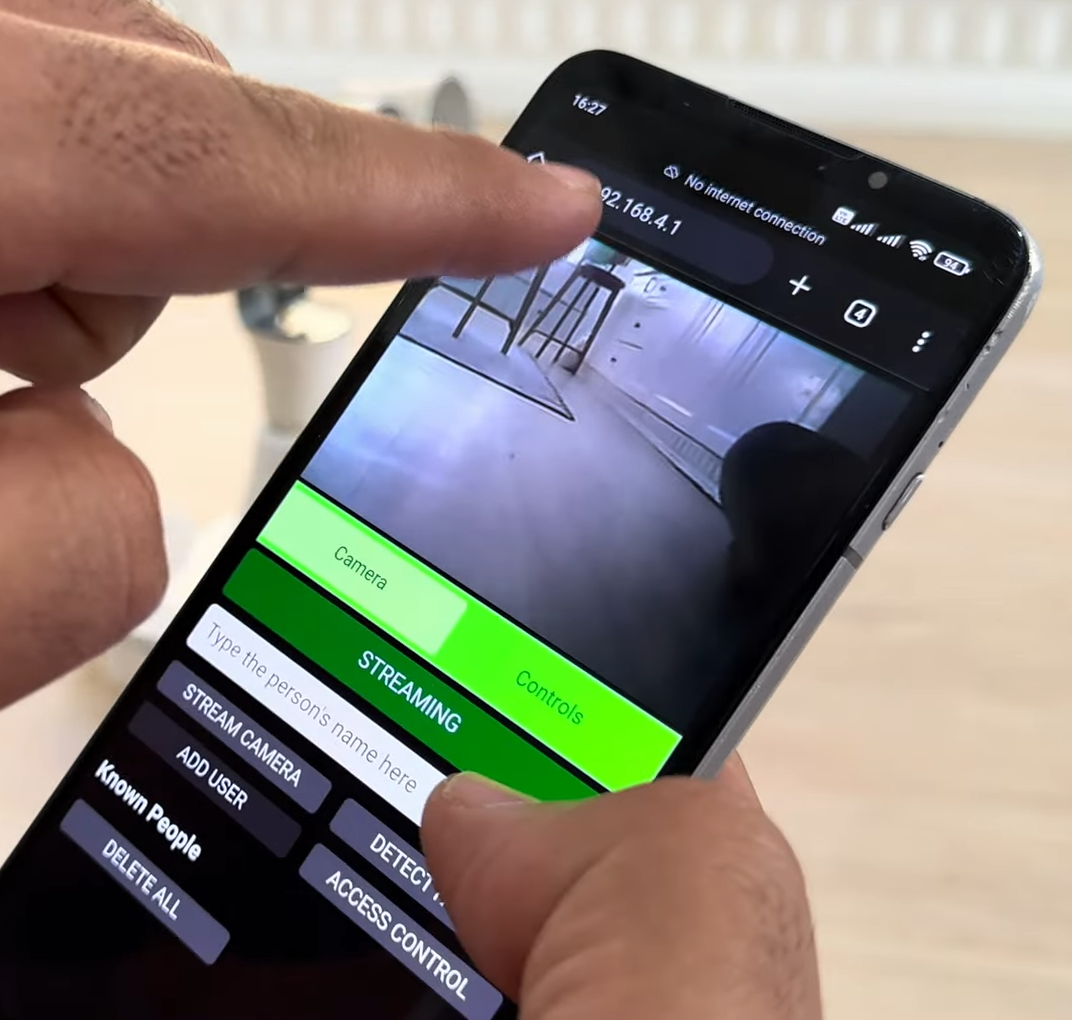
The body of the robot is an old Wi-Fi router that was stripped clean, with the antenna left on for a classic “robot” look. The wheels are made out of old diffusers cut off of LED lamps. Two servos are used to drive the wheels independently, allowing the robot to be steered in a rudimentary tank-style fashion. Power is courtesy of a pair of 18650 lithium-ion cells. The brains of the robot is an ESP32-CAM—a microcontroller board which includes a built-in camera. Thanks to its onboard Wi-Fi, it’s able to host its own website that allows control of the robot and transmits back pictures from the camera. The ESP32 cam itself is mounted on the “head” on the robot for a good field of view. Meanwhile, it communicates with a separate Arduino Nano which is charged with generating pulses to run the drive servos. Code is on Github for the curious.
It’s not a complicated robot by any means—it’s pretty much just something you can drive around and look through the camera, at this stage. Still, it’s got plenty of onboard processing power and you could do a lot more with it. Plus, the wireless control opens up a lot of options. With that said, you’d probably get sick of the LED bulb wheels in short order—they offer precious little grip on just about any surface. Really, though, it just goes to show you how a bit of junk e-waste can make a cute robot—it almost has Wall-E vibes. Video after the break.
Continue reading “Simple Robot Assembled From E-Waste Actually Looks Pretty Cool”


