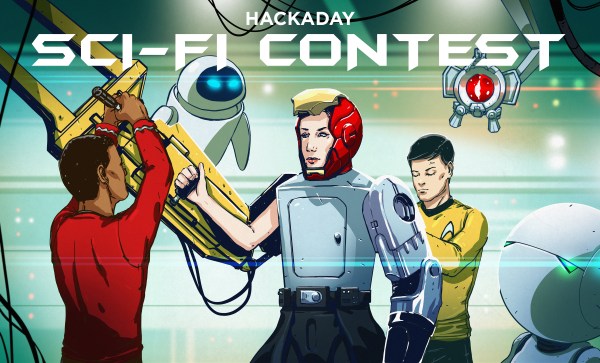
Hackaday’s Sci-Fi Contest is in its third week. We’ve passed warp speed and were heading toward ludicrous speed. There is still almost a month to enter before March 6, when the deadline hits and everything goes to plaid. With 22 submissions all vying for 4 great prizes, there is still plenty of room for new challengers!
This contest is all about projects inspired by science fiction. There is a great mix of projects so far.
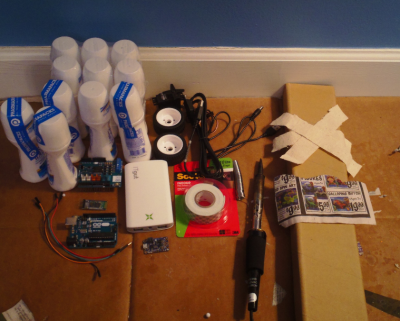
BB-8 Using Roll-On Deoderant
 Star Wars is well represented with [Tech Flare’s] DIY Phone Controlled BB-8 Droid. [Tech Flare] is improving upon an existing BB-8 build. This is a low-cost build, so many of the parts are sourced from everyday items.
A new one for us is the 11 roll-on deodorant balls that are used as internal bearings. We’re not sure how well this robot will work, but it sure will be the best smelling BB-8 out there and you have to admit that is a creative use of easily source materials!
An Arduino is the brains of this Robot. As the title suggests, control comes from a smartphone. There is some creative work happening to fabricate the ball that makes up the body of the bot so be sure to jump in and check out that writeup.
LCARS In Real Life? Yes, Please!
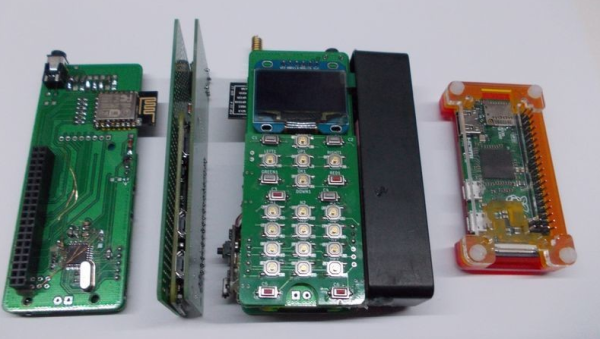
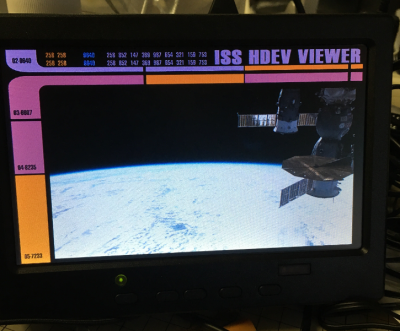 Any Star Trek fan knows what the LCARS interface is [Elkentaro] is bringing LCARS life with LCARS NASA ISS Live Stream Viewer. [Elkentaro] is using a Raspberry Pi to display the International Space Station High Definition Eart-Viewing System (ISS HDEV) experiment.
The ISS is constantly streaming live views of the earth from one of 4 cameras. The Pi takes the stream and adds an LCARS image overlay. Everything is displayed on a 7″ TFT LCD. The same view Wesley Crusher would have seen at the helm of the NCC-1701D.
The overlay really brings the content to life and it has us thinking. If you have a refrigerator with one of those questionably-useful built-in montiors, it needs LCARS. Show us what you got!
Use the Schwartz
So what is missing from this contest? You of course! There is plenty of time left to create a great Sci-Fi inspired project. The deadline is Monday, March 6, 2017, 09:00 pm PST (+8 UTC). We dropped some Spaceballs references at the top of this article but haven’t actually seen an entry for that theme. Who’s going to build a voice-changing Dark Helmet?
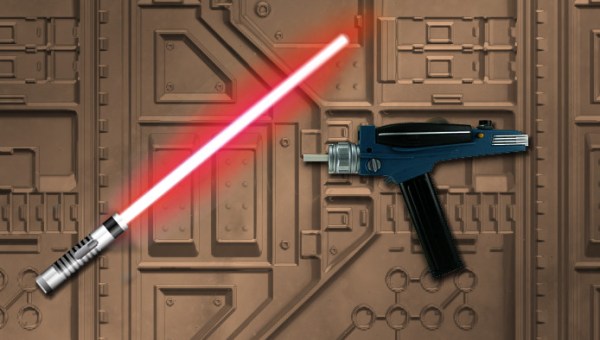
[Phaser shown in the main image is the Original Series Phaser which Think Geek used to carry]