Some of the best hacks are the tools people make to help them complete a project. I last looked at quick tool hacks back in Hacklet 53. Hackers have been busy since then, and new projects have inspired new tools. This week on the Hacklet, I’m taking a look at some of the best new quick tool hacks on Hackaday.io.
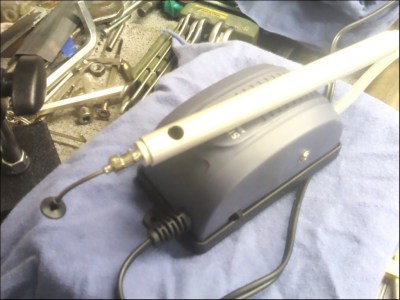 We start with [rawe] and aquarium pump vacuum pickup tool. Tweezers work great for resistors and caps, but once you start trying to place chips and other large parts, things quickly become frustrating. Commercial machines use high dollar vacuum pickup devices to hold parts. [rawe] built his own version using a cheap Chinese hand pickup tool and an aquarium pump. With some pumps, switching from air to vacuum is easy. Not with [rawe’s] pump. He had to break out the rotary tool and epoxy to make things work. The end result was worth it, a vacuum pickup tool for less than 10 Euro.
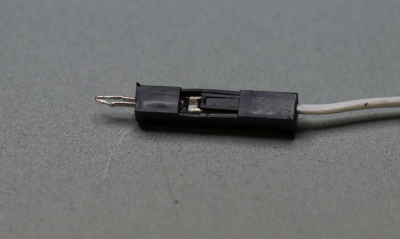
Next we have [David Spinden] with ViaConnect Circuit Board Test Tool, his entry in the 2016 Hackaday Prize. [David] wanted a spring loaded pin which could be used in .100 holes in printed circuit boards. He ended up using pins from one connector, shell from another, and packaging the whole thing up into a new tool. ViaConnect essentially makes any PCB as easy to use as a solderless breadboard. No headers required. This is great both for testing new designs and for the education sector.
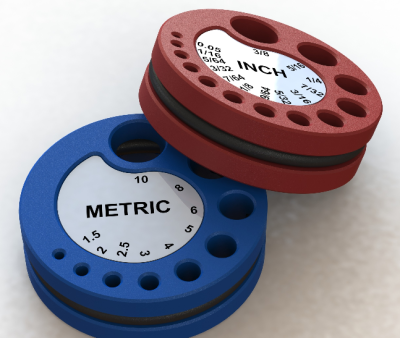 Next up is our favorite quick tool hacker, [Alex Rich] with Improved Allen Wrench / Hex Key Holder. If [Alex] looks familiar, that’s because he’s the creator of the Stickvise. This time he’s come up with a new way to store and organize your Allen wrenches. Inspired by a similar device seen on a YouTube video from [Tom Lipton], [Alex] opened up his CAD software and started designing. The original used a steel spring to keep the wrenches in place. [Alex] switched the spring to a rubber o-ring. The o-ring securely holds the wrenches, but allows them to be easily pulled out for use. Of course the design is open source, so building your own is only a couple of hours of printing away!
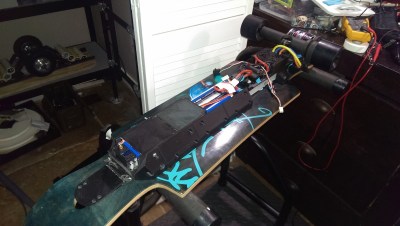
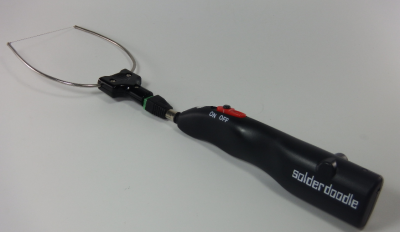 Finally we have [Solarcycle] with Cordless Foam Cutting Tool – USB Rechargeable. Soldering irons make a lot of heat in a small area to melt metal. Foam cutters make heat in a larger area to cut Styrofoam. [Solarcycle] saw the relation and converted a Solderdoodle Pro cordless soldering iron into a banjo style hot wire foam cutter. A barrel connector converts the soldering iron tip output to two stiff wires. The stiff wires carry current to a 3 cm length of Kanthal iron-chromium-aluminium (FeCrAl) heating element wire. If you don’t have any Kanthal around, ask your local vape enthusiast – they have tons of it. The result is the perfect hand-held tool for carving and sculpting in foam. Just make sure to have lots of ventilation.
If you want to see more of these hacks, check out our newly updated quick tool hacks list! See a project I might have missed? Don’t be shy, just drop me a message on Hackaday.io. That’s it for this week’s Hacklet, As always, see you next week. Same hack time, same hack channel, bringing you the best of Hackaday.io!