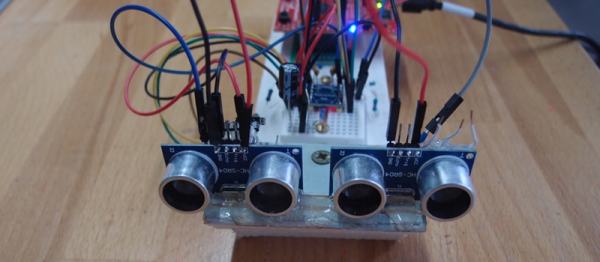
Sonar is a great sensor to add to any small-scale robot project. And for a couple bucks, the ubiquitous HC-SR04 modules make it easy to do. If you’ve ever used these simple sonar units, though, you’ve doubtless noticed that you get back one piece of information only — the range to the closest object that the speaker is pointing at. It doesn’t have to be that way. [Graham Chow] built a simple phased-array using two SR04 modules, and it looks like he’s getting decent results.
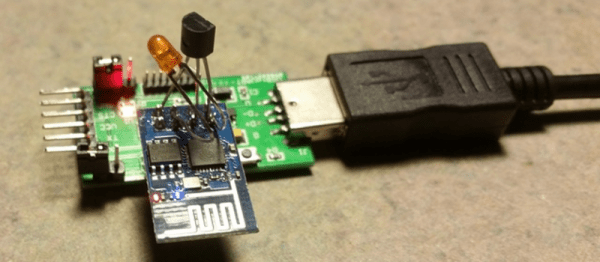
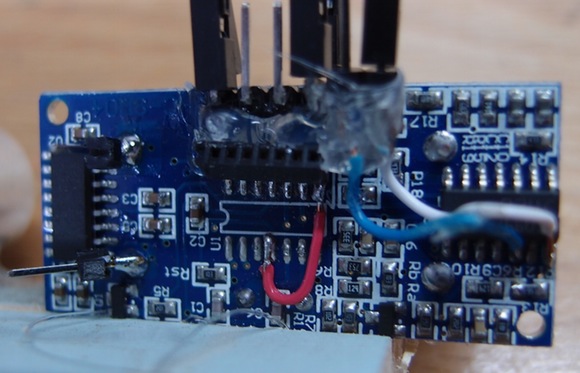 The hack starts out by pulling off the microcontroller and driving the board directly, a hack inspired by [Emil]’s work on reverse engineering the SR04s. Once [Graham] can control the sonar pings and read the results back, the fun begins.
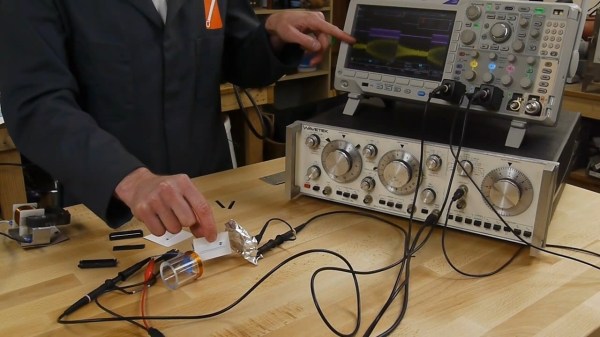
[Graham] uses TI’s Cortex M4F LaunchPad eval kit to generate a ping and receive the reflections. With normal sonar, the time between the ping being sent and its reception is determined by the range to the target. In a phased array, in this case just the two modules, the difference in the times it takes for the ping to return to each module is used to determine the angle to the target.
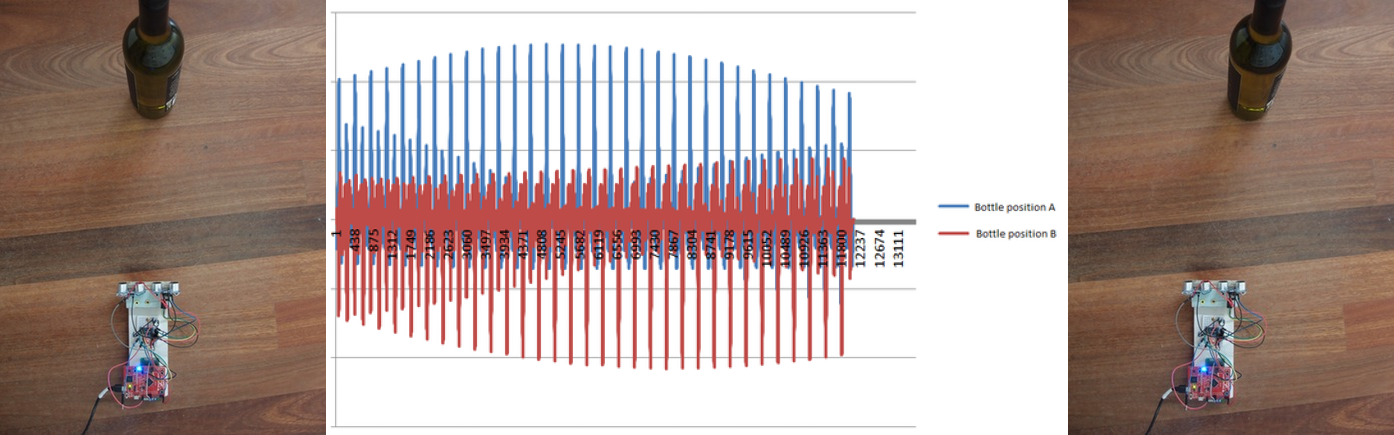
If you’re DSP-savvy, [Graham] is using a phase-shifted square wave signal so that the correlations of the sent and returned signals have better peaks. This also helps the peaks in correlation across the two SR04s in the array. We think it’s pretty awesome that [Graham] is resolving a couple of degrees in angular separation when he moved his wine bottle. With a couple more SR04 units, [Graham] could start to get height information back as well.
For not much scratch, [Graham] has himself an experimental setup that lets him play with some pretty heavy signal processing. We’re impressed, and can’t wait to see what’s next. Special thanks to [Graham] for posting up the code.
And thanks [João] for the tip!