[shiura] had a problem — they wanted a nice high-quality audio output for their computer, but they didn’t fancy any of the DACs that were readily available on the market. They specifically wanted one that was affordable, capable, and included a graphic equalizer so they could simply hook it up to a regular amplifier and dial in the perfect sound. When they couldn’t find such a device, they decided to build their own.
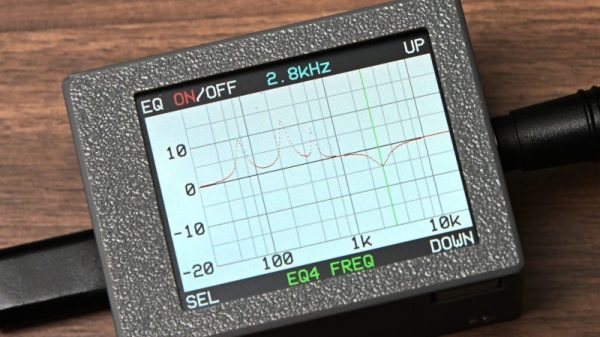
The build is based around a Raspberry Pi Pico, chosen for its feature set that makes it easy to configure as a USB audio device. It’s paired with a Waveshare Pico Audio module, which is based on the PCM5101A stereo DAC and slots neatly on top of the microcontroller board. An SPI-controlled LCD screen was also fitted in order to display the graphic equalizer interface that [shiura] whipped up. The project write-up explains the code required to implement the equalizer in detail. A four-channel equalizer was possible on the original Pi Pico (RP2040), while upgrading to a more powerful Pi Pico 2 (RP2350) allowed implementing eight channels in total.
If you’re looking to build a digital audio system with the ability to do some equalization to suit your listening room, this might be a project of interest to you. We’ve featured other projects in this realm before, too.


