Multiple Material 3D Printing

[youtube=http://www.youtube.com/watch?v=D4Yq3glEyec]

It’s no surprise that we’re wild about 3D printing, especially [Devlin]. Now we’re absolutely out of our minds for this multi-material polyjet machine that is featured in the video above. Before we go any further it’s worth mentioning that this post is not advertising, we just think this machine is unbelievable.

It is capable of printing 600 dpi in 3D using multiple materials at the same. Two types of rigid material, one like ABS and the other like polypropylene, as well as seven levels of a soft material all exist on the same print head. They can be deposited along with a support material at the same time. In the video you can see enclosures that come out of the printer with rubber-like padding already mounted in the hard plastic shell. They even show a bicycle chain that is fully assembled after printing. Cost for these machines? We don’t want to know, it’s just fun to dream about having unrestricted access to one.

Continue reading “Multiple Material 3D Printing”

Manual Transmission Gear sensor

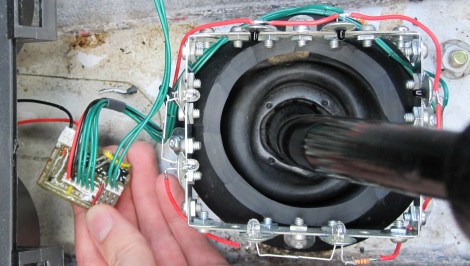
[Ben] bought a remote starter for his car but needed a way to make sure the manual transmission was in neutral when starting. He built this infrared sensor frame to detect the position of the stick. It uses four beam paths which will tell him the exact gear or neutral position of the shifter. For this project he just needs to detect neutral but exact gearing is apparently necessary information for his next hacking project. We initially were worried about sunlight interfering with the sensor readings but he’s building this to go under the collar that is used to cover up the mechanical joint at the base of the stick.

5×2 Patch Board

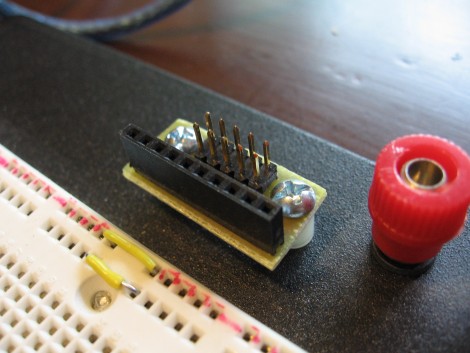
Sometimes we want to sit on the back porch, crack a beer, and do some prototyping. Other times we’d like to do the same but on the couch in the livingroom. To that end we added a 5×2 pin to 10×1 pin patch board to our solderless breadboard.

The 5×2 pin form factor is pretty common, used as an AVR programming header, on development boards like the Dragon Rider 500 and the STK 500, and in small prototyping devices like the Bus Pirate. We like the freedom of using IDC cables as interconnects and that’s where this board comes in. Now we can patch into the IDC cables yet still quickly disconnect them when moving to a different prototyping location. Check out the PCB artwork and this handy device in use after the break.

Continue reading “5×2 Patch Board”

Reuse That PDA As A WRT Terminal

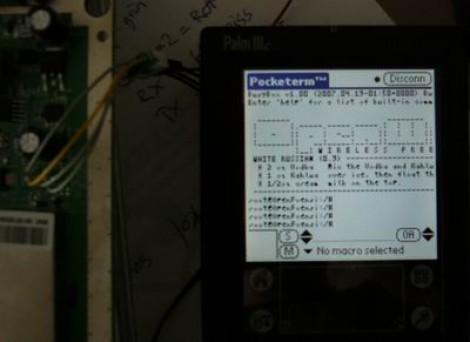
[Michu] used his old Palm IIIc to make a serial interface for his OpenWRT router. It’s a matter of cracking open both the router and the Palm device, then connecting the TTL lines from the router to the MAX 3386e level converter chip inside the Palm. From there, Pocketterm can connect to the router’s serial terminal.

A lot of us have old electronics lying around that work perfectly well. It’s nice to find hacks that make them useful again.

[Thanks Isama]

Toner Transfer Explained Step-by-step

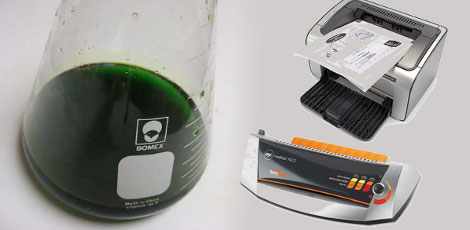
[Tanjent] send us a link to his tutorial on the toner transfer process for fabricating circuit boards. We’ve seen a lot of these in the past, but we liked how his is straight to the point while also sharing several tips and options along the way. Notably, he ”tints” the copper clad before trying to adhere the toner to it by swabbing on a bit of etchant. His reasoning for this is that the toner has more trouble sticking to the shiny copper. Just a bit of etchant will pit the surface and let the toner stick better.

He’s still using paper as a medium and not printing toner powder directly to the copper clad. His paper of choice is HP Brochure Paper while we use glossy pages from the union newspaper. But like us, he does use copper chloride as an etchant, which you can learn to make yourself. We’re still looking for a definitive solution for disposing of this chemical. We’ve been using the same batch for years and recently it’s turned cloudy with impurities. If you’ve got disposal tips let’s hear them in the comments section.

Hand Made Manipulator Arm

We’re pretty used to seeing CAD used in the design process for most things. It’s a bit of a shocker to come across a project this involve, and this well executed, that didn’t use CAD.

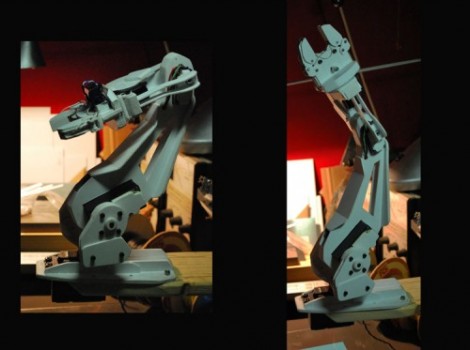
[Anton] spent 100 hours building this manipulator arm by hand. He made the parts by drawing them on styrene and cutting them out with scissors. He has started building version two with AutoCAD but from what we’ve seen in the video after the break, improvements on the original design will be minor. The speed and fluidity of the servos with added magnetic encoders makes for a graceful robotic dance; we’d love to be its chess partner. Continue reading “Hand Made Manipulator Arm”

DSLR Shoulder Holster With Follow Focus

[vimeo=http://vimeo.com/11435910]

[Erik] and [Jonathan Bergqvist] built this shoulder mount for a Canon 7D camera. It’s made from wood and it hooks over the top of the photographer’s shoulder with a handle for each hand. The left handle also controls the focus, using a similar method to the hardware store follow focus we looked at in January. Like it or not, you’ll love watching a master woodworker build this starting with un-milled logs. It’s all about having and knowing how to use the right tools.

[Thanks Juan]