It’s perhaps unsurprising that we don’t see much in the way of woodworking here at Hackaday; after all, this is a plastics and metal community if there ever was one. But that doesn’t mean you’ll never come across a situation where a dead tree needs to be cut or shaped to your will, so we appreciate [Eric Strebel] demonstrating some tips and best practices for working with this exceptionally versatile building material.
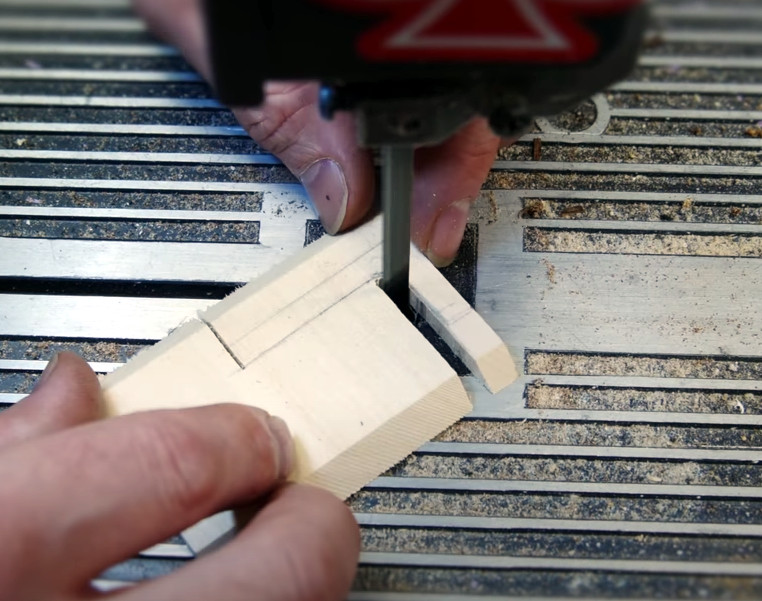 The first video assumes you’re a lumber neophyte, and goes over topics such as the different species of wood you’re likely to find at the hobby shop, proper sanding technique, and the differences between cutting with and against the grain. Some of the different cutting tools you can use are also covered, ranging from the humble hobby knife to the band saw. As always, [Eric] sprinkles the video with tips and tricks gained from his considerable professional experience, such as using some glue and a bit of sawdust to fill in any gaps left behind by an uneven joint.
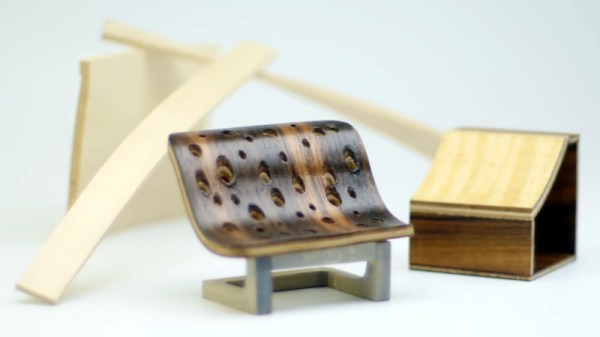
In the second video, things start getting more advanced. [Eric] demonstrates how you can create custom laminates, and how wood can be permanently bent into arbitrary shapes with sufficient steam and clamping pressure. By combining these new techniques with the basic concepts covered in the first video, surprisingly complex shapes can be formed with minimal effort.
[Eric] previously put together a similar series of videos on working with acrylic, a material that’s arguably far more familiar to the Hackaday readership. But whatever material you use, the takeaway message from this series is clear: get the right tools, learn the techniques, and professional results are well within your reach.