Regular Hackaday readers will know that we’re big supporters of free/libre and open source software (FLOSS) around these parts. There’s an excellent chance you are too, as so many of the incredible projects you send our way make it a habit to share their innermost details, from firmware source code to the OpenSCAD files that generate its 3D printed components. So when our recently minted Editor in Chief [Elliot Williams] was invited to join This Week in Tech’s FLOSS Weekly podcast, he jumped at the chance to represent our little corner of the Internet to the wider world of open source aficionados. (Ed: The final version is now live! How did we get episode 666?!)
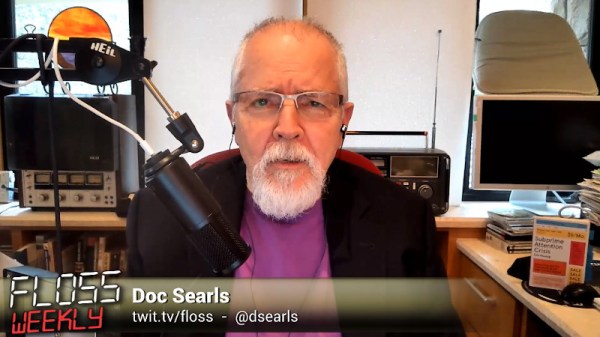
![]() Hosted by [Doc Searls], FLOSS Weekly is known for its in-depth interviews with “the most interesting and important people in the Open Source and Free Software community”, so we hope the incursion by hacker rabble such as ourselves doesn’t taint their brand too much.
Hosted by [Doc Searls], FLOSS Weekly is known for its in-depth interviews with “the most interesting and important people in the Open Source and Free Software community”, so we hope the incursion by hacker rabble such as ourselves doesn’t taint their brand too much.
It’s live streamed every Wednesday at 12:30 PM Eastern / 9:30 AM Pacific / 17:30 UTC, which means that by the time this post hits the main page of the site, you’ve still got time to tune in. For those of you with gainful employment who can’t slack off for an hour or so in the middle of the workweek, the recorded version will be available afterwards for your time-shifted viewing and or listening pleasure.
[Elliot] will be joined by Hackaday writer and regular co-host of FLOSS Weekly [Jonathan Bennett], making this something of a Jolly Wrencher double-feature. [Jonathan] has been providing readers with a regular peek into the other type of hacking with his fantastic This Week in Security column, and is himself a devout FOSS supporter with a particular passion for GNU/Linux. We’re excited to listen in as the trio riffs on open source at the crossroads of hardware and software, not just because it promises to be an entertaining bit of programming, but because it’s a great opportunity to introduce the world of Hackaday to the wider open source audience.