The USB Protocol, Explained

If you can explain what a USB PID, a J state, a K state, and an SOF are, you can probably stop reading now. But if you don’t know or you want a refresher, you can spend 15 minutes watching [Sine Lab’s] straightforward explanation of the USB protocol details. You can find the video below.

The motivation for this is he wants to add USB to his projects using an ATMega with a hardware USB implementation. Honestly, most of the time, you’ll just consume some premade library and get it working that way. However, understanding the terminology can help you, especially if things don’t go as planned.

Continue reading “The USB Protocol, Explained”

That Cheap USB Charger Could Be Costly

[Big Clive] picked up a keychain battery to charge his phone and found out that it was no bargain. Due to a wiring mistake, the unit was wired backward, delivering -5 V instead of 5 V. The good news is that it gave him an excuse to tear the thing open and see what was inside. You can see the video of the teardown below.

The PCB had the correct terminals marked G and 5 V, it’s just that the red wire for the USB connector was attached to G, and the black wire was connected to 5 V. Somewhat surprisingly, the overall circuit and PCB design was pretty good. It was simply a mistake in manufacturing and, of course, shows a complete lack of quality assurance testing.

The circuit was essentially right out of the data sheet, but it was faithfully reproduced. We should probably test anything like this before plugging it into a device, but we typically don’t. Does our phone protect against reverse polarity? Don’t know, and we don’t want to find out. [Clive] also noted that the battery capacity was overstated as well, but frankly, we’ve come to expect that with cheap gadgets like this.

This isn’t, of course, the first phone charger teardown we’ve seen. This probably isn’t as deadly as the USB killer, but we still wouldn’t want to risk it.

Continue reading “That Cheap USB Charger Could Be Costly”

Videos Teach Bare Metal RP2040

When we write about retrocomputers, we realize that back in the day, people knew all the details of their computer. You had to, really, if you wanted to get anything done. These days, we more often pick peripherals and just assume our C or other high level code will fit and run on the CPU.

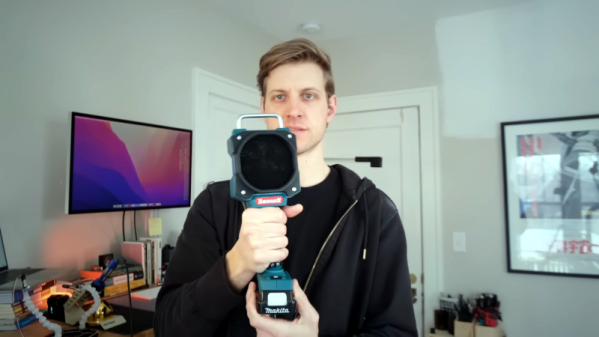
But sometimes you need to get down to the bare metal and if your desire is to use bare metal on the RP2040, [Will Thomas] has a YouTube channel to help you. The first video explains why you might want to do this followed by some simple examples. Then you’ll find over a dozen other videos that give you details.

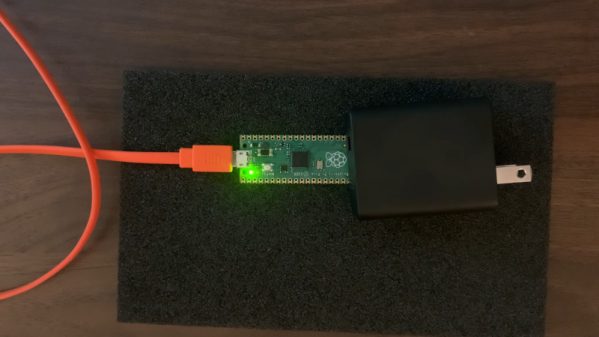
Any video that starts, “Alright, Monday night. I have no friends. It is officially bare metal hours,” deserves your viewing. Of course, you have to start with the traditional blinking LED. But subsequent videos talk about the second core, GPIO, clocks, SRAM, spinlocks, the UART, and plenty more.

As you might expect, the code is all in assembly. But even if you want to program using C without the SDK, the examples will be invaluable. We like assembly — it is like working an intricate puzzle and getting anything to work is satisfying. We get it. But commercially, it rarely makes sense to use assembly anymore. On the other hand, when you need it, you really need it. Besides, we all do things for fun that don’t make sense commercially.

We like assembly, especially on platforms where most people don’t use it. Tackling it on a modern CPU is daunting, but if you want to have a go, we know someone who can help.

Continue reading “Videos Teach Bare Metal RP2040”

Power Tool Battery Fume Extractor

A solder fume extractor is something we could probably all use. While there isn’t much to them, [Steven Bennett] put a lot of thought into making one that was better for him, and we admired his design process, as well as the extractor fan itself. You can see the finished result in the video below.

The electrical design, of course, is trivial. A computer fan, a switch, and a battery — in this case, a Makita power tool battery. But the Fusion 360 design for the 3D printed parts got a lot of thought to make this one of the best fume extractor fans we’ve seen.

Continue reading “Power Tool Battery Fume Extractor”

Measuring A Millisecond Mechanically

If you are manufacturing something, you have to test it. It wouldn’t do, for example, for your car to say it was going 60 MPH when it was really going 90 MPH. But if you were making a classic Leica camera back in the early 20th century, how do you measure a shutter that operates at 1/1000 of a second — a millisecond — without modern electronics? The answer is a special stroboscope that would look at home in any cyberpunk novel. [SmarterEveryDay] visited a camera restoration operation in Finland, and you can see the machine in action in the video below.

The machine has a wheel that rotates at a fixed speed. By imaging a pattern through the camera, you can determine the shutter speed. The video shows a high-speed video of the shutter operation which is worth watching, and it also explains exactly how the rotating disk combined with the rotating shutter allows the measurement. Continue reading “Measuring A Millisecond Mechanically”

The First Gui? Volscan Controls The Air

In the 1950s,  computers were, for the most part, ponderous machines. But one machine offered a glimpse of the future. The Volscan was probably the first real air traffic computer designed to handle high volumes of military aircraft operations. It used a light gun that looked more like a soldering gun than a computer input device. There isn’t much data about Volscan, but it appears to have been before its time, and had arguably the first GUI on a computer system ever.

The Air Force had a problem. The new — in the 1950s — jets needed long landing approaches and timely landings since they burned more fuel at lower altitudes. According to the Air Force, they could land 40 planes in an hour, but they needed to be able to do 120 planes an hour. The Whirlwind computer had proven that computers could process radar data — although Whirlwind was getting the data over phone lines from a distance. So the Air Force’s Cambridge Research Center started working on a computerized system to land planes called Volscan, later known as AN/GSN-3.

Continue reading “The First Gui? Volscan Controls The Air”

[Bunnie] Peeks Inside ICs With IR

If you want to see inside an integrated circuit (IC), you generally have to take the die out of the package, which can be technically challenging and often destroys the device. Looking to improve the situation, [Bunnie] has been working on Infra-Red, In Situ (IRIS) inspection of silicon devices. The technique relies on the fact that newer packages expose the backside of the silicon die and that silicon is invisible to IR light. The IR reflects off the bottom metalization layer and you can get a pretty good idea of what’s going on inside the chip, under the right circumstances.

As you might expect, the resolution isn’t what you’d get from, say, a scanning electron microscope or other techniques. However, using IR is reasonably cheap and doesn’t require removal from the PCB. That means you can image exactly the part that is in the device, without removing it. Of course, you need an IR-sensitive camera, which is about any camera these days if you remove the IR filter from it. You also need an IR source which isn’t very hard to do these days, either.

Do you need the capability to peer inside your ICs? You might not. But if you do and you can live with the limitations of this method, it would be a very inexpensive way to get a glimpse behind the curtain.

If you want to try the old-fashioned way, we can help. Just don’t expect to be as good as [Ken] at doing it right away.

Continue reading “[Bunnie] Peeks Inside ICs With IR”