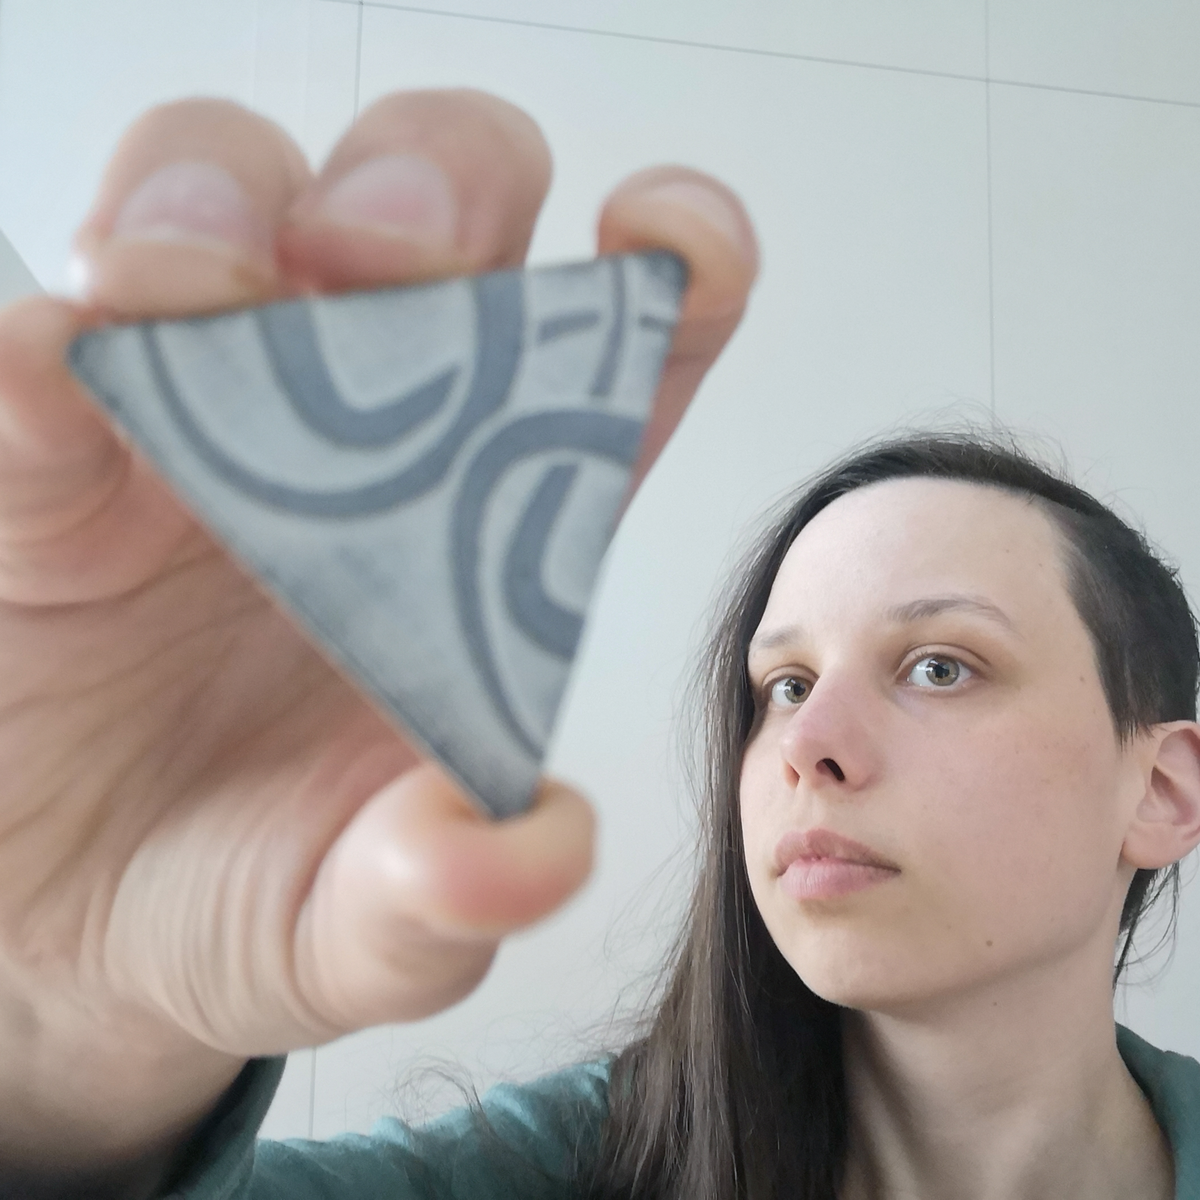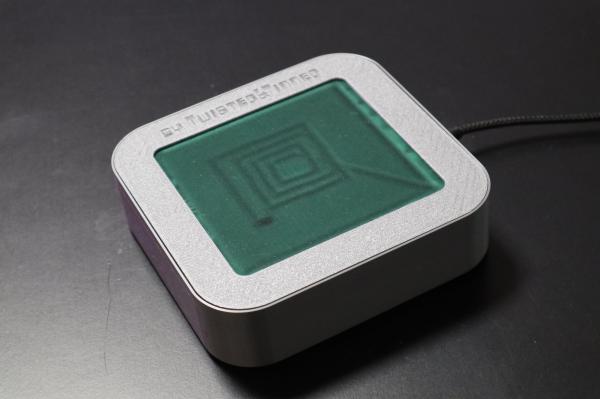
[Moritz v. Sivers] has a knack for making his own displays, which are typically based on some obscure physical effect. Magnetic viewing films, those thin plastic sheets that change color in response to a magnetic field, are his latest area of interest, as you can see in his Magnetic Kinetic Art Display.
The overall idea of the display is similar to a kinetic sand art table, in which a ball traces out shapes in a pile of sand. In [Moritz]’s project, the magnetic viewing film is the sand, and a 2 mm diameter magnet is the ball. The magnet is moved along the film by two sets of coils embedded inside a flex PCB mounted just below the film. One set of coils, on the top layer of the PCB, moves the magnet in the x direction, while a second set on the bottom layer moves it in the y direction.
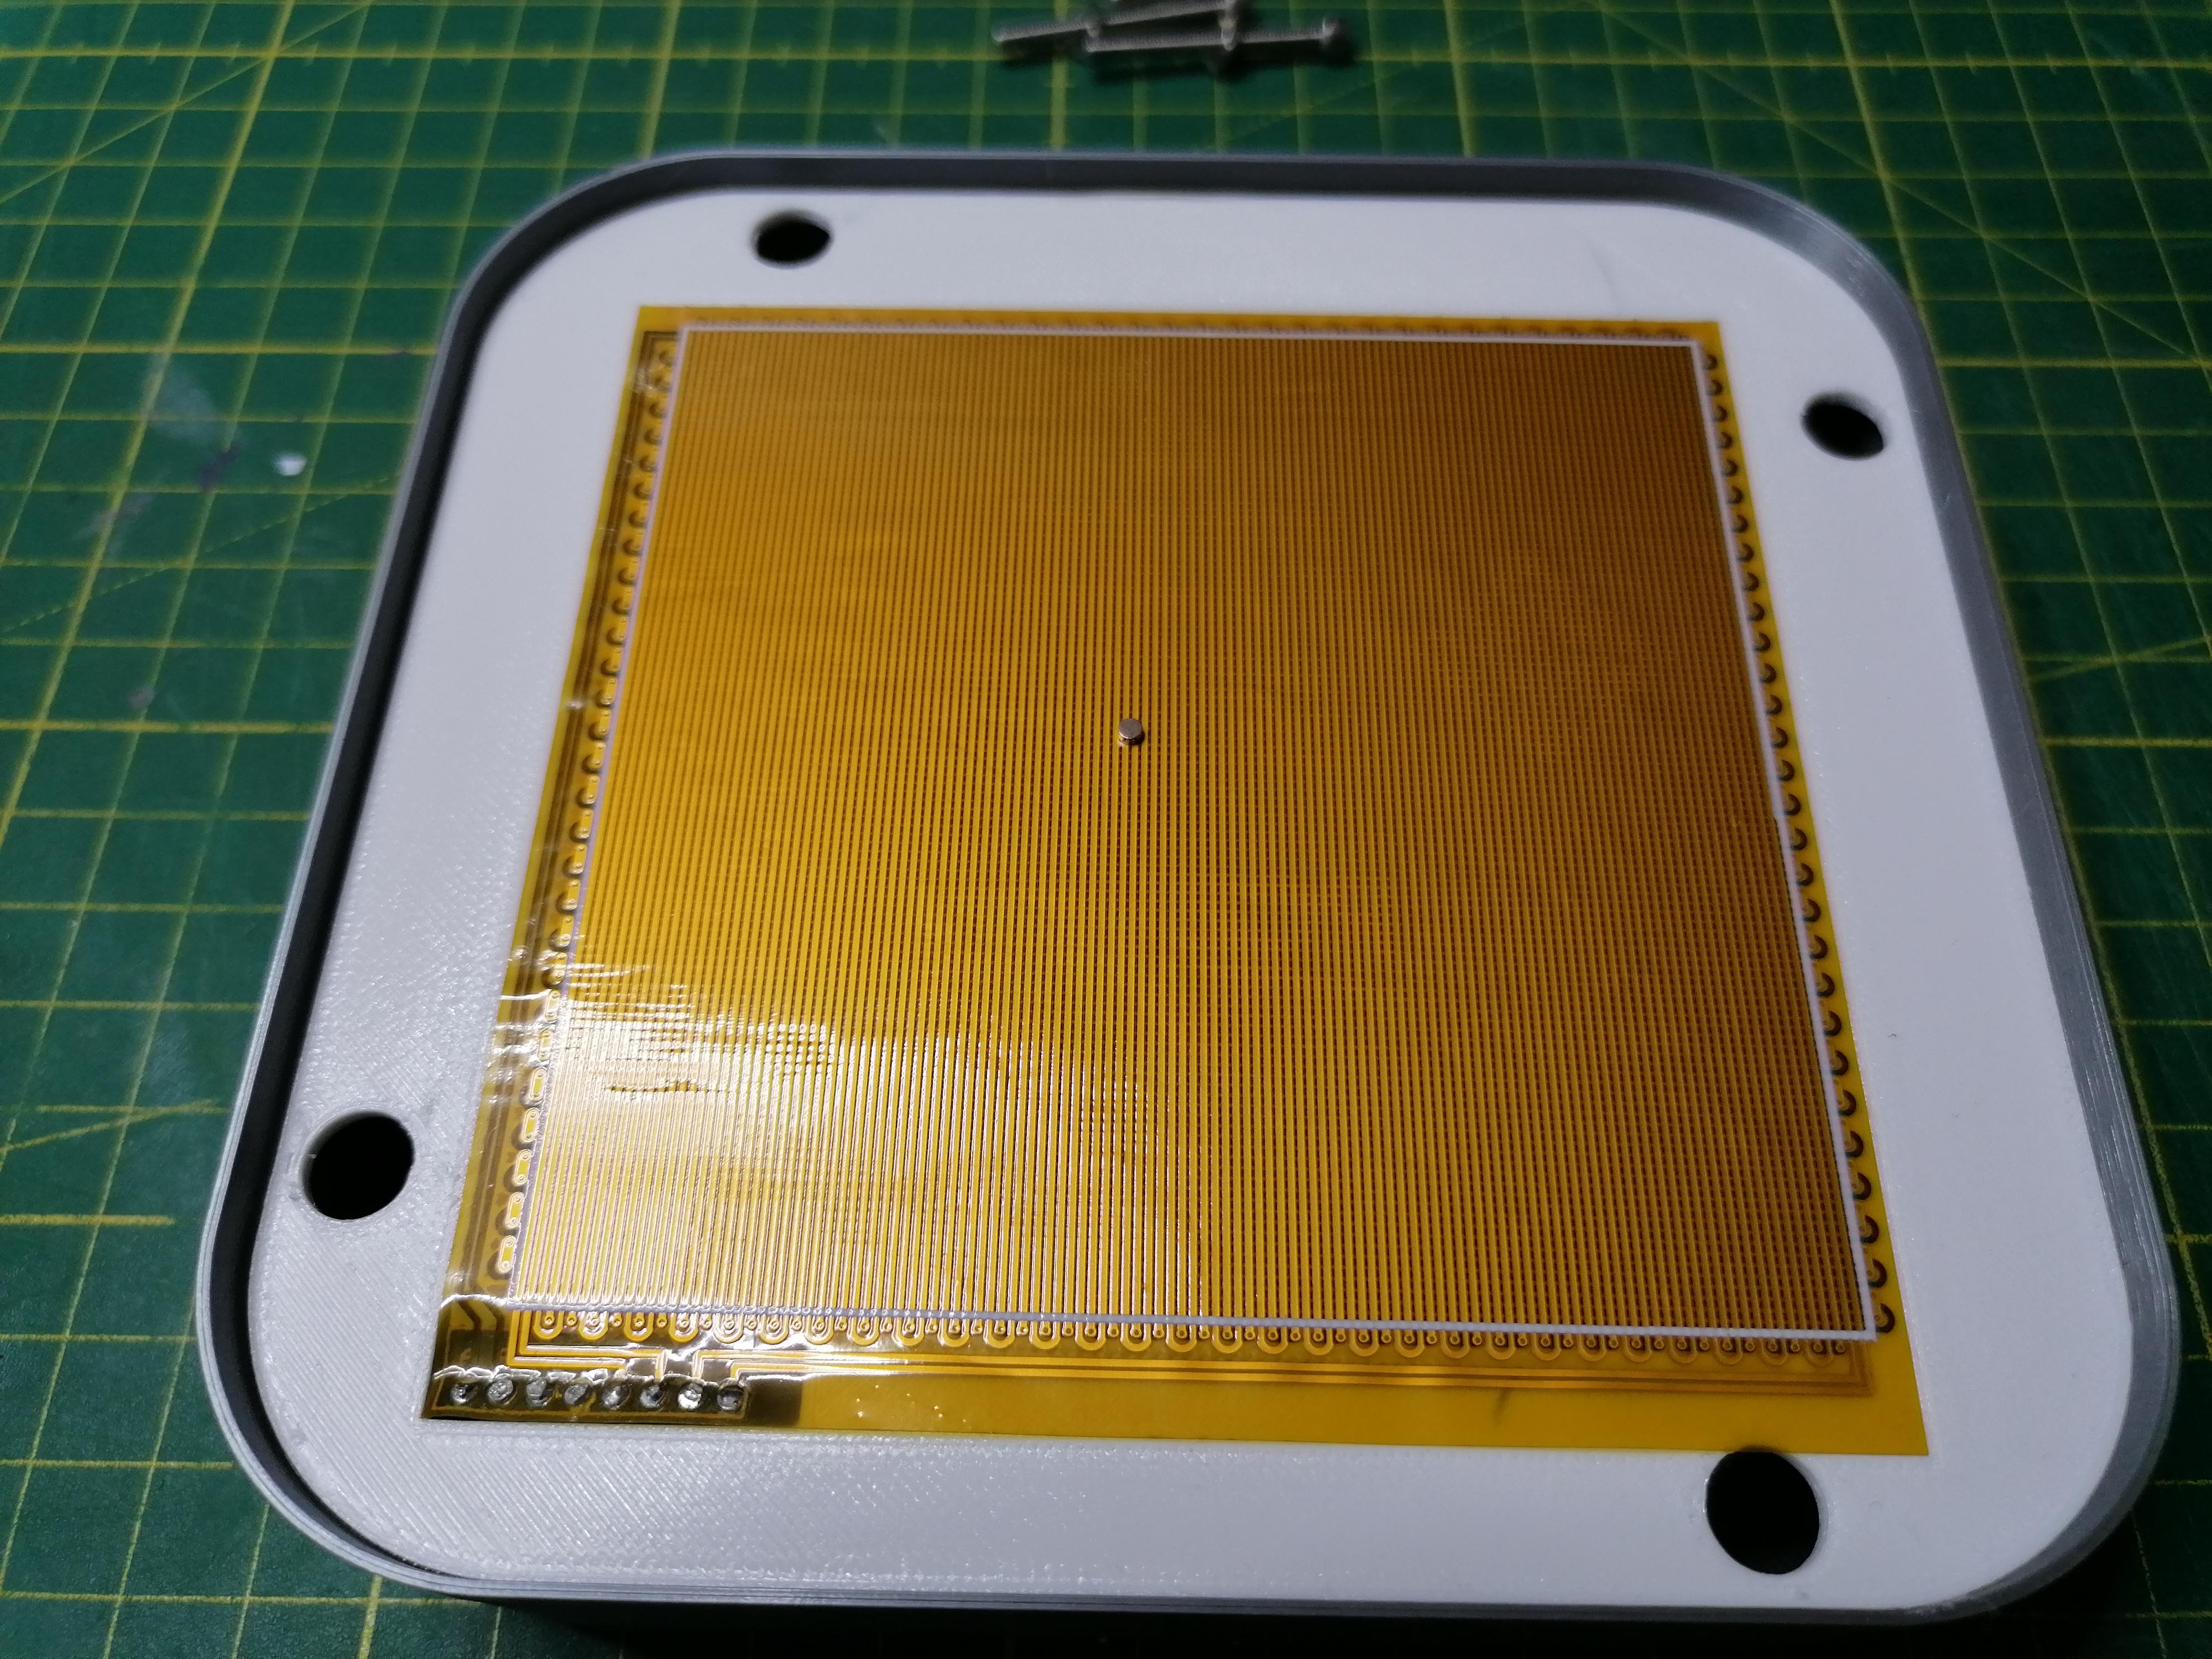
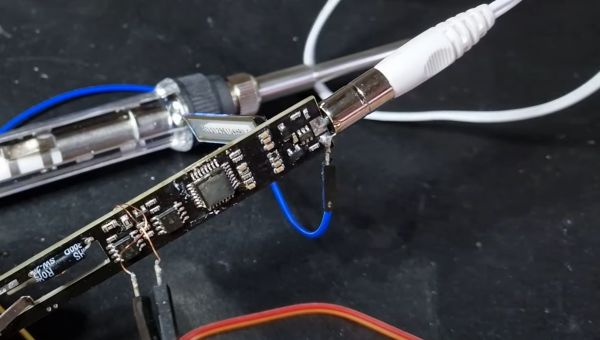
[Moritz] used a flex PCB not because it had to be bendy, but to keep the two sets of coils as close together in the z direction as possible. This helps to avoid a big difference in strength between the two directions. To drive the coils, he used a pair of TB6612FNG stepper motor drivers, controlled by a Wemos D1 Mini.
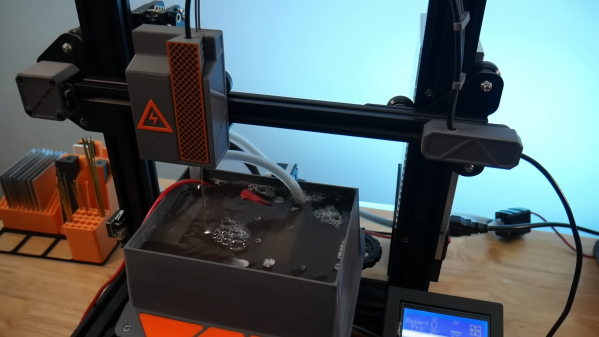
The housing was 3D printed mostly from PLA, but with a few bits done in PETG. This was for structural rigidity as well as thermal performance — the coils can carry up to two amps and get pretty warm as a result.
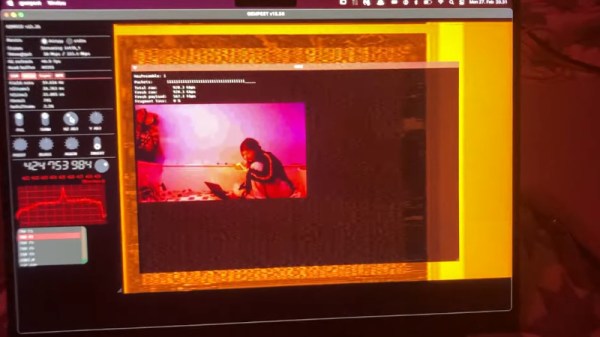
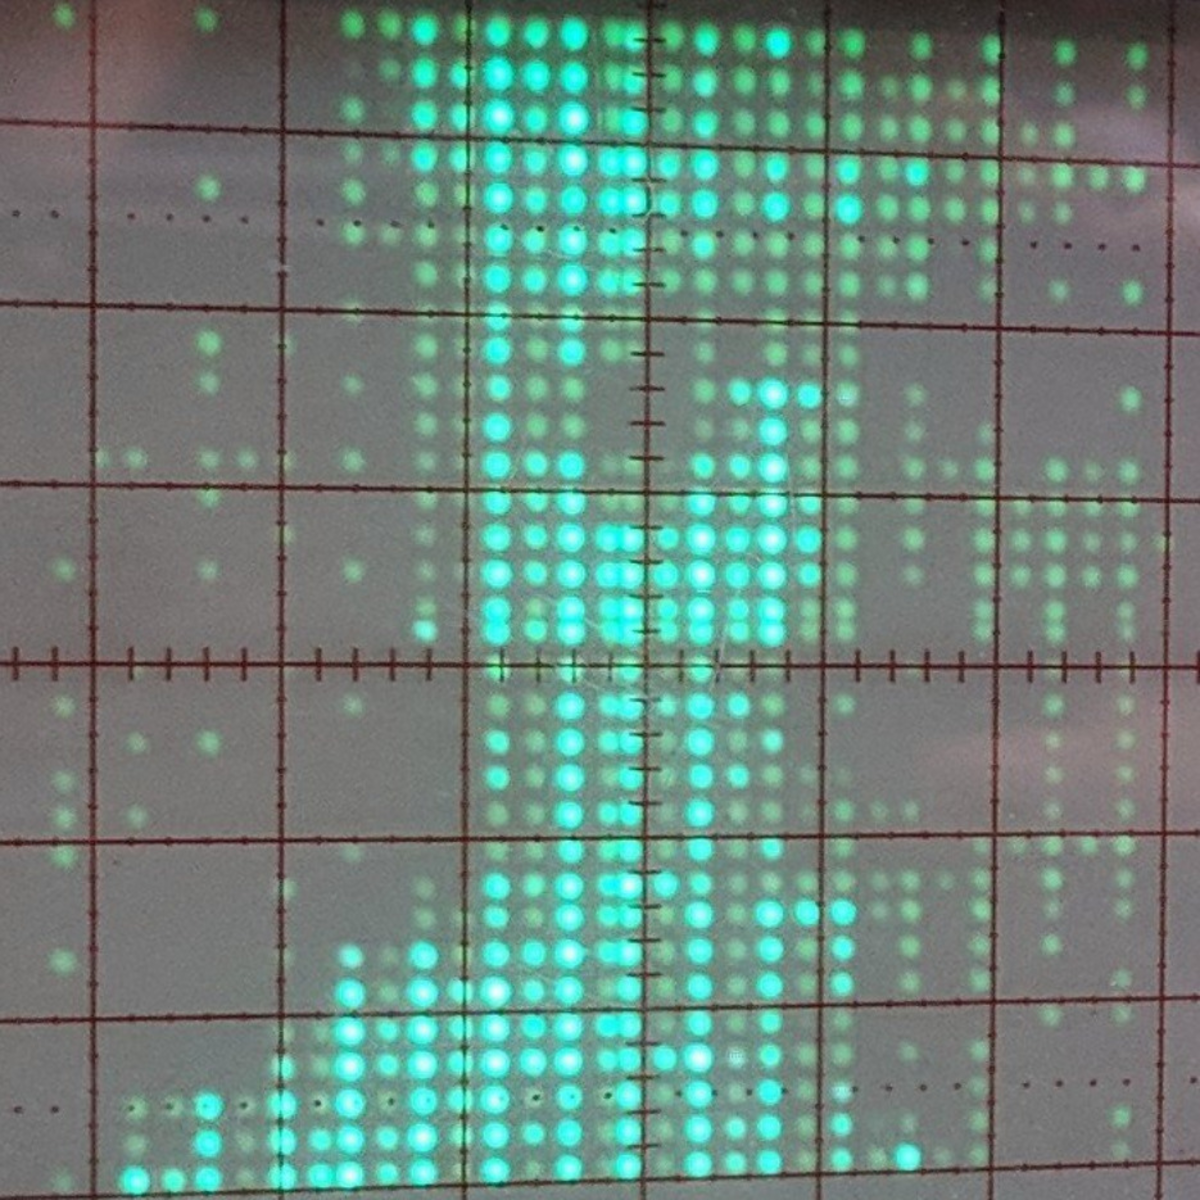
The video, embedded below, shows some of the shapes that can be drawn: squares, spirals and even digits to turn the display into a clock. [Moritz] got the PCB coil idea from a project by [bobricius], and cleverly extended it into a useful product. It’s not the first time [Moritz] used magnetic viewing film to make a clock, either.
Continue reading “Moving Magnet Draws Stylish Shapes On Flexible Film”