For those of us with penchant for older technology, there’s something special about operating with older hardware. Whether it’s a decades-old camera, a vintage keyboard, or a home computer from the 1980s, the modern equivalent just doesn’t quite compare. But working with older parts definitely isn’t for the faint-hearted, as the passage of time has taken its toll on their reliability. Is it time to recognize that the supply of replacement vintage parts is not infinite, and to switch from using original hardware to more modern alternatives? [Retro Recipes] poses this question after a particularly difficult-to-find Amiga fault, and discusses it while evaluating a replacement Amiga made entirely from modern parts.
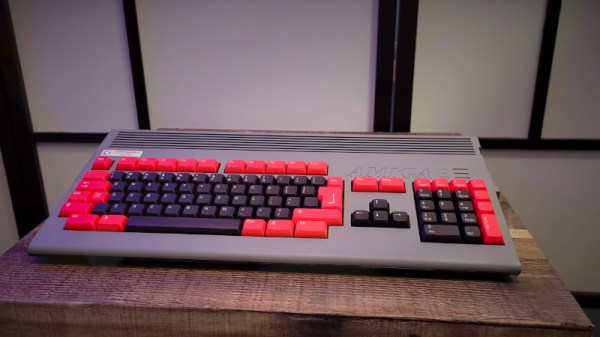
The new Amiga in question is a recreation of an A1200 with a re-manufactured case and keyboard, and the guts of an A500 Mini retro console taking the place of the Commodore board. He goes through the process of making an Amiga hard drive image on a USB drive using the image from his original drive in his teenage years, and boots it both on the 500 Mini based machine and on the UAE emulator on a Mac laptop. You can follow him in the video below the break.
We can see the logic in treating original hardware as a precious resource that’s not to be run up for fear of breaking it, but by the same token we’re still standing by that first sentence. But should the enjoyment of an older machine be limited only to those who have an original? We think not, so if enjoying an Amiga without an Amiga can be as good as the real thing then we’re all for it.
Of course, for those whose original Amigas have already broken, there are other ways to bring them back.
Continue reading “Retrocomputing, Time To Hang Up The Original Hardware?” →