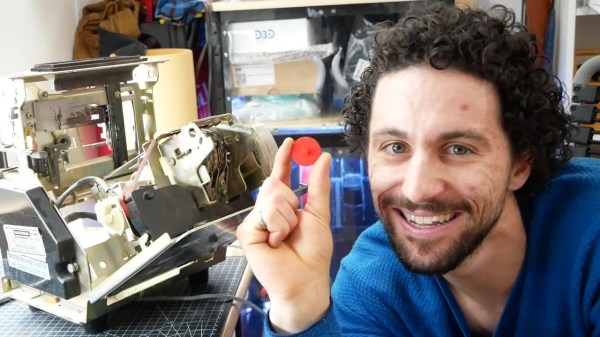
When [Morley Kert] laid eyes on a working time card-punching clock, he knew he had to have it for a still-secret upcoming project. The clock seemed to work fine, except that after a dozen or so test punches, the ink was rapidly fading away into illegibility. After a brief teardown and inspection, [Morley] determined that the ribbon simply wasn’t advancing as it should.
 This clock uses a ribbon cassette akin to a modern typewriter, except that instead of a feed spool and a take-up spool, it has a short length of ribbon that goes around and around, getting re-inked once per revolution.
When a card is inserted, a number of things happen: a new hole is punched on the left side, and an arm pushes the card against the ribbon, which is in turn pushed against the mechanical digit dials of the clock to stamp the card.
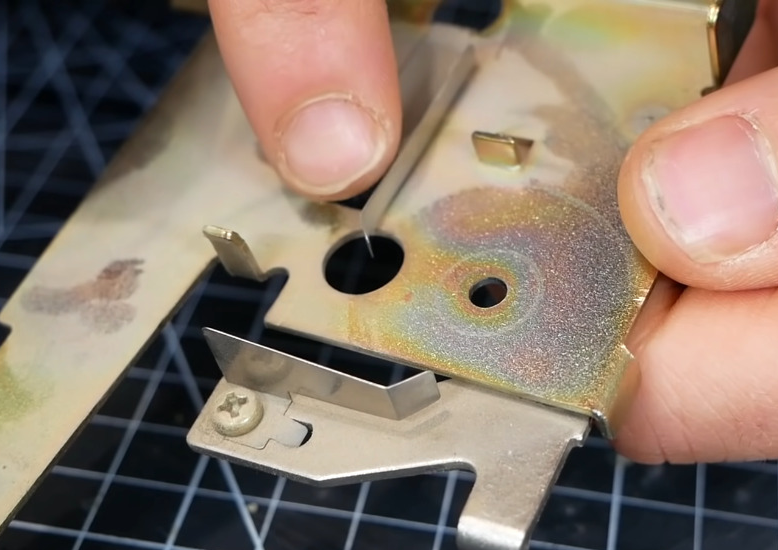
Finally, the ribbon gets advanced. Or it’s supposed to, anyway. [Morley] could easily see the shadow of a piece that was no longer there, a round piece with teeth with a protrusion on both faces for engaging both the time clock itself and the ribbon cassette. A simple little gear.
After emailing the company, it turns out they want $95 + tax to replace the part. [Morley] just laughed and fired up Fusion 360, having only caliper measurements and three seconds of a teardown video showing the missing part to go on. But he pulled it off, and pretty quickly, too. Version one had its problems, but 2.0 was a perfect fit, and the clock is punching evenly again. Be sure to check it out after the break.
Okay, so maybe you don’t have a time card clock to fix. But surely you’ve had to throw out an otherwise perfectly good coat because the zipper broke?
Continue reading “Printable Fix For Time Card Clock Has Owner Seeing Red Again”