We’ve all been there. You see a cool gadget on the Internet to 3D print and you can’t wait to fire up the old printer. Then you realize it will take 8 different prints over a span of 60 hours, chemical post-processing, drilling, exotic hardware, and paint to get the final result. [Peter Holderith’s] carburetor design, however, looks super easy.
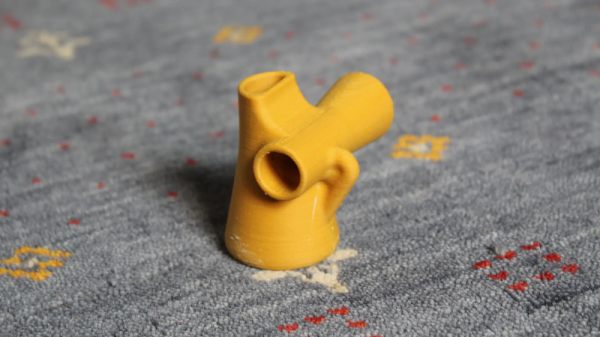
If you have experience with real-world carbs, you might wonder how that would work, but as [Peter] points out, carburetors are very simple at the core — nothing more than a venturi. All the extra pieces you think of are for special cases and not necessary for basic operation. We doubt, though, that you could really use the thing in its current form in your car. There are no mounts and since he printed it in PLA, it seems like a hot engine would be a bad idea. However, it does work well with water and an electric blower.
[Peter] mentions that with some more work and the right material, he has no doubt he could create a working practical carb. We think he’s right. But even in this form, it is a great educational project for a budding car enthusiast — like the old transparent V8 engine models, maybe.
Speaking of transparent, we’ve seen — or maybe not seen is a better phrase — a see-through carburetor that is also a good demonstrator. If you could perfect a 3D printed carb, it would make conversion projects a lot easier.