Many years ago, I read an article about the new hotness: lithium batteries. The author opened with what he no doubt thought was a clever pop culture reference by saying that the mere mention of lithium would “strike fear in the hearts of Klingons.” It was a weak reference to the fictional “dilithium crystals” of Star Trek fame, and even then I found it a bit cheesy, but I guess he had to lead with something.
Decades later, a deeper understanding of the lore makes it clear that a Klingon’s only fear is death with dishonor, but there is a species here on earth that lives in dread of lithium: CEOs of electric vehicle manufacturing concerns. For them, it’s not the presence of lithium that strikes fear, but the relative absence of it; while it’s the 25th most abundant element in the Earth’s crust, and gigatons are dissolved into the oceans of the world, lithium is very reactive and thus tends to be diffuse, making it difficult to obtain concentrated in the quantities their businesses depend on.
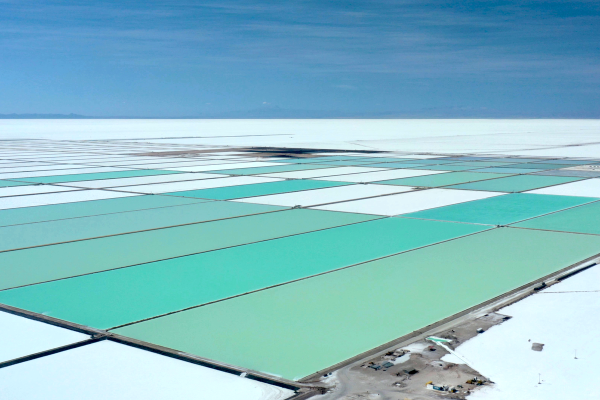
As the electric vehicle and renewable energy markets continue to grow, the need for lithium to manufacture batteries will grow with it, potentially to the point where demand outstrips the mining industry’s production capability. To understand how that imbalance may be possible, we’ll take a look at how lithium is currently mined, as well as examine some new mining techniques that may help fill the coming lithium gap.
Continue reading “Mining And Refining: Lithium, Powering The Future With Brine”