We’ve all been online from home a bit more than usual lately, in ways that often stretch the limits of what our ISP can muster. You know the signs — audio that drops out, video sessions that make you look like [Max Headroom], and during the off-hours, getting owned in CS:GO by pretty much everyone. All the bandwidth in the world won’t make up for high latency, and knowing where you stand on that score is the point of this ping-tracking clock.
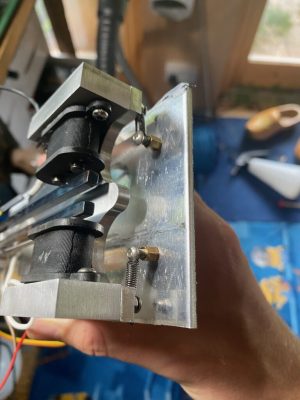
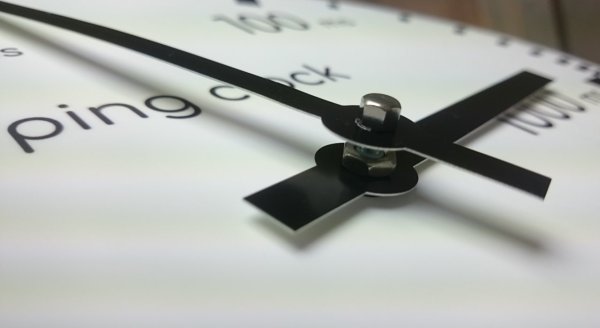
 This eye-catching lag-o-meter is courtesy of [Charl], who started the build with a clock from IKEA. Stripped of pretty much everything but the bezel, he added a coaxial clock motor and a driver board, along with a custom-printed faceplate with logarithmic scale. The motors are driven by an ESP32, which uses internet control message protocol (ICMP) to ping a trusted server via WiFi, calculates the proper angles for the hands, and drives the motors to show you the bad news. There’s also an e-paper display in the face, showing current server and WiFi settings.
We really like how this clock looks, and if it wasn’t for the fact that the numbers it displays would often be too depressing to bear, we’d build one in a snap. If facing the painful truth isn’t your style, there are other neat ICMP tricks that you can try instead.