When thoughts turn to measuring the degree to which something bends, it’s pretty likely that strain gauges or some kind of encoders on a linkage come to mind. Things could be much simpler in the world of flex measurement, though, if [Fereshteh Shahmiri] and [Paul H. Dietz]’s capacitive multi-bend flex sensor catches on.
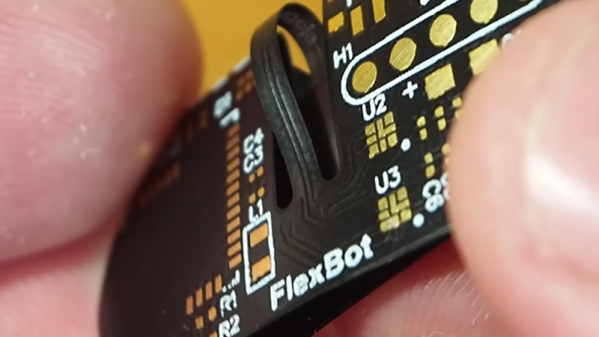
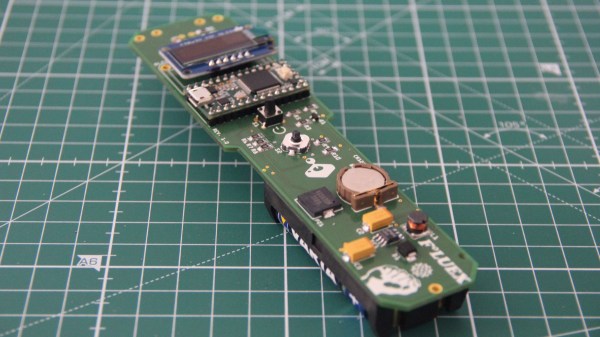
This is one of those ideas that seems so obvious that you don’t know why it hasn’t been tried before. The basic idea is to leverage the geometry of layered materials that slip past each other when bent. Think of the way the pages of a hardbound book feather out when you open it, and you’ll get the idea. In the case of the ShArc (“Shift Arc”) sensor, the front and back covers of the book are flexible PCBs with a series of overlapping pads. Between these PCBs are a number of plain polyimide spacer strips. All the strips of the sensor are anchored at one end, and everything is held together with an elastic sleeve. As the ShArc is bent, the positions of the electrodes on the top and bottom layers shift relative to each other, changing the capacitance across them. From the capacitance measurements and the known position of each pad, a microcontroller can easily calculate the bend radius at each point and infer the curvature of the whole strip.
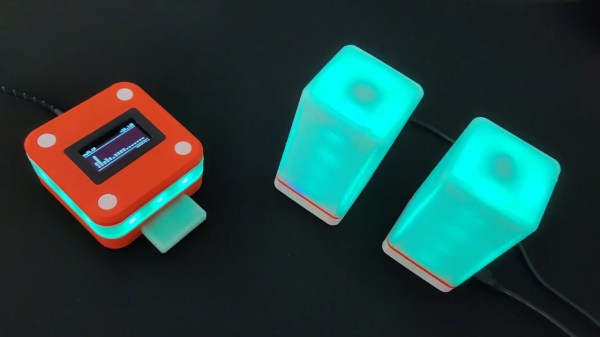
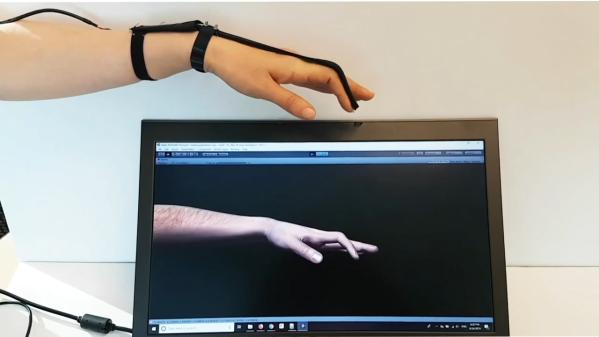
The video below shows how the ShArc works, as well as several applications for the technology. The obvious use as a flex sensor for the human hand is most impressive — it could vastly simplify [Will Cogley]’s biomimetic hand controller — but such sensors could be put to work in any system that bends. And as a bonus, it looks pretty simple to build one at home.
Continue reading “Slipping Sheets Map Multiple Bends In This Ingenious Flex Sensor”
 Automated medical diagnostics is certainly an