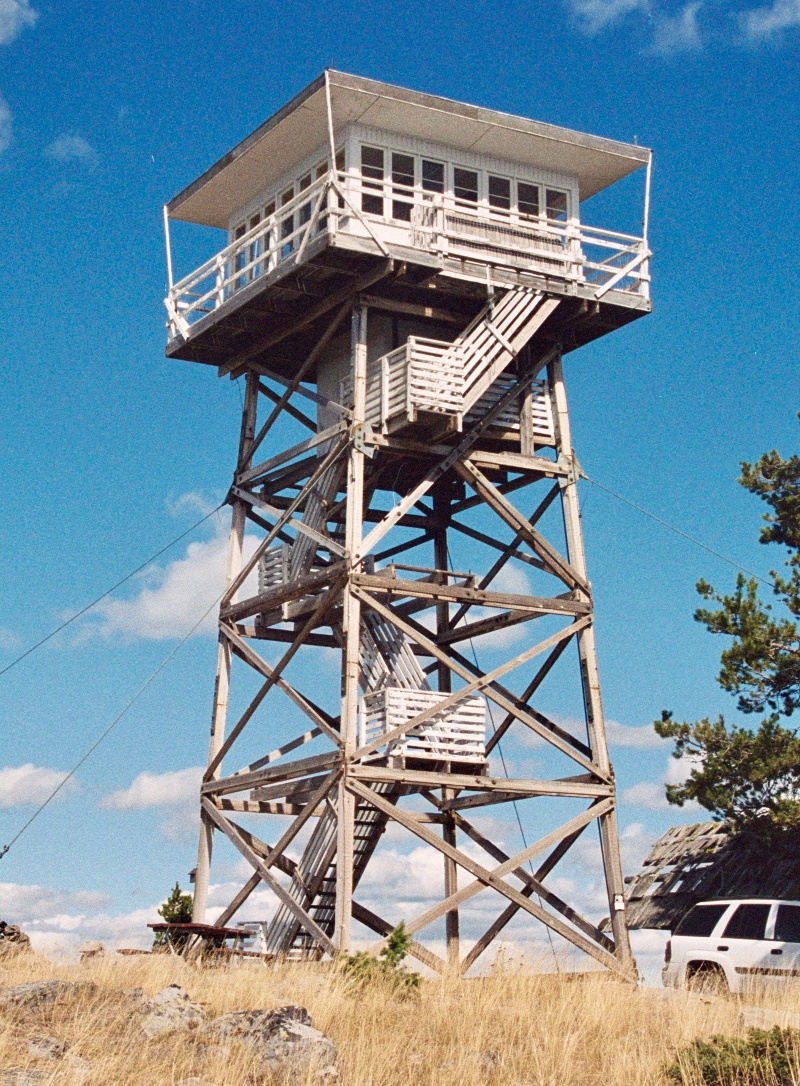
For more than a century, the United States Forest Service has employed men and women to monitor vast swaths of wilderness from isolated lookout towers. Armed with little more than a pair of binoculars and a map, these lookouts served as an early warning system for combating wildfires. Eventually the towers would be equipped with radios, and later still a cellular or satellite connection to the Internet, but beyond that the job of fire lookout has changed little since the 1900s.
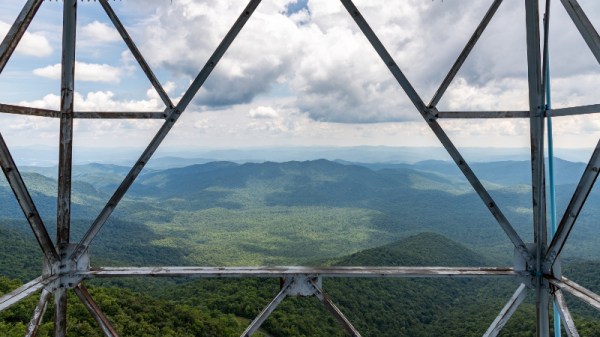
 Like the lighthouse keepers of old, there’s a certain romance surrounding the fire lookouts. Sitting alone in their tower, the majority of their time is spent looking at a horizon they’ve memorized over years or even decades, carefully watching for the slightest whiff of smoke. The isolation has been a prison for some, and a paradise for others. Author Jack Kerouac spent the summer of 1956 in a lookout tower on Desolation Peak in Washington state, an experience which he wrote about in several works including Desolation Angels.
But slowly, in a change completely imperceptible to the public, the era of the fire lookouts has been drawing to a close. As technology improves, the idea of perching a human on top of a tall tower for months on end seems increasingly archaic. Many are staunchly opposed to the idea of automation replacing human workers, but in the case of the fire lookouts, it’s difficult to argue against it. Computer vision offers an unwavering eye that can detect even the smallest column of smoke amongst acres of woodland, while drones equipped with GPS can pinpoint its location and make on-site assessments without risk to human life.
At one point, the United States Forest Service operated more than 5,000 permanent fire lookout towers, but today that number has dwindled into the hundreds. As this niche job fades even farther into obscurity, let’s take a look at the fire lookout’s most famous tool, and the modern technology poised to replace it.