The ozone layer is a precious thing, helping protect the Earth from the harshest of the sun’s radiative output. If anything were to damage this layer, we’d all feel the results in a very short order indeed.
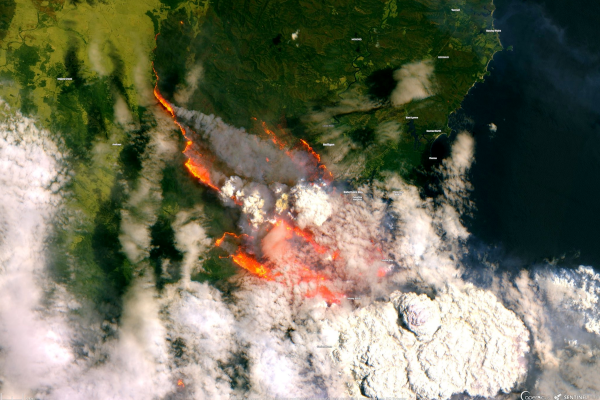
In the past, humanity has worked to limit damage to the ozone layer from our own intentional actions. However, it’s not just aerosol cans and damaged air conditioning systems that are putting it at risk these days. The fierce wildfires we’ve seen so much of in recent years are also having a negative effect. Let’s take a look at why the ozone layer matters, and how it’s being affected by these wildfires.
It’s often said that the wheels of government turn slowly, and perhaps nowhere is this on better display than at NASA. While it seems like every week we hear about another commercial space launch or venture, projects helmed by the national space agency are often mired by budget cuts and indecisiveness from above. It takes a lot of political will to earmark tens or even hundreds of billions of dollars on a project that could take decades to complete, and not every occupant of the White House has been willing to stake their reputation on such bold ambitions.
In 2019, when Vice President Mike Pence told a cheering crowd at the U.S. Space & Rocket Center that the White House was officially tasking NASA with returning American astronauts to the surface of the Moon by 2024, everyone knew it was an ambitious timeline. But not one without precedent. The speech was a not-so-subtle allusion to President Kennedy’s famous 1962 declaration at Rice University that America would safely land a man on the Moon before the end of the decade, a challenge NASA was able to meet with fewer than six months to spare.
Unfortunately, a rousing speech will only get you so far. Without a significant boost to the agency’s budget, progress on the new Artemis lunar program was limited. To further complicate matters, less than a year after Pence took the stage in Huntsville, there was a new President in the White House. While there was initially some concern that the Biden administration would axe the Artemis program as part of a general “house cleaning”, it was allowed to continue under newly installed NASA Administrator Bill Nelson. The original 2024 deadline, at this point all but unattainable due to delays stemming from the COVID-19 pandemic, has quietly been abandoned.
So where are we now? Is NASA in 2022 any closer to returning humanity to the Moon than they were in 2020 or even 2010? While it might not seem like it from an outsider’s perspective, a close look at some of the recent Artemis program milestones and developments show that the agency is at least moving in the right direction.
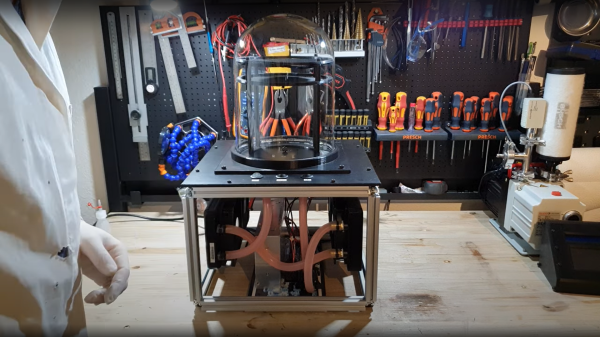
[Advanced Tinkering] over on YouTube has some pretty unique content, on subjects of chemistry and physics that are a little more, interesting let’s say — anyone fancy distilling cesium? The subject of this build is the visualization of ionizing radiation tracks, with one of our old favorite physics demonstrators, the venerable cloud chamber. The build video (embedded below,) shows the basic construction and performance of a Peltier effect cooler setup. The system is used to create a layer of supersaturated (and cold) alcohol vapor in which the radiation source or other experiment can be immersed.
Peltier modules are a great solution for moving heat from one surface to another, but they are not terribly efficient at it, especially if you don’t keep the hot side temperature in check. Effectively they are a short-distance heat pump, so you need to dump the hot-side heat elsewhere. The method [Advanced Tinkering] chose here was to use a pair of off-the-shelf water cooling blocks, mounted into a 3D printed plate. The hot side dumps into a pair of fan-cooled radiators. Four double-layer Peltier modules are wired in parallel to a 60A power supply, which seems like a lot, but Peltier modules are hungry little things. A reasonable amount of power is needed to drive the cooling fans and water pump. The vapor source is a simple pad of liquid alcohol at the top of the stack, just above a metal screen which is held at a high voltage. The vertical electric field allows visualization of the charge of emitted particles, which will curve up or down depending on their polarity.
As can be seen from the second video linked below, some really nice cloud trails are produced, so it looks like they got the setup just right!
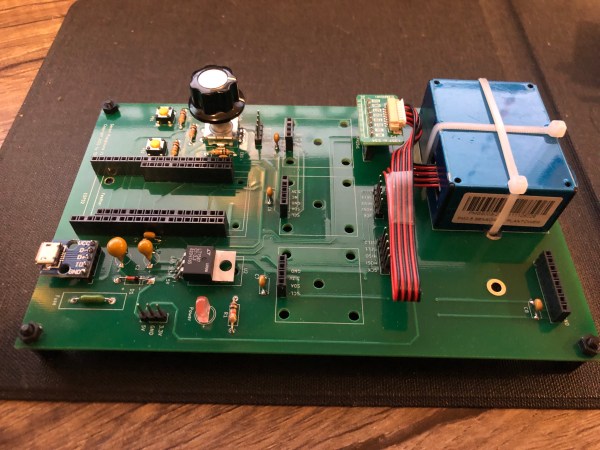
When [tdw] wasn’t feeling well one day, his wife suggested that it might be due to poor air quality in their home. While an ordinary person could have simply opened a window after hearing such an idea, [tdw] instead showed his true hacker spirit and set about measuring the indoor air quality. He began by designing a simple PCB to measure CO2 and volatile organic compound (VOC) levels, but eventually broadened his scope to end up with the Sensor Playground: a plug-and-play platform to read out various sensors and store the results in the cloud.
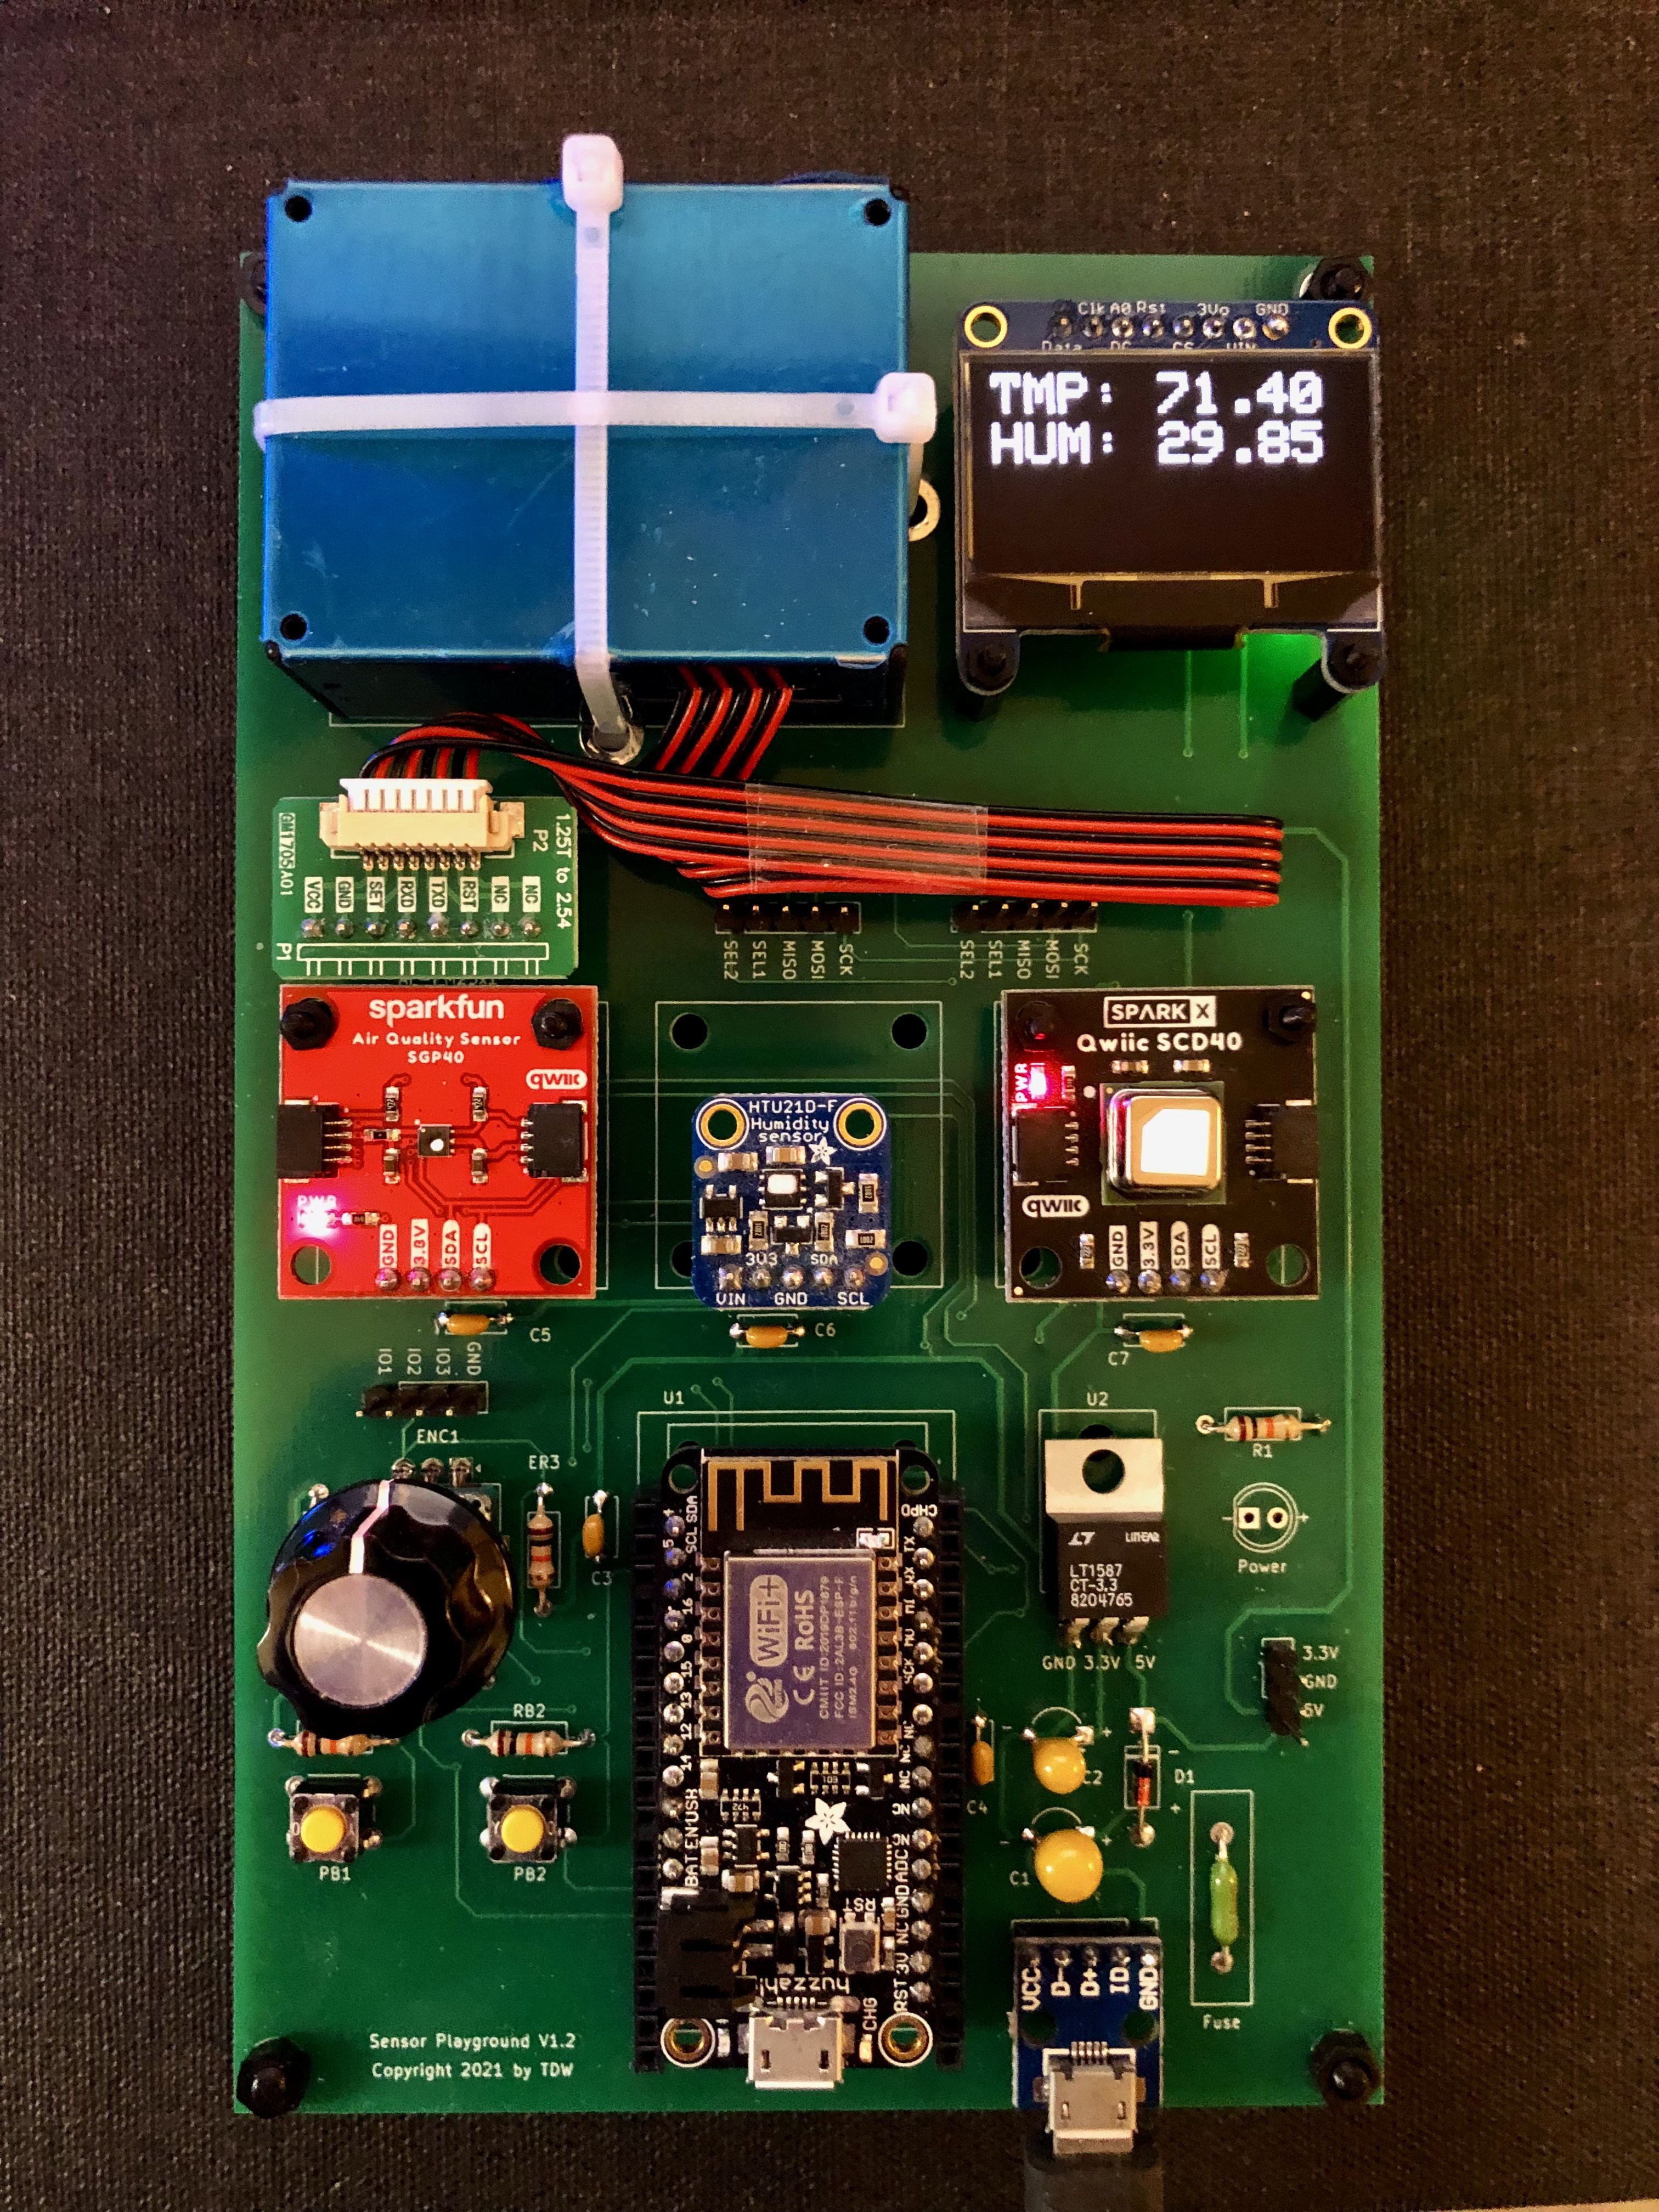
Deliberately designed to be easy to assemble with minimal soldering skills, the Sensor Playground consists of a big two-layer PCB onto which various modules can be plugged. It supports either an ESP32 DevKit or an Adafruit Feather module to provide processing power, and provides sockets for a bunch of sensors, conveniently wired with power and SPI or I2C. It also provides a rotary encoder and two buttons for user input. All source files are available on [tdw]’s GitHub page, ready to be applied to any kind of sensing task.
[tdw] set up his Sensor Playground with sensors measuring CO2, VOC, PM2.5 (particulate matter), as well as temperature and relative humidity. A web interface allows anyone to track these measurements in real-time. The open and modular design should make it easy to extend this system with various other sensor types: we can imagine that things like solar irradiation, outside temperature and wind speed would also add useful data to the mix. Perhaps even a Geiger counter to keep track of radiation levels?
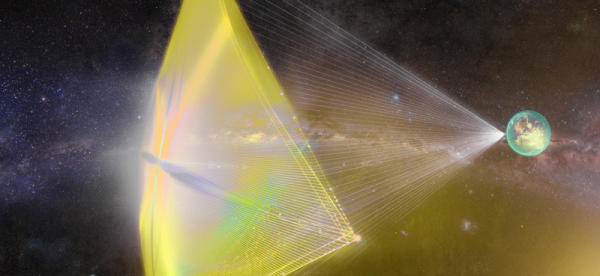
We’ve talked about project Breakthrough Starshot which aims to send a solar sail probe to Alpha Centauri within 20 years. A little basic math and knowing that Alpha Centauri is 4.3 light years away means you are going to need to travel over 20% of the speed of light to make the trip in that time. Some new papers have proposed ways to address a few of the engineering problems.
The basic idea is simple. A very small probe is attached to a very large sail. But calling it a solar sail is a bit of a misnomer. The motive power for the sail would be a powerful laser, which provides more reliable power to the tiny probe’s propulsion system. The problems? First, the thin sail could tear under constant pressure. The answer, according to one of the papers, is to shape the sail like a parachute so it can billow under pressure.
The other problem is not burning the sail up. Space is a hard environment to dump waste heat into since radiation is the only way to transfer it. Another paper suggests that nanoscale patterns on the sail will allow it to release waste heat into the interstellar environment.
As you might expect, the release of last year’s Ghostbusters: Afterlife has not only lead to renewed interest in the old 1980s toys and tie-in merchandise, but has spawned a whole new generation of blinking plastic gadgets to delight children of all ages. Of course, for folks like us, that means more hardware to hack on.
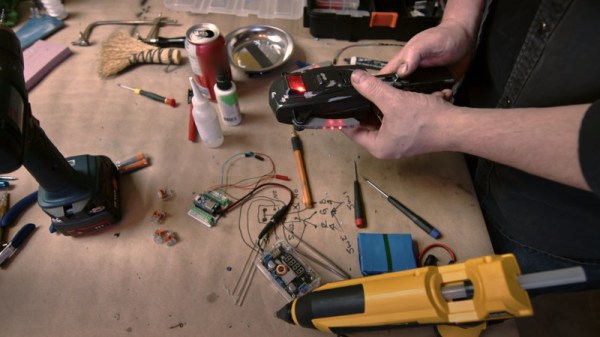
In a recent post to the official Ghostbusters YouTube channel, professional prop maker [Ben Eadie] shows off some of the tricks of the trade when he takes a $15 USD “PKE Meter” toy from Hasbro and turns it into a screen-quality prop. Even if you’re not looking to get an early start on your Halloween costume, the techniques demonstrated in this video could be easily adapted to other projects. For those whose next ideal home improvement is a fireman’s pole and an ectoplasmic laser-confinement grid, you might want to grab a couple of these toys while they’re still cheap for eventual conversion.
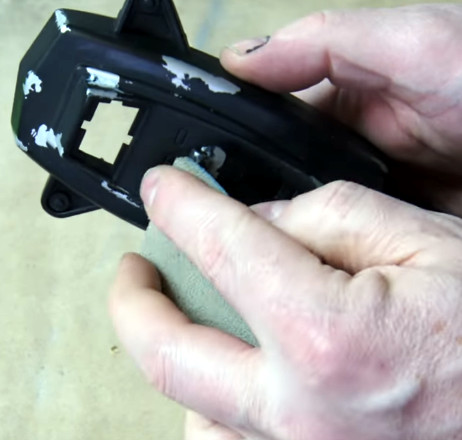
Uncovering the silver makes the piece look worn down.
The biggest takeaway from the video is probably the finishing techniques, as they could be used on any sort of realistic prop build. [Ben] starts by using a cabinet scraper to smooth out the lines on the plastic toy, and any holes are filled with the familiar baking soda and cyanoacrylate glue trick. Once the surfaces have been prepped, all the principle parts are sprayed with an adhesion promoter, followed by a coat of silver, and then the final black color.
This allows him to create a convincing “chipped paint” effect by strategically sanding or scraping through the top coat. Dabbing some toothpaste where you want the device to look worn down before spraying the final coat makes the process even faster, as it will prevent the top coat from sticking to the silver in the first place.
Unfortunately [Ben] doesn’t spend a whole lot of time explaining the electronics side of things, but it doesn’t look like there’s anything too complex going on. All the original gear is stripped, and it gets replaced with a microcontroller which we believe is an Adafruit ItsyBitsy nRF52840 Express. This is connected to two strings of tiny APA102 addressable LEDs which are run down the “wings” (we especially like the 3D printed lenses used to replace the original solid pips), and one that’s used to provide the iconic sine-wave display.
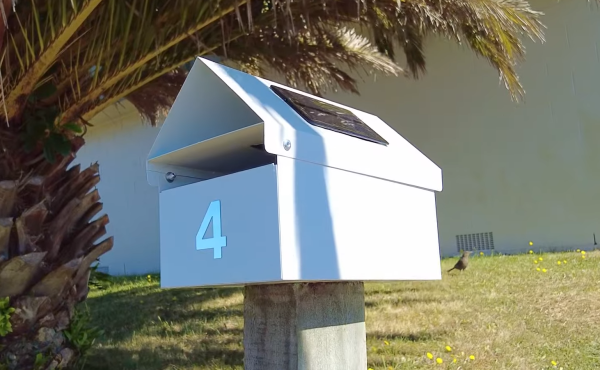
Whether you live in an apartment downtown or in a detached house in the suburbs, if your mailbox is not built into your home you’ll have to go outside to see if anything’s there. But how do you prevent that dreadful feeling of disappointment when you find your mailbox empty? Well, we’re living in 2022, so today your mailbox is just another Thing to connect to the Internet of Things. And that’s exactly what [fhuable] did when he made a solar powered IoT mailbox.
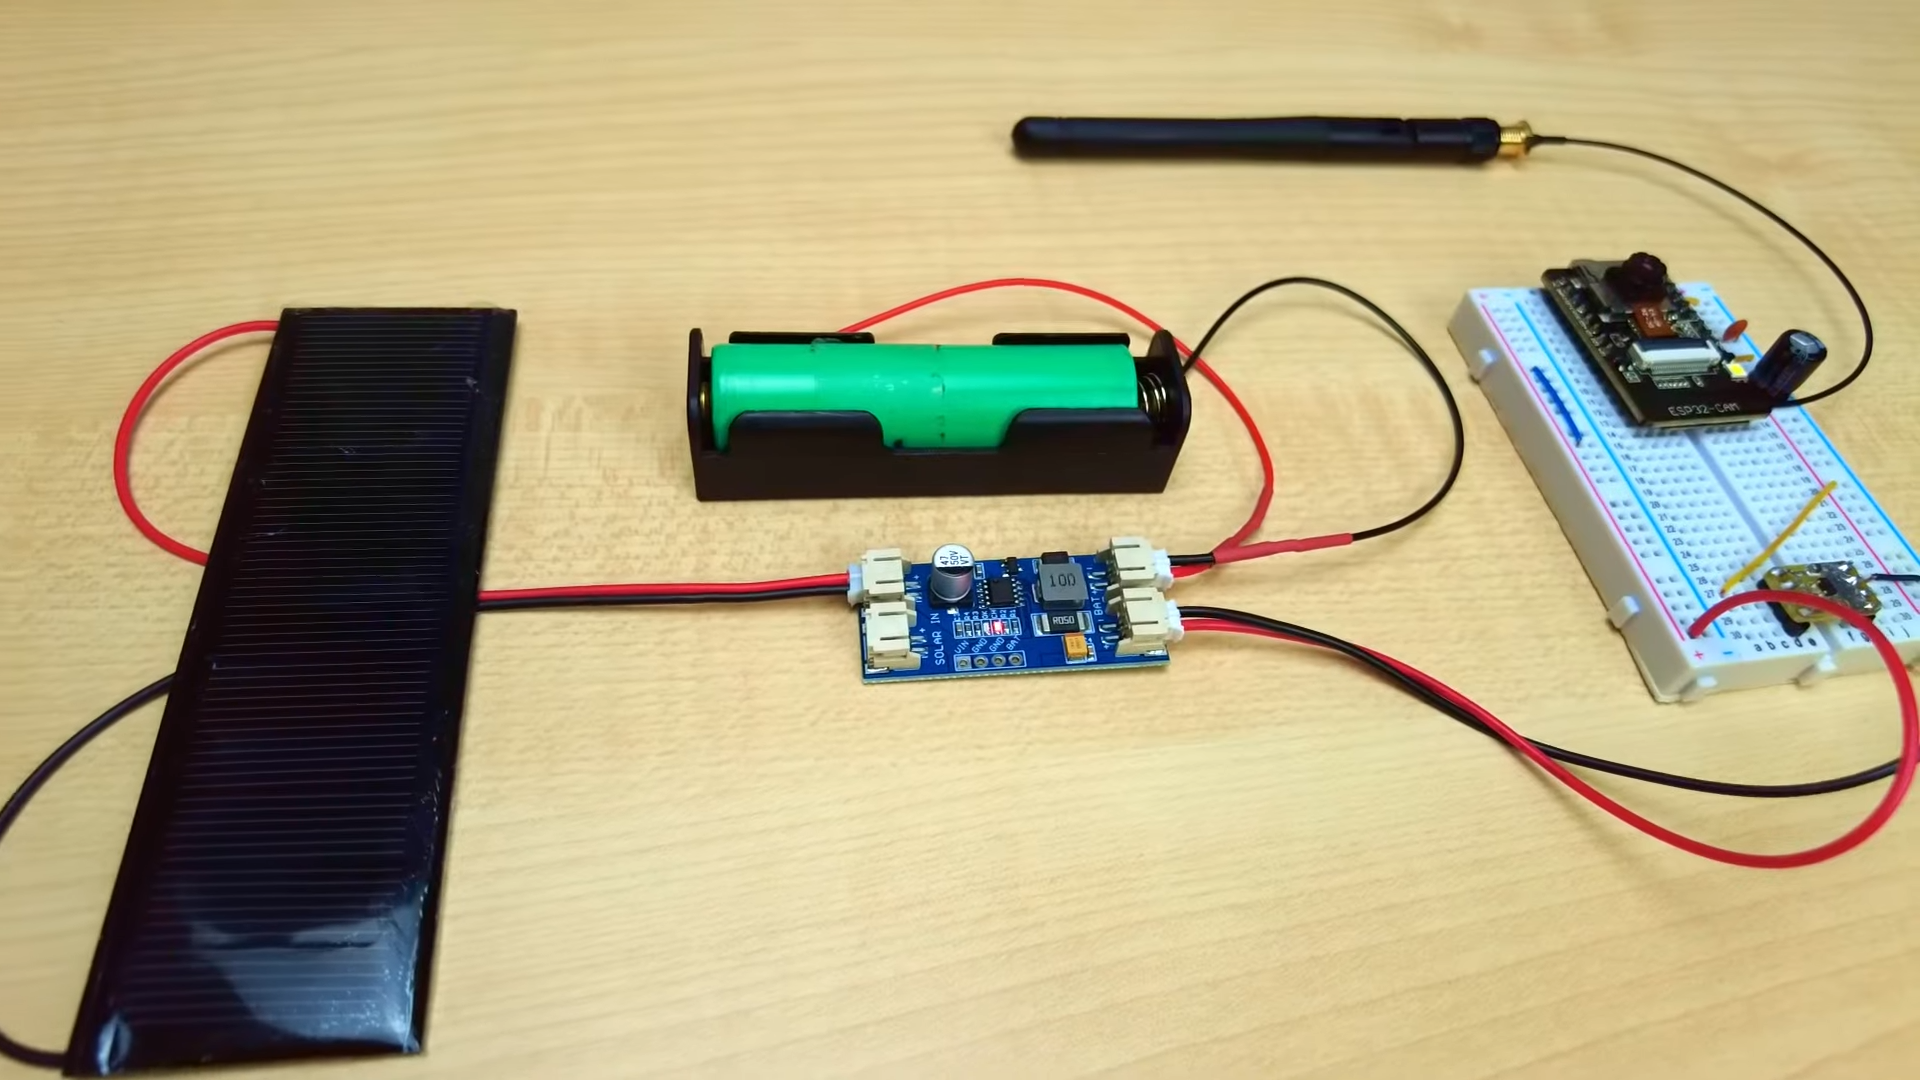
The basic idea was to equip a mailbox with a camera and have it send over pictures of its contents. An ESP32-Cam module could do just that: with a 1600 x 1200 camera sensor, a 160 MHz CPU and an integrated WiFi adapter, [fhuable] just needed to write an Arduino sketch to have it take a picture every few hours and upload it to an FTP server.
The components inside: a solar cell, battery, power controller, LDO and ESP32-Cam module with WiFi antenna
But since running a long cable all the way from the house was not an attractive option, the whole module had to be completely wireless. [fhuable] decided to power it using a single 18650 lithium ion cell, which gets topped up continuously thanks to a 1.5 W solar panel mounted on the roof of the mailbox. The other parts are housed in a 3D-printed enclosure that’s completely sealed to keep out moisture.
The enclosure had to be made from a material that does not degrade in direct sunlight, which is why [fhuable] decided to try ASA filament; this should be very resistant against UV rays, but proved tricky to process. It warped so much during cooling that the only way to get a solid piece out of the printer was to enclose the entire machine in a cardboard box to keep it warm inside.
The end result was worth it though: a neat little extension on the back of the mailbox that should keep sending photos of its insides for as long as the Sun keeps shining. The camera should also give a good indication as to the contents of the mailbox, allowing the user to ignore any junk mail; this is a useful improvement over previous IoT-enabled mailboxes that use proximity sensors, microswitches or optical sensors.

 heat pump, so you need to dump the hot-side heat elsewhere. The method [Advanced Tinkering] chose here was to use a pair of off-the-shelf water cooling blocks, mounted into a 3D printed plate. The hot side dumps into a pair of fan-cooled radiators. Four double-layer Peltier modules are wired in parallel to a 60A power supply, which seems like a lot, but Peltier modules are hungry little things. A reasonable amount of power is needed to drive the cooling fans and water pump. The vapor source is a simple pad of liquid alcohol at the top of the stack, just above a metal screen which is held at a high voltage. The vertical electric field allows visualization of the charge of emitted particles, which will curve up or down depending on their polarity.