When designing parts on a screen, it’s very easy to type in a bunch of nice round numbers and watch everything slot together in perfect harmony. Unfortunately, the real world is not so kind. A 10mm shaft will not readily fit in a 10mm hole, and producing parts to perfect dimensions simply isn’t possible. This is where fits and tolerances come in, and [tarkka] have created a practical demonstration of this on Youtube.
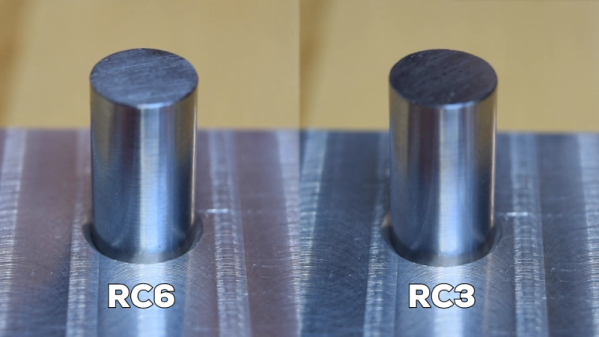
Hole and shaft tolerances are important to ensure parts mate correctly and as intended. If a shaft is to fit into a hole easily and the dimensions aren’t critical, a clearance fit is called for. If assembly should be easy but the part is required to locate accurately, a running fit is called for. Alternatively, if the parts are intended to be pressed together permanently, an interference or force fit should be used.
The video covers the basics of fits and tolerances in an easy to understand way, with visual examples. The fits discussed are based in Imperial measurements, but the metric standard of hole and shaft tolerances (ISO 286-2) is also noted.
Getting your tolerances right is key to making good parts – we’ve covered common issues such as tolerance stacking before. Video after the break.