Convert That Cheap Laser Engraver To 100% Open-Source Toolchain

laserweb-on-cheap-laser-square
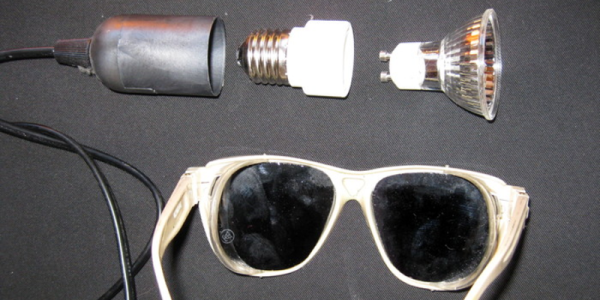
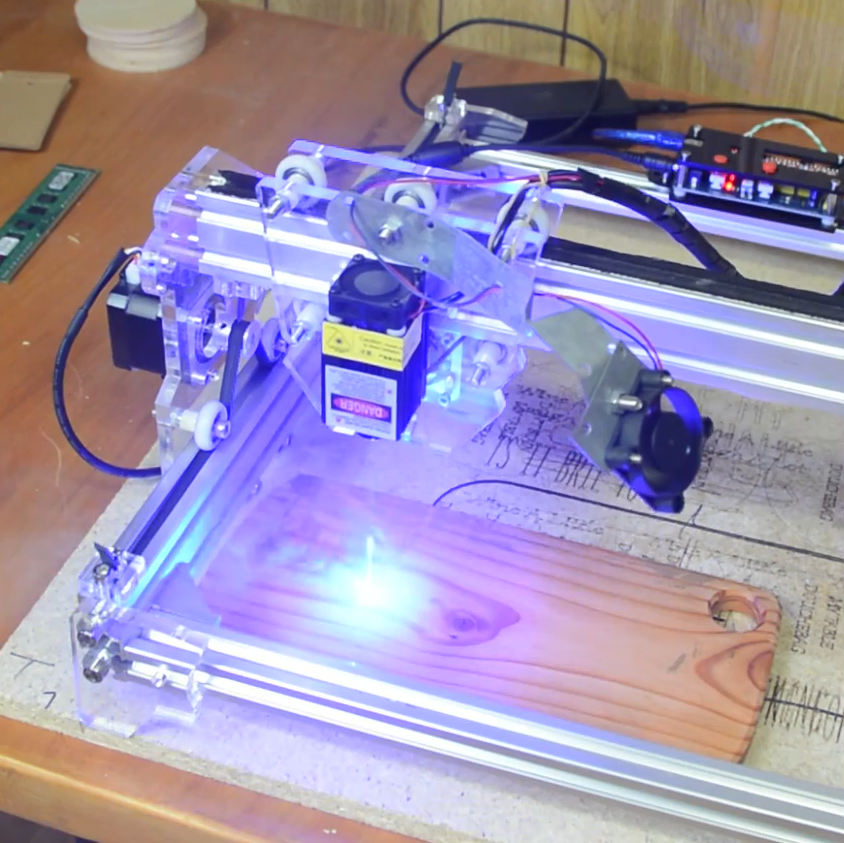
LaserWeb is open-source laser cutter and engraver software, and [JordsWoodShop] made a video tutorial (embedded below) on how to convert a cheap laser engraver to use it. The laser engraver used in the video is one of those economical acrylic-and-extruded-rail setups with a solid state laser emitter available from a variety of Chinese sellers (protective eyewear and any sort of ventilation or shielding conspicuously not included) but LaserWeb can work with just about any hardware, larger CO2 lasers included.

LaserWeb is important because most laser engravers and cutters have proprietary software. The smaller engravers like the one pictured above use a variety of things, and people experienced with larger CO2 laser cutters may be familiar with a piece of software called LaserCut — a combination CAD program and laser control that is serviceable, but closed (my copy even requires a USB security dongle, eww.)

LaserWeb allows laser engravers and cutters to be more like what most of us expect from our tools: a fully open-source toolchain. For example, to start using LaserWeb on one of those affordable 40 W blue-box Chinese laser cutters the only real hardware change needed is to replace the motion controller with an open source controller like a SmoothieBoard. The rest is just setting up the software and enjoying the added features.

Continue reading “Convert That Cheap Laser Engraver To 100% Open-Source Toolchain”

Building Beautiful Boards With Star Simpson

Over the last decade or so, the cost to produce a handful of custom PCBs has dropped through the floor. Now, you don’t have to use software tied to one fab house – all you have to do is drop an Eagle or KiCad file onto an order form and hit ‘submit’.

With this new found ability, hackers and PCB designers have started to build beautiful boards. A sheet of FR4 is no longer just a medium to populate parts, it’s a canvas to cover in soldermask and silkscreen.

Over the last year, Star Simpson has been working on a project to make electronic art a reality. Her Circuit Classics take the original art from Forrest Mims’ Getting Started In Electronics notebooks and turn them into functional PCBs. It’s a kit, an educational toy, and a work of art on fiberglass, all in one.

At the 2016 Hackaday Superconference, Star gave her tips and tricks for producing beautiful PCBs. There’s a lot going on here, from variable thickness soldermasks, vector art on a silkscreen, and even multicolored boards that look more at home in an art gallery than an electronics workbench.

Continue reading “Building Beautiful Boards With Star Simpson”

Creating A PCB In Everything: KiCad, Part 3

This is the third and final installment of a series of posts on how to create a PCB in KiCad, and part of an overarching series where I make the same schematic and board in dozens of different software tools. A few weeks ago, we took a look at making a schematic in KiCad, and more recently turned that schematic into a board ready for fabrication.

For our KiCad tutorials, we’ve already done the basics. We know how to create a PCB, make a part from scratch, and turn that into a board. This is the bare minimum to be considered competent with KiCad, but there’s so much more this amazing tool has to offer.

In part three of this KiCad tutorial, we’re going to take a look at turning our board into Gerbers. This will allow us to send the board off to any fab house. We’re going to take a look at DRC, so we can make sure the board will work once we receive it from the fab. We’re also going to take a look at some of the cooler features KiCad has to offer, including push and shove routing (as best as we can with our very minimalist board) and 3D rendering.

Continue reading “Creating A PCB In Everything: KiCad, Part 3”

B Battery Takes A 9V Cell

Old American radios (and we mean really old ones) took several kinds of batteries. The A battery powered the filaments (generally 1.5V at a high current draw). The B battery powered the plate (much lower current, but a higher voltage–typically 90V). In Britain these were the LT (low tension) and HT (high tension) batteries. If you want to rebuild and operate old radios, you have to come up with a way to generate that B voltage.

Most people opt to use an AC supply. You can daisy-chain a bunch of 9V batteries, but that really ruins the asthetics of the radio. [VA3NGC] had a better idea: he built a reproduction B battery from a wooden box, some brass hardware, a nixie tube power supply, and a 9V battery (which remains hidden). There’s also a handful of zener diodes, resistors, and capacitors to allow different taps depending on the voltage required.

b-battery-in-use
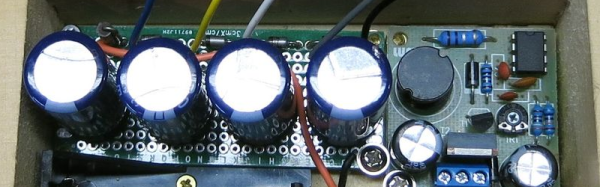
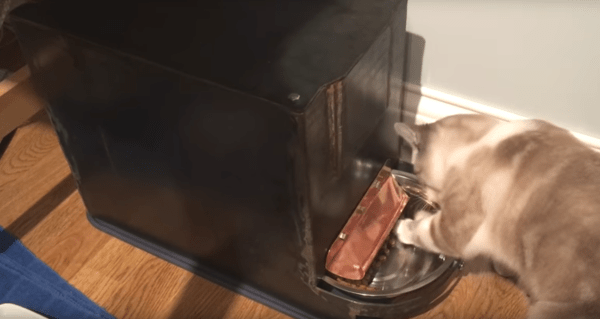
The project looks great. The wooden box apparently was a recycle item and the brass hardware makes it look like it belongs with the old radios it powers. This is a good example of how there’s more to vintage restoration than just the electronics. Sure, the function is important, but to really enjoy the old gear, the presentation is important, too.

Not all tube radios took 90V B+, but since this battery has taps, that isn’t a problem. The old Radio Shack P-Box kit took 22.5V. Of course, if you are going to build your own battery, maybe you ought to build your own triodes, too.

Disassembly Required

If you really want to hack software, you are going to face a time when you have to take apart someone’s machine code. If you aren’t very organized, it might even be your own — source code does get lost. If you want to impress everyone, you’ll just read through the hex code (well, the really tough old birds will read it in binary). That was hard to do even when CPUs only had a handful of instructions.

A more practical approach is to use a tool called a disassembler. This is nothing more than a program that converts numeric machine code into symbolic instructions. The devil, of course, is in the details. Real programs are messy. The disassembler can’t always figure out the difference between code and data, for example. The transition points between data and code can also be tricky.

When Not to Use

If you are coding your own program in assembly,  a disassembler isn’t usually necessary. The disassembly can’t recover things like variable names, some function names, and — of course — comments. If you use a high-level language and you want to check your compiler output, you can easily have the compiler provide assembly language output (see below).

The real value of a disassembler is when you don’t have the source code. But it isn’t easy, especially for anything nontrivial. Be prepared to do a lot of detective work in most cases.

Continue reading “Disassembly Required”

Cat Vs. Human Escalates With Armor-Plated Feeder

Wars generally increase innovation as the opposing sides try to kill each other in ever more efficient ways. Even the soft war waged daily between felines and their human servants results in innovation, to wit we offer this armor-plated automated cat feeder.

The conflict between [Sprocket H.G. Shopcat] and her human [Quinn Dunki] began with a thoughtfully provided automatic food dispenser. Like human vending machine customers who witness a just-purchased bag of Cheesy Poofs dangling on the end of the dispense auger, [Sprocket] learned that the feeder would dispense a few fishy nuggets when nudged. [Quinn] embarked on an iterative design process to control [Sprocket]’s off-schedule snacking. Fastening the feeder firmly to the floor, and adding obstructions to prevent her from pawing up the dispense chute — nothing seemed to stop the clever feline’s raids. [Quinn] then pulled out all the stops and whipped up a [Sprocket]-safe enclosure for the feeder from 1/8″ plate steel and copper. This seems to have put the cat back on the straight and narrow, and it doesn’t look half bad either.

All kidding aside, [Quinn]’s approach to this problem is pretty instructive. Careful observations informed several cycles of reasonable modifications until it became clear that only the most extreme solution would work. There’ve been tons of cat feeders here before, from the simple to the complex, but we think all would fall prey to the clever [Sprocket] without a little up-armoring.

Continue reading “Cat Vs. Human Escalates With Armor-Plated Feeder”

Halogen Lamp Abused For Desoldering

[Moony] thought that it was unconscionable that IR soldering stations sell for a few hundred Euros. After all, they’re nothing more than a glorified halogen lightbulb with a fancy IR-pass filter on them. Professional versions use 100 W 12 V DC bulbs, though, and that’s a lot of current. [Moony] tried with a plain-old 100 W halogen lightbulb. Perhaps unsurprisingly, it worked just fine. Holding the reflector-backed halogen spotlight bulb close to circuit boards allows one to pull BGAs and other ornery chips off after a few minutes. Voila.

[Moony] reasons that the IR filter is a waste anyway, since the luminous efficiency of halogen lights is so low: around 3.5%. And that means 96.5% heat! But there’s still a lot of light streaming out into a very small area, so if you’re going to look at the board as you de-solder, you’re really going to need a pair of welding goggles. Without, you’ll have a very hard time seeing your work at best, and might actually do long-term damage to your retinas.

So the next time you’re feeling jealous of those rework factory workers with their fancy IR soldering stations, head on down to the hardware store, pick up a gooseneck lamp, a 100 W halogen spotlight, and some welding goggles. And maybe a fire brick. You really don’t want your desk going up in flames.

We love make-do hacks, but we love doing it right, too. Just watch [Bil Herd] extol the virtues of a real IR desoldering station. And then giggle as you do the same thing with a few-dollar halogen bulb.

Continue reading “Halogen Lamp Abused For Desoldering”