Overengineered Fume Extractor, Version 2

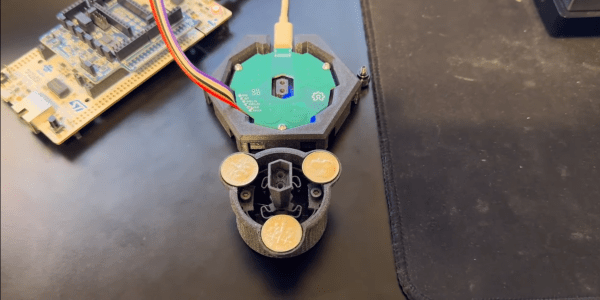
We all know the temptation of adding one more feature to your latest project. [Arnov Sharma] didn’t resist the urge. Building on his 3D-printed fume extractor, he developed a new version made of PCB material.

The device has a 18650 battery and corrects several flaws in the original design we covered earlier. In particular, the new version uses a quiet fan and consumes less power. There is also a 3D-printed filter housing that uses cotton as a filter media. Continue reading “Overengineered Fume Extractor, Version 2”

Four M.2 cards of different sizes on a desk surface

M.2 For Hackers – Cards

Last time, I’ve explained everything you could want to know if you wanted to put an M.2 socket onto your board. Today, let’s build M.2 cards! There’s a myriad of M.2 sockets out there that are just asking for a special card to be inserted into it, and perhaps, it’s going to be your creation that fits.

Why Build Cards?

Laptops and other x86 mainboards often come with M.2 slots. Do you have a free B-key slot? You can put a RP2040 and bunch of sensors on a B-key PCB as an experimental platform carried safely inside your laptop. Would you like to do some more advanced FPGA experiments? Here’s a miniscule FPGA board that fits inside your laptop and lets you play with PCIe on this same laptop – the entire setup having a super low footprint. Are you looking for an extra PCIe link because you’re reusing your laptop as a home server? Again, your WiFi slot will provide you with that. Want to get some PCIe out of a SteamDeck? Building a M-key 2230 card seems to be your only hope! Continue reading “M.2 For Hackers – Cards”

Dosimetry: Measuring Radiation

Thanks to stints as an X-ray technician in my early 20s followed by work in various biology labs into my early 40s, I’ve been classified as an “occupationally exposed worker” with regard to ionizing radiation for a lot of my life. And while the jobs I’ve done under that umbrella have been vastly different, they’ve all had some common ground. One is the required annual radiation safety training classes. Since the physics never changed and the regulations rarely did, these sessions would inevitably bore everyone to tears, which was a pity because it always felt like something I should be paying very close attention to, like the safety briefings flight attendants give but everyone ignores.

The other thing in common was the need to keep track of how much radiation my colleagues and I were exposed to. Aside from the obvious health and safety implications for us personally, there were legal and regulatory considerations for the various institutions involved, which explained the ritual of finding your name on a printout and signing off on the dose measured by your dosimeter for the month.

Dosimetry has come a long way since I was actively considered occupationally exposed, and even further from the times when very little was known about the effects of radiation on living tissue. What the early pioneers of radiochemistry learned about the dangers of exposure was hard-won indeed, but gave us the insights needed to develop dosimetric methods and tools that make working with radiation far safer than it ever was.

Continue reading “Dosimetry: Measuring Radiation”

A Pi Pico Oscilloscope

At the budget end of the oscilloscope range lie the so-called pocket ‘scopes. About the size of a deck of cards, they combine a microcontroller and an LCD screen to make an instrument with a bandwidth in the tens of kilohertz and a not-too-sparkling performance. They’re something of a toy, but then again, if all that’s needed is a simple ‘scope for audio frequencies, they make a passable choice in a small package. Now [jgpeiro] has made one which is light years ahead of the toy kits, using a Raspberry Pi Pico, a 100 MHz ADC, and an effort to design a better input circuit.

At its simplest this could be a straightforward op-amp and ADC circuit feeding the Pico, but instead it has multiple stages carefully designed to offer the full bandwidth, and with gain, offset, and trigger settings being set by a series of DAC chips under software control. This and the decent bandwidth make this a much more viable oscilloscope, and one we’d like to see further developed.

By comparison, we took a look at the best of the competition a few years ago.

Mini Ultrasonic Levitation Kit Is An Exercise In Sound Minimalist Design

For those that haven’t heard, ultrasonic levitation is a process by which two or more ultrasonic transducers are set opposite to each other and excited in such a way as to create a standing wave between them. The sound is, as the name implies, ultrasonic — so outside the range of human hearing — but strong enough so that the small, light objects can be positioned and held fixed in mid-air where there’s a pressure minimum in the standing wave. [Olimex] has created a small ultrasonic levitation kit that exemplifies this phenomena.

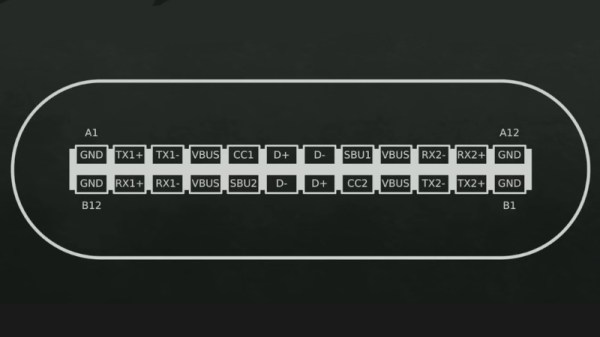
The kit itself is made using through-hole components, with an ATTiny85 as the core microcontroller to drive two TCT40-16T ultrasonic speakers, and a MAX232 to provide a USB interface drives the transducers (thanks to the folks in the comments for the correction). Two slotted rectangular PCB pieces that solder connect to the main board, provide a base so that the device stands upright when assembled. The whole device is powered through the USB connection, and the ultrasonic speakers output in the 40KHz range providing enough power to levitate small Styrofoam balls.

The project is, by design, an exercise in minimalism, providing a kit that can be easily assembled, and providing code that can be easily flashed onto the device, examined and modified. All the design files, including the bill of materials, KiCAD schematics, and source code are provided under an open source hardware license to allow for anyone wanting to know how such a project works, or to extend it themselves, ample opportunity. [Olimex] also has the kit for sale for those not wanting to source boards and parts themselves.

We’ve featured ultrasonic levitation devices before, from bare bones system driven by a NE555 to massive phased arrays.

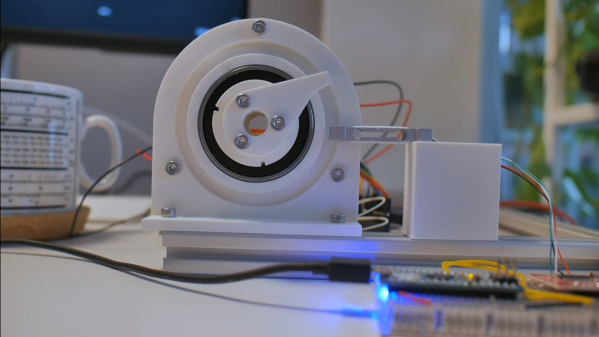
Hackaday Prize 2022: Meet The Winners Of This Year’s Competition

This year, the 2022 Hackaday Prize challenged hackers and makers in the open source community to develop projects which evoked the concepts of Sustainability, Resiliency, and Circularity — ideas which perhaps have never been more important. As humanity works to become better stewards to the only planet they can call home, everything we build (or rebuild) should reflect our desire to preserve our world for future generations.

Today, we’re excited to announce the projects that our panel of expert judges believe best exemplified this year’s theme and took home their share of the $50,000 USD in prize money.

Continue reading “Hackaday Prize 2022: Meet The Winners Of This Year’s Competition”

The Seven-Segment Display That’s Also An Input Device

We’re used to seeing all manner of seven-segment displays, be they mechanical, electronic, or something in between. But what all these displays have in common is that they’re, you know, displays. Using them as inputs would just be crazy talk, right?

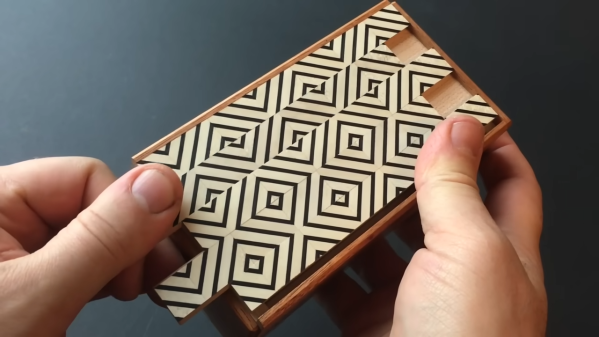
Perhaps, but we like where [Dave Ehnebuske] is going with “InSlide,” the seven-segment input device. The idea for this comes from the “DigiTag” display, which we covered back in October, and divides a standard seven-segment character into three vertical strips — two skinny ones for the outside vertical segments, and one wide strip holding the horizontal elements. By sliding these strips up and down relative to each other, the standard nine digits, plus a few other characters, can be composed.

[Dave]’s take on this theme started by building his display from laser-cut plywood pieces, which is a nice choice because of the good contrast between the white wood and the engraver segments. Next, he embedded rare earth magnets in the slides and installed seven Hall effect sensors in the frame. The sensors are connected to an Arduino Nano via a 74HC165 parallel-load shift register, which lets multiple modules be daisy-chained together. He also built an Arduino library to read the current state of the segments; it supports the full hexadecimal character set, or even duodecimal if you like.

[Dave] has shared the library, and it looks like you can get the build files for the mechanism from the original project. That’s good, because this looks ripe for hacking. It looks like it would be pretty easy to motorize a display like this by adding rack-and-pinion gearing and steppers — something like that could make an interesting clock.