Recently, the European Commission (EC) adopted a new proposal intended to enable and promote the repair of a range of consumer goods, including household devices like vacuum cleaners and washing machines, as well as electronic devices such as smartphones and televisions. Depending on how the European Parliament and Council vote in the next steps, this proposal may shape many details of how devices we regularly interact with work, and how they can be repaired when they no longer do.
As we have seen recently with the Digital Fair Repair Act in New York, which was signed into law last year, the devil is as always in the details. In the case of the New York bill, the original intent of enabling low-level repairs on defective devices got hamstrung by added exceptions and loopholes that essentially meant that entire industries and types of repairs were excluded. Another example of ‘right to repair’ being essentially gamed involves Apple’s much-maligned ‘self repair’ program, that is both limited and expensive.
So what are the chances that the EU will succeed where the US has not?
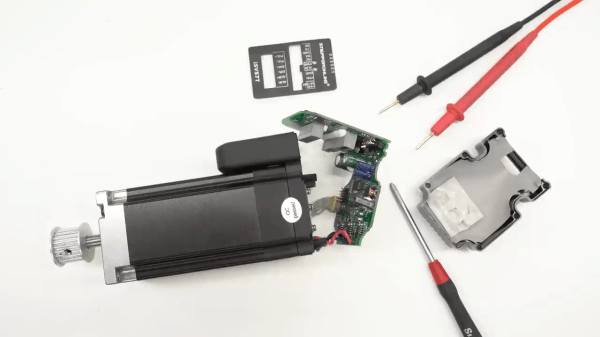
The low-cost servo motor in [Clough42]’s lathe’s electronic leadscrew bit the dust recently, and he did a great job documenting his repair attempts ( see video below the break ). When starting the project a few years ago, he studied a variety of candidate motors, including a ClearPath servo motor from Teknic’s “Stepper Killer” family. While that motor was well suited, [Clough42] picked a significantly lower-cost servo motor from China which he dubbed the “Stepper Killer Killer”.
He does a very thorough post-mortem of the motor’s integrated servo controller, checking the circuits and connections on the interface PCB first. Not finding any obvious problem, he proceeds to the main PCB which contains the microcontroller, motor driver transistors, and power supplies. There is no visible damage, but a check of the logic power supply shows 1.65V where 3.3V is expected. Looking at the board with a smart-phone mounted IR camera, he quickly finds the bad news — the microcontroller has shorted out.
Apple is often lauded for its design chops, but function is often sacrificed at the altar of form, particularly when repair is involved. [Ken Pillonel] has made it easier for everyone to replace the batteries or lightning port in the AirPods Pro case. (YouTube)
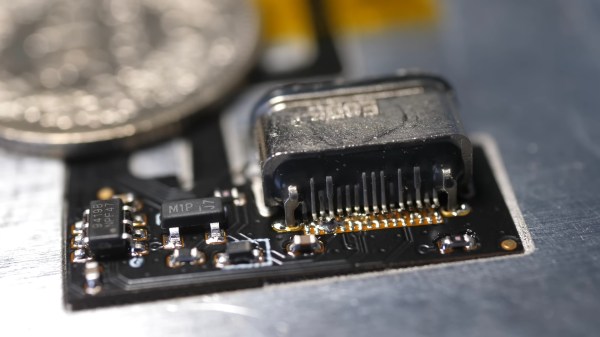
With such notable hacks as adding USB C to the iPhone already under his belt, [Pillonel] has turned his attention to fixing the notoriously poor repairability of AirPods and AirPods Pro, starting with the cases. While the batteries for these devices are available, replacement Lightning ports are not, and taking the housing apart for the case is an exercise in patience where the results can’t be guaranteed.
He designed a USB C replacement port for broken Lightning ports that is a perfect fit if you happen to get the case apart in one piece. If you’re less successful, he has you covered there too with a 3D printable enclosure replacement.
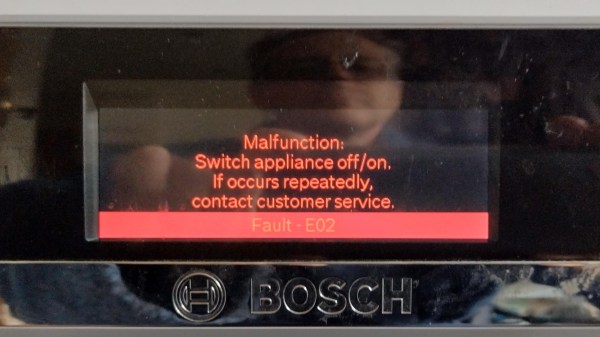
It all started with a vague error code (shown in the image above) on [nophead]’s Bosch SMS88TW01G/01 dishwasher, and it touched off a months-long repair nightmare that even involved a logic analyzer. [nophead] is normally able to handily diagnose and repair electronic appliances, but this time he had no idea what he was in for.
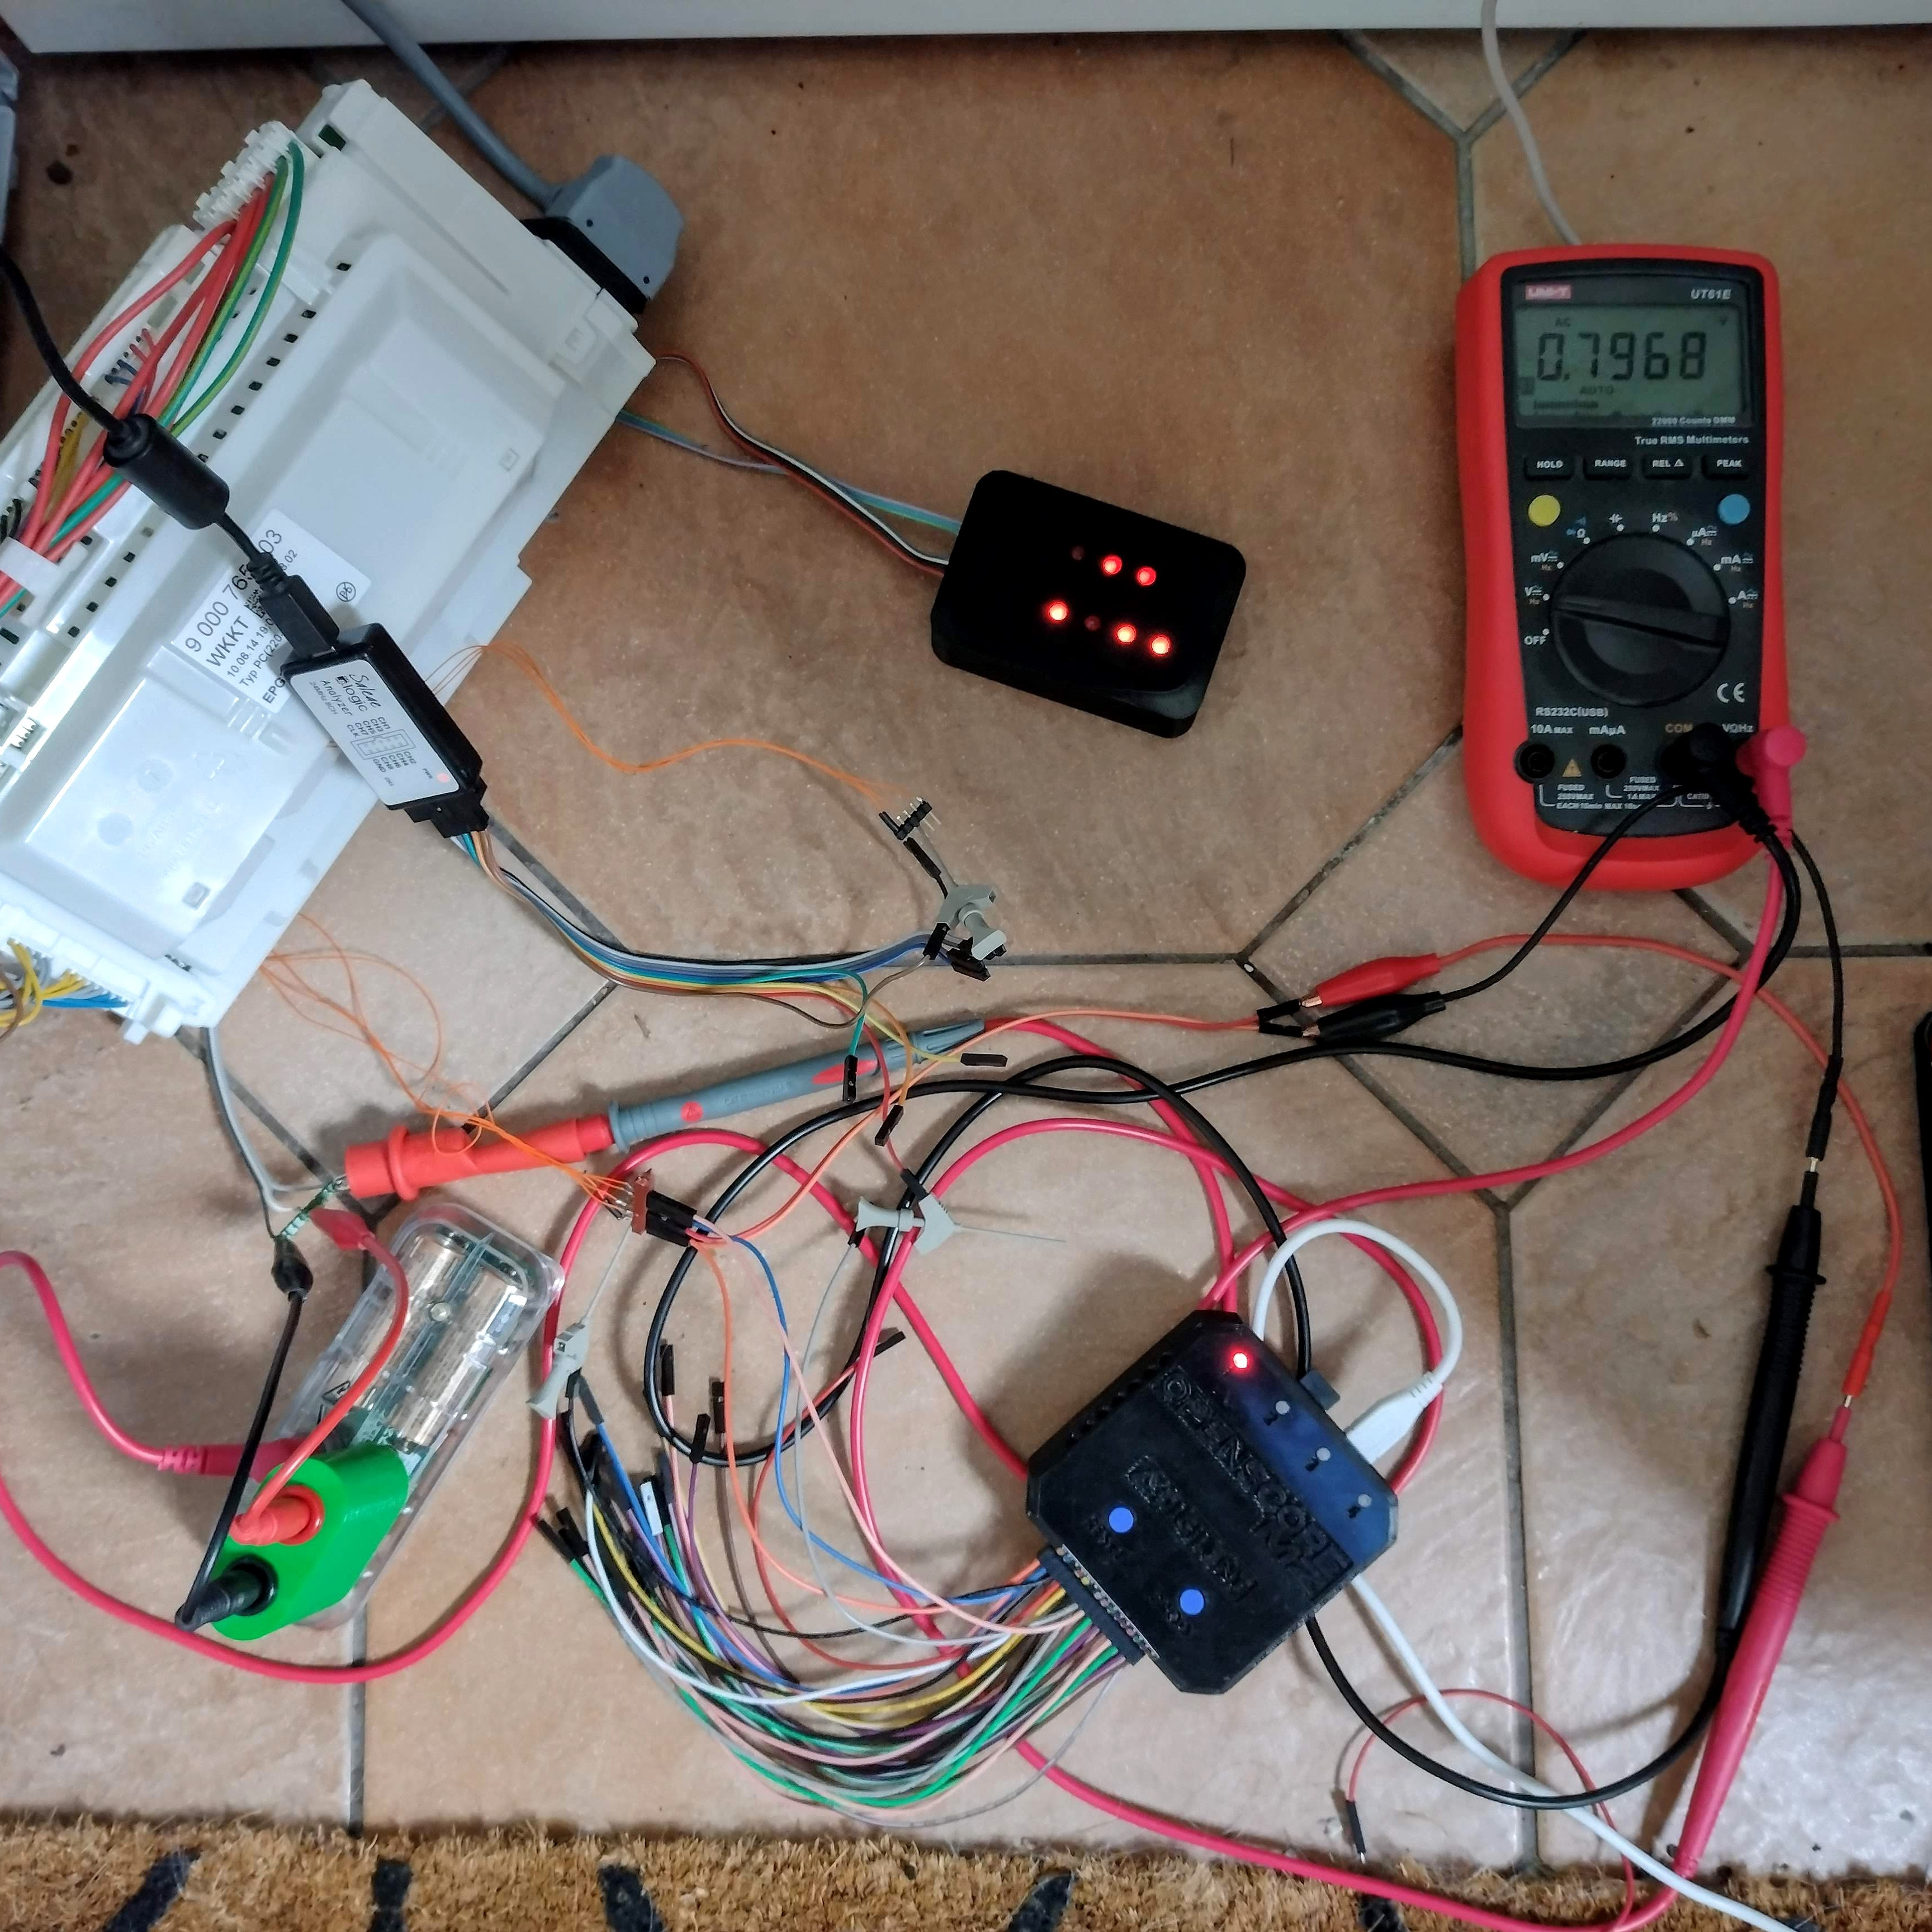
Not many dishwashers require breaking out a logic analyzer and 3D-printed custom adapters, but this one did.
Not only were three separate and unrelated faults at play (one of them misrepresented as a communications error that caused a lot of head-scratching) but to top it all off, the machine is just not very repair-friendly. The Bosch device utilized components which are not easily accessible. In the end [nophead] prevailed, but it truly was a nightmare repair of the highest order. So what went wrong?
One error appears to have been due to a manufacturing problem. While reverse-engineering the electronics in the appliance, [nophead] noticed a surface-mounted transistor that looked crooked. It was loose to the touch and fell into pieces when he attempted to desolder it. This part was responsible for switching an optical sensor, so that was one problem solved.
Another issue was a “communications error”. This actually came down to ground leakage due to a corroded and faulty heater, and to say that it was a pain to access is an understatement. Accessing this part requires the machine to be turned upside down, because the only way to get to it is by removing the base of the dishwasher, which itself requires a bizarre series of awkward and unintuitive steps to remove. Oh, and prior to turning the machine upside down, one has to purge the sump pump, which required a 3D-printed adapter… and the list goes on.
And the E02 error code, the thing that started it all? This was solved early in troubleshooting by changing a resistor value by a tiny amount. [nophead] is perfectly aware that this fix makes no sense, but perhaps it was in fact related to the ground leakage problem caused by the corroded heater. It may return to haunt the future, but in the meantime, the machine seems happy.
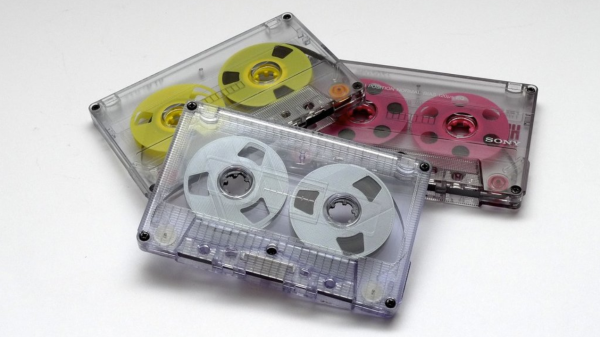
The benefit of 3D printers is that they have made it relatively easy to reproduce just about any little plastic thing you might happen to break. If you’re one of the diehards that still has a cassette collection, you might find these 3D prints from Thingiverse useful to repair and maintain any broken tapes you may have.
If you’ve ever stepped on a cassette tape, you’ll know it’s easy to crack the housing and render it unplayable. If you find yourself in this position, you can always 3D print yourself a new cassette tape housing as created by [Ehans_Makes]. The housing design only covers the outer parts of the cassette tape, and doesn’t include the reels, screws, or other components. However, it’s perfect for transplanting the guts of a damaged cassette into a new housing to make it playable once again. The creator recommends using Maxell cassette parts with the design, as it was based on a Maxell cassette shell.
For the modders and musique concrèters out there, [sveltema] designed a simple 3D printed guide for creating tape loops of various lengths. Simply adding a few of these guides to a cassette shell will let you wind a longer continuous loop of tape inside a regular cassette shell. Meanwhile, if you simply want to jazz up your next mixtape gift, consider this cosmetic reel-to-reel mod from [mschiller] that makes your cassettes look altogether more romantic.
Many called the Compact Cassette dead, and yet it continues to live on with enthusiasts. Meanwhile, if you want to learn more about keeping your cassette deck operating at its best, we’ve featured a masterclass on that very topic, too!
Like many of you, I’ve become the designated “fix-it” person for my family and friends. While it can be a lot of work — I just finished an oil change that required me to lay in a cold, wet driveway and I can’t mention in polite company the substances I was bathed in while fixing a clogged pipe last week — I generally relish my role. I enjoy solving problems, I love working with my hands and my head, and who doesn’t like saving money and time?
But for me, the best part of being the fix-it guy is the satisfaction that comes from doing something others can’t do. I find this especially true with automotive repairs, which conventional wisdom says is strictly the province of factory-trained experts. A little bit of a hero complex, perhaps? Absolutely! After all, I don’t get paid for my repairs, so I’ve got to get a little something for the effort.
This is why a recent pair of unrelated fixes left me feeling thoroughly unsatisfied. Neither of these jobs was a clear win, at least in terms of getting the rush of being able to do something that nobody else could. At best, these were qualified wins, which both still left me feeling a little defeated. And that got me thinking that I’m probably not the only one who has had marginal repair wins like these.
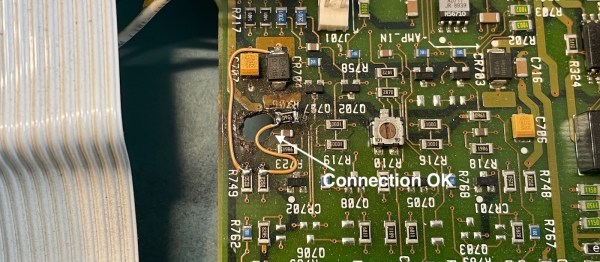
When a friend of [Tom Verbeure] came into possession of two HP 33120A 15 MHz function/arbitrary waveform generators, he could not resist giving them a try. Although not exactly high-end units, the HP 33120A makes for a pretty nice unit for a home lab. During the first test run, however, [Tom] discovered that one of the units had a dead output, which made it rather useless. Undeterred, [Tom] set to work diagnosing it, helped by the repair manual and full schematics.
While the cause was quickly tracked down to the general area around an exploded MLCC, fixing the fried Zener diode that may have initiated the short on the -15V rail revealed an unpleasant surprise. To [Tom]’s horror, he saw a portal to Hell itself open when part of the PCB caught on fire due to an internal short. After making sure to capture a video of this event, he then proceeded to use a thermal camera to track down the hot spot and uses a drill to remove the short.
While one can argue with the use of a drill to remove shorts on inner layers of a PCB, ultimately the fix was effective. A look on the schematic and comparison with the functioning 33120A unit later, all it took was two bodge wires to restore functionality. After this event, [Tom]’s friend gave him the repaired unit as thanks, and definitely not because [Tom] had begun to refer to it as ‘his precious’.