It’s no secret that a great deal of Western civilization was informed by the ancient Greeks. They revolutionized mathematics and geometry, developing astronomy along the way. They built ornate statues, beautiful temples to the gods, and amphitheaters for live entertainment with astonishing acoustics. The influence of the ancient Greeks shaped almost every field of human knowledge, from the arts and architecture to politics, philosophy, science, and technology.

Order yours now
Like the Babylonians, the Greeks paid close attention to the night sky. Our nearest celestial neighbor, the Moon, was particularly important to them from a planning perspective. For instance, debts might be due on the new Moon. By heeding the Moon’s phases and taking note of eclipse cycles, they found that their harvests were more fruitful, and they had fewer incidents at sea.
As savvy and well-rounded as ancient Hellenistic culture appears to have been, it’s not unreasonable to imagine that the Greeks could have created some kind of computing machine to make their Moon-centered scheduling easier. Based on fragments from in a shipwreck that was discovered in 1900, it seems they did exactly this. Based on scientific dating of the coins and pottery found in the wreck and inscriptions on the bronze remnants, historians and scientists believe the Greeks created a mechanical computer capable of calculating the positions of the Sun and the Moon on any given day. This marvelous device is known as the Antikythera mechanism.
The mechanism was housed in a wooden box and controlled with a knob on one side. It is believed that the front of the box was a display made up of a set of concentric rings with graduations, and that each ring corresponded with one celestial body. Pointers attached perpendicularly to output gears moved around the rings as the knob was turned, showing the paths and positions of these celestial bodies over time. This Earth-centric planetarium also displayed the phase of the Moon as well as the positions of the five major planets known to the ancient Greeks—Mercury, Venus, Mars, Jupiter, and Saturn.

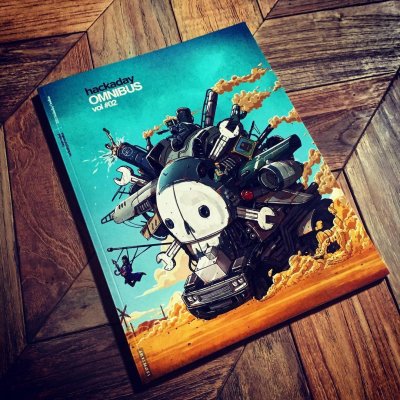 [Joe Kim], Hackaday’s Art Direct, really outdid himself with the cover this year. Inspired by an epic movie, the illustration includes a shoutout to almost every article found within. Of course there is a lot more of his work inside, along with the efforts of dozens of writers, artists, editors, and more.