Everyone here at Hackaday is a big fan of Embedded.fm, the weekly podcast for people who love making gadgets, hosted by [Elecia White]. We’re honored that this week she has dedicating an entire episode to live interviews at the Hackaday SuperConference.
The set of seven interviews are with some of the people who were working the SuperCon. These were recorded on the second day of the conference, after the Hackaday Prize had been awarded. It was also the morning after [Sprite_TM] presented an amazing talk which almost everyone interviewed mentions (don’t worry, video of that talk is coming soon).
[Elecia] has a gift for interviewing and guides the conversation in many interesting directions: what the SuperCon is all about, background on the people who work on Hackaday, Supplyframe, and Parts.io, looks back at the 2015 Hackaday Prize, and what the future might bring.
If you’ve ever wanted a candid behind-the-scenes look at the events and initiatives that go on around here, this is it. It’s told from the perspective of people who love devoting way too much time to Hackaday. We think [Elecia] is counted among them.
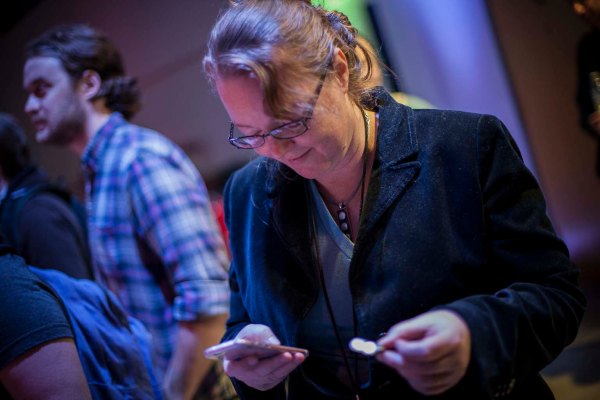
Main Image: In true hacker fashion, [Elecia White] prepares to launch her LED throwie up to the second floor ductwork at the Hackaday SuperConference.