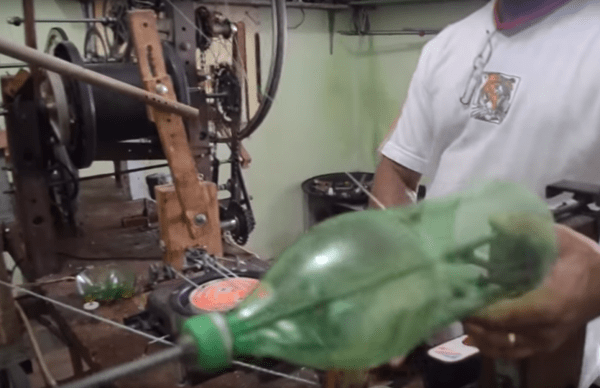
All over the world, mountains of polyethylene terephthalate (PET) plastics are available for recycling in the form of soda bottles. And wherever there is enough cheap raw material, a market is sure to emerge for it. One brilliant inventor in Brazil has decided to capitalize on this market by building a magnificent factory to turn PET bottles into threads, rope, and other products.
Not a word of English is spoken in the video, and our Portuguese stops at obrigado, but you don’t really need to understand what’s being said to know what’s going on. Built from what looks to be the running gear of several bicycles and motors from various cast-off appliances, our nameless genius’ machines slit the PET bottles into fine threads, winds the thread onto spools, and braids the threads into heavier cords. We love the whole home-brew vibe of the machines; especially clever is the hacked desk calculator wired to a microswitch to count revolutions, and the salvaged auto jack used to build a press for forming the broom heads. All in all it’s a pretty amazing little factory cranking out useful products from zero-cost raw material.
We’d love to have more context about what’s being said in the video, so we’ll put this one out there for our Portuguese-speaking readers. Maybe we can get a partial translation in the comments? If so, then obrigado.
[Thanks W4RIS]
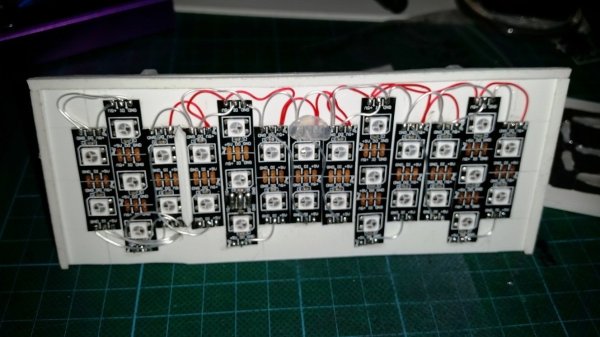
 The easy part consists of Neopixels, an Arduino Nano and a DS3231 Real Time Clock. The hard part consists of Plasticard and a polymorph diffuser. Plasticard also goes by the name of Polystyrene and comes in sheets. [David] describes Polymorph as a type of moldable nylon that softens with heat, with a working temperature low enough that boiling water will suffice.