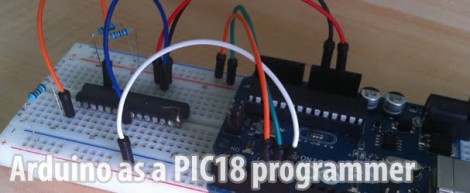
Arduino PIC Programmer Writes To 18F Family

[Kirill] wrote in to share his Arduino-based PIC programmer. It is capable of writing to the 18F family of chips, including 18F2XXX and 18F4XXX. We think that’s pretty exciting because this line of chips has USB functionality and there are bootloaders out there that let you program them via USB. So if you wanted to build your own PIC dev-board (like this one) you can use your Arduino to flash the bootloader.

This post comes hot on the heels of the Arduino being used as a PIC 16F programmer. That hack has a rudimentary programming GUI, something that [Kirill] admits his lacks but has no plans to implement himself. Perhaps someone will do a little porting work to merge the projects, adding to the range of chips supported by this programming technique.

Fairly Simple Hack Makes Samsung TVs Reboot Forever

[Luigi Auriemma] almost rendered his brother’s TV useless attempting to play a simple practical joke. In the process, he uncovered a bug that could potentially upset a lot of people. His idea was to connect a computer to the system via WiFi, masquerading as a remote control.  [Luigi] found that by altering the packet being sent to the TV by adding a line feed and some other characters to the name, it would begin an endless reboot loop.

He also discovered that he could easily crash the devices by setting the MAC address string too long. We’re not sure if he’s modifying the remote, or the television on this one though.

These bugs affect the Samsung TVs and Blu Ray players that utilize the same chip. The crazy part is that despite his attempts, he has been unable to contact anyone at Samsung to let them know!

[via BoingBoing]

An ATTiny13 Makes May 13th Brighter

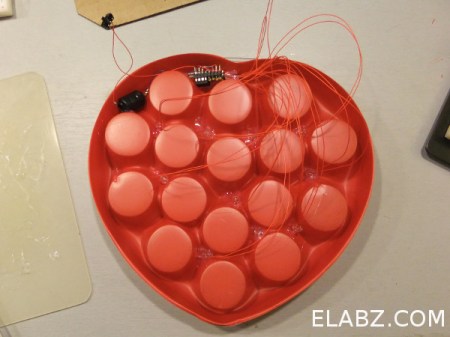
When the time comes to go to the store and pick up those chocolates you always get your mother for valentines mother’s day, why not spice them up a little with some LEDs? [Dmitry] shows how you can easily add some flashing lights to the packaging without really modifying it. He’s using an ATtiny13 which only has 5 I/O pins, so he had to charlieplex the LEDs to get all 10 functional. The result is fairly quick and might just show Mom that you really do care.

[via HackedGadgets]

A 3D Printed, Electromechanical Computer

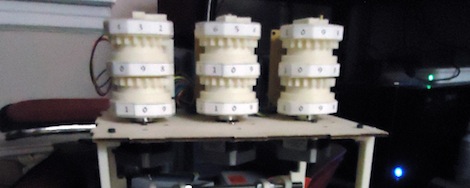
If you had a machine that could print complex mechanical parts in an hour or so, what would you do? [Chris] is doing the coolest thing we can imagine and is building an electromechanical computer from 3D printed parts.

You may remember [Chris] from his efforts to getting his tiny, 1/10th scale Cray-1 supercomputer up and running. Even though he has the OS on a disk, actually booting the machine is a bit of a problem; much the same as his electromechanical computer project. Late last year we saw [Chris] building a few gears for his computer, but now he’s got a punch card reader that looks very much like a Jacquard loom.

Even though the computer doesn’t actually do anything yet, it’s amazing to think that [Chris] is building out of plastic that will run computer programs. You can check out the video of [Chris]’ video of his punch card reader after the break.

Continue reading “A 3D Printed, Electromechanical Computer”

Watch A Shop Tour Through The Screen Of An Oscilloscope

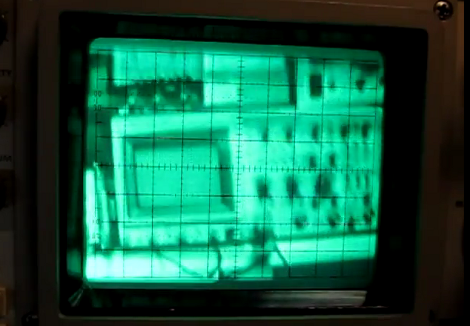
[Alan] posted a video tour of his electronics shop, but you’ll be viewing it through the green screen of an oscilloscope. The image above is a video camera filming a scope screen which displays the image of…. an oscilloscope (insert your own Yo Dawg meme here). But first he shares the technique he uses to display composite video on an oscilloscope screen.

The first three minutes of the video after the break are devoted to the video display hack. He starts with a glimpse of the breadboard circuit which takes the composite video signal and provides the necessary X, Y, and Z input signals to the scope to perform like this. He then walks through each portion of the schematic, which is based on an LM1881 video sync separator chip. The horizontal and vertical sync signals are separated by this chip, then filtered to produce ramp voltages for each to drive X and Y. The Z-axis is fed through a simple inverter circuit; Bob’s your uncle and your oscilloscope is now a TV monitor.

Of course this is not the first time this has been done. But we loved [Alan’s] presentation, and thought the shop tour was a fun way to finish off the video.

Continue reading “Watch A Shop Tour Through The Screen Of An Oscilloscope”

Machine Learning Lets Micro Decode Your Handwriting

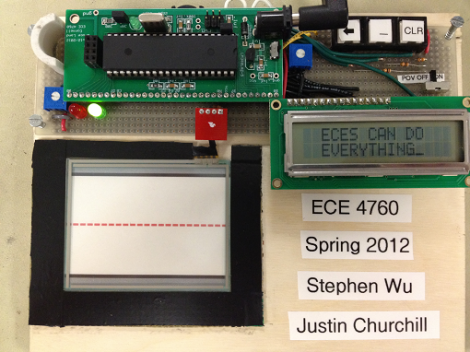
This rig will take the letters you write on the touchpad using a stylus and turn them into digital characters. The system is very fast and displays near-perfect recognition. This is all thanks to a large data set that was gathered through machine learning.

The ATmega644 that powers the system just doesn’t have the speed and horsepower necessary to reliably recognize handwriting on its own. But provide it with a dataset to compare against and you’re in business. [Justin] and [Stephen] designed a neural network algorithm that took a large volume of character handwriting samples, and boiled them down into a set of correlations that can be referenced when encountering a new entry. This set is about 88 kilobytes, too much to store in the microprocessor, but easy to reference from an external flash memory device.

There’s plenty of gritty details in the write up linked above, but you may want to start with the video overview found after the break.

Continue reading “Machine Learning Lets Micro Decode Your Handwriting”

TI Launchpad As AVR ISP Programmer

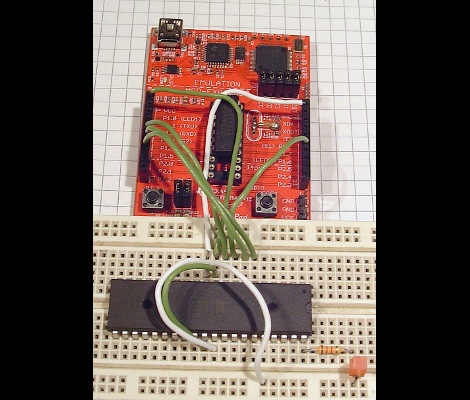
[Minifloat] is using his TI Launchpad development board as an In-System Programmer for AVR chips (translated). There are a ton of homebrew AVR programmers out there, and using an Arduino for ISP is quite popular. But recently we searched for a way to use the Launchpad as a programmer and didn’t find one. We’d venture to say this is the first.

There is one hardware modification that must be made. An external clock crystal (32.768 kHz) must be populated on the board. But since it was designed with the feature in mind that’s a pretty quick process. [Minifloat] followed Atmel’s ISP app note, and extended some of the code written for a different programmer to get things up and running. At first the device wouldn’t communicate with AVRdude, but that turns out to be a problem with the initialization conversation. AVRdude polls the connected programmer to see if it supports block mode, and the firmware on the MSP430G2211 wasn’t expecting this query. The problem was fixed and it now works.

It sounds like there are a couple of bugs left in the system. The first time AVRdude accesses the programmer after it has been plugged into the USB port it will fail. Subsequent attempts will succeed until the MSP430 chip is reset, or the USB connection is replugged. But if you’re just getting into the AVR line, this will let you figure out if you want to invest in a proper programmer.