Save Boatloads Of Cash By Building Your Own Laser Cutter

diy_laser_build

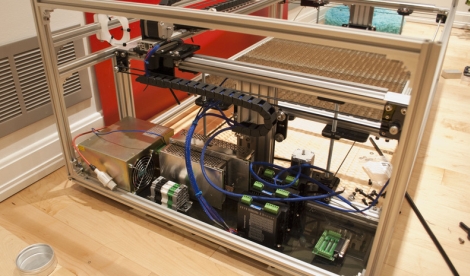
Have a bunch of time on your hands, and about $2,500 sitting around? Why not settle in and build yourself a laser cutter?

That’s exactly what Buildlog forum member [r691175002] did, and he told us about it in our comments just a few moments ago. Laser cutters can be pretty cost prohibitive depending on what you are thinking of picking up. The cheapest Epilog laser we could find costs $8,000, and you know what can happen when you try buying a cheap laser online.

Instead of going for a ready-made cutter, he purchased an open-source kit from Buildlog, documenting the highlights of the build process online. The build log walks through a good portion of the construction starting with the frame and motor mounts, continuing through wiring up the electronics as well as some of the finishing touches. If you happen to head over to take a look around, you will find that there are plenty of pictures from various stages of the construction process to keep you busy for awhile.

With everything said and done, [Ryan] is quite happy with his laser. After going through the build process, he offers up some useful construction advice, as well as tips on sourcing cheaper hardware. He estimates that if he built the laser today, he could probably cut the costs nearly in half.

There’s no doubt about it – a $1300 laser cutter sounds pretty darn good to us.

OSHW Logo Announced

The results are in and the new Open Hardware logo has been selected! After tallying nearly 9,000 votes it has been decided that “Golden Orb” by Macklin Chaffe will now represent the OSHW definition v1.0.

Rest assured that despite earlier controversy regarding a few users that had submitted a very large number of duplicate votes (over 3,100 in all), the results have been cleaned up and validated prior to announcing the winner.

If you agree with the definition you can now go ahead and use the logo on your creations! Some creative individuals at this Open Hardware Summit forum have made it easy for you with logos of varying sizes, colors, and fill – perfect for application on any background. Here you will also find vector-based versions and even an Eagle parts library for inclusion on your next board’s silkscreen!

[Jason] at MrDecals.com has also generously offered 3 free decals of the new logo to anyone who asks – just pay for shipping. Please note that this is not a paid advertisement, [Jason] received permission from opensourcehardware.org to run the promotion and $1 for US shipping seems very reasonable. We are guessing from the responses to previous giveaways that many HackaDay readers might be interested!

We personally love the way that the new logo keeps with the feel of the Open Source Intiative logo and can’t wait to see what hardware it starts showing up on!

turbografx_clone

FPGA-based Turbografx 16 Clone

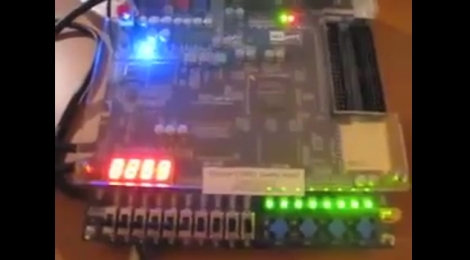
[Gregory] wrote in to share his most recent project, an FPGA clone of the PC Engine/Turbografx 16 console. You may remember him from last year, when we talked about his SEGA Genesis FPGA clone. He just couldn’t leave well enough alone, and decided to resurrect yet another 16-bit machine in FPGA form.

He has been working on the project for about three months now, but he has been making very quick work of getting everything up and running. As of a few weeks ago, the project was in a pretty unstable alpha stage, but after pounding away at some bugs, he is now able to render any game he pleases.

The clone uses an Altera DE1 board just like his previous builds, and he has been able to emulate all three if the main chips that make up the Turbografx logic board. He has yet to work on the Programmable Sound Generator, but that is slated for the near future. While the FPGA currently stores ROMS in its flash memory, he has plans to add the ability to load games from an SD card.

Keep reading to see a pair of videos showing his console clone in action, it’s impressive.

Continue reading “FPGA-based Turbografx 16 Clone” →

Buying A Laser Cutter From China

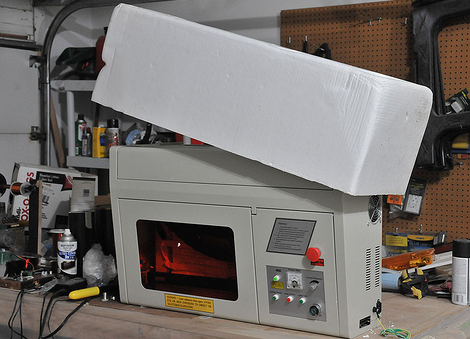
We here at Hackaday have been pining over these cheap laser cutters on the e-bay. They are, however, just outside of the price range to make them worth ponying up for.  [Stephen Hobley] however seems to have taken one for the team in his three part series, and is allowing us to live vicariously through is experiences.

Not surprisingly the price point leads to the potential for headaches. The units ship directly from China, and see their fair share of rough handling from package carriers. Broken/misaligned laser tubes are not uncommon (replacement tubes are prevalent). Shockingly the laser tube managed to survive the seven thousand mile journey! That only leaves a couple crucial modifications and careful cleaning and aligning to get the unit up and running. You didn’t think it would be that easy, did you?

To top off all the modifications adjustments and cleaning steps [Stephen] found (in part three) that his controller board was on the fritz. With a new one on the way from China, [Stephen] is debating either reverse engineering the included controller board or coming up with his own CNC solution. We could suggest quite a few alternate solutions ourselves.

We will be glued to [Stephen]’s blog for updates.

Stick around for a video of what we all really want to see, a laser burning stuff.

Continue reading “Buying A Laser Cutter From China” →

Sony Ericsson Promotes Android Bootloader Unlocking

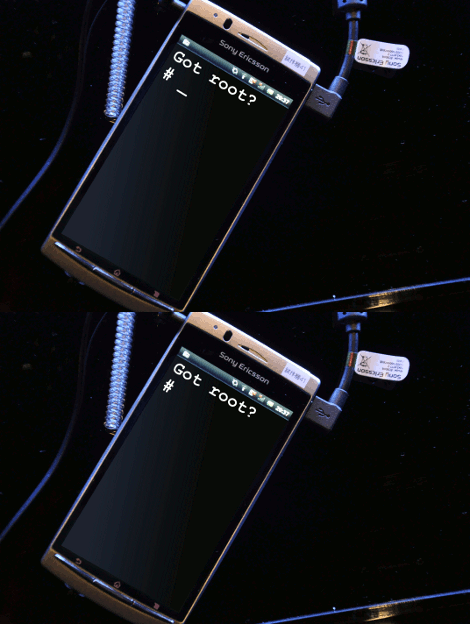
Sony Ericsson recently added a new section to their developer world portal called Unlocking the boot loader. They provide all the information and tools needed to root some of their newer Android phones.

Of course, this information comes from Sony Ericsson dripping with warnings, disclaimers and warranty-voiding rhetoric. Once you’ve waded through all of that, you’ll have to enter your phone’s IMEI number, your name and email address in order to get your phone’s unique bootloader unlock key. Here’s hoping they don’t use the form information to instantly void warranties.

Unlocking doesn’t come without consequences, but from UI tweaks and performance improvements to custom apps and tethering, there are probably more reasons to unlock your Android device than there are reasons to leave it alone. In an age where people are making a fuss about companies adding stumbling blocks for would-be jailbreakers, it’s good to see that at least one of them is doing what they can to help hackers take the plunge. Anyone want to clear up why Sony Ericsson feels like supporting hackers but Sony sues people for doing similar things on the ps3?

Thanks to [flip] | remixed image credit (cc by-sa 2.0): [taka@p.p.r.s]

Real-time GPS Tracker With Mobile Phone Uplink

[jayesh] wasn’t actually trying to solve any clever problems when we built his homebrew GPS tracker. He just had the hacker mentality and wanted to build something fun and useful while geeking out with electronics and software.

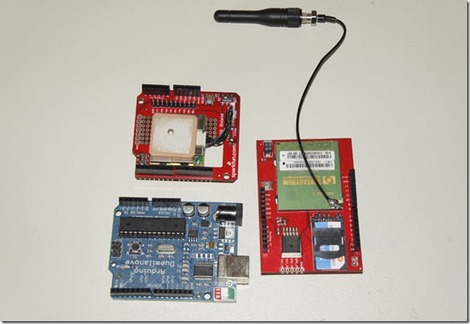
On the hardware side, he started with an Arduino, then added a GPS module for location detection and a GMS/GPRS module for the data uplink to his server over AT&T’s network. The Arduino uses several libraries and plenty of custom code. On the server, he worked up some wizardry with open-source packages and the Google Maps API. All of the source code and hardware details are well-documented. Put together, it’s a GPS tracker that can update a map in real-time. Sure, there are commercial products that do roughly the same thing, but where’s the fun in that? The principles here can also be put to good use in other microcontroller-based projects.

Analog Scope Stands In To For Laser Light Show

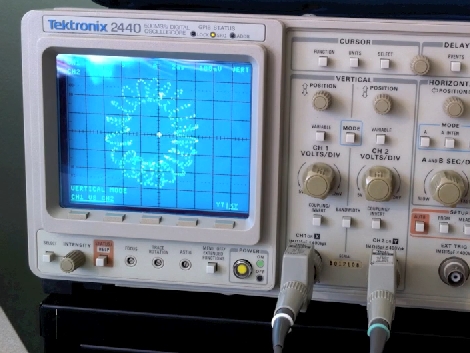
[Joey] likes to dabble in laser projection, building his own hardware and writing the software that drives it. One way that he tests his setup is by replacing the laser assembly with an analog oscilloscope. This allows him to ensure that the driver board is receiving data from the software, and translating it into the correct electrical signals to drive the motors controlling the mirrored redirection of the laser beam.

In the video linked above [Joey] walks us through this process. It starts by connecting scope probes to the digital-analog-converter card that outputs image data for the projector. From there the XY mode is used to map the two channels perpendicular to each other; the motors that these signals are meant to control have mirrors that also move perpendicular to one another. After adjusting the scale and the timebase you will see the pattern the laser dot is meant to trace.

[Joey] entered this in a Tectronix contest. There’s plenty of other interesting entries to browse though. If have an entry that you’d like to see featured, or if you come across any other interesting stuff, don’t forget to tip us off.