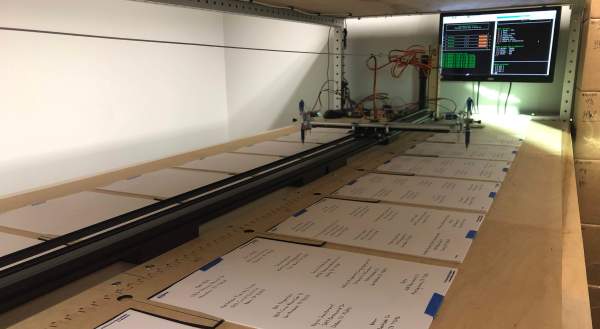
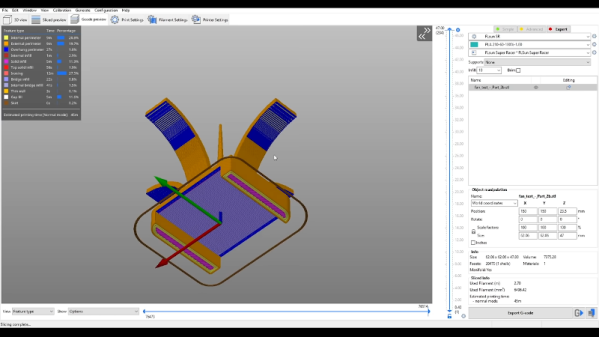
Unless you stay up all night and have a dozen printers going, it’s probably way too late to make one of these beautiful prop weapons designed by [Andrew] of The Ray Gun Project in time for Halloween. Most of them are from Call of Duty: Zombies, though there is an awesome little disco grenade from Fortnite as well.
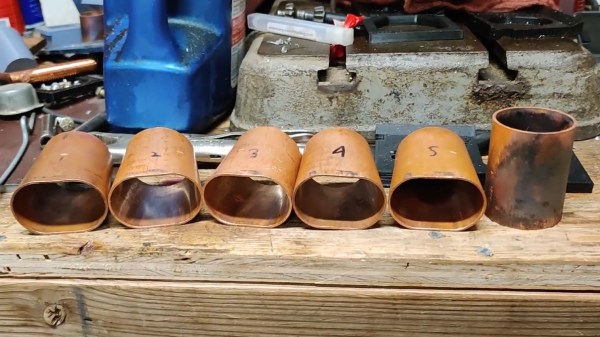
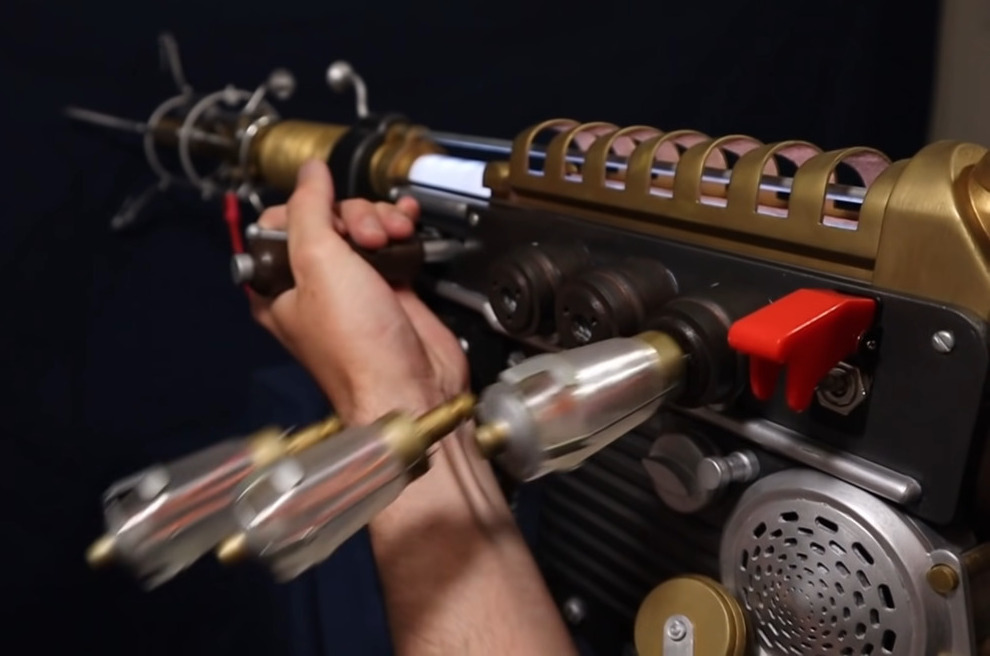 All of the projects are fantastic, but we chose to highlight the Wunderwaffe DG-2 from COD: Zombies because, well, vacuum tubes. For those unfamiliar with the ‘waffe’s operation, those vacuum tubes act as ammo magazines. Once they’re empty, you power them down with that big red switch and eject them one at a time with the lever, just like in the game.
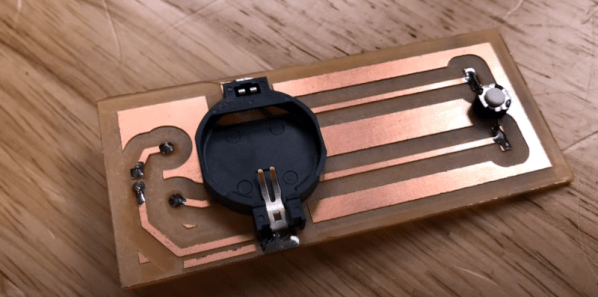
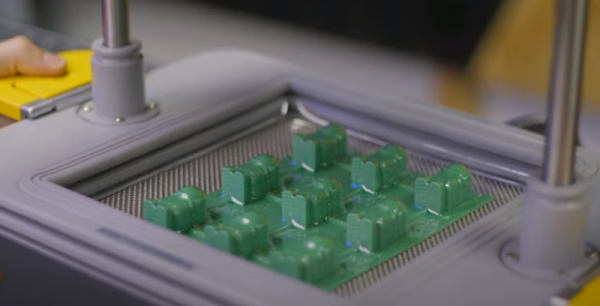
Inside is a Feather M0 Express that runs the RGB LEDs and uses a Hall effect sensor to read magnets in the quick-change ammo magazine. You can see how it works in the demo video after the break.
There are BOMs for several of the prop weapons, along with assembly drawings and support forums for anyone who wants to build their own. Don’t feel like gathering all the bits and bobs yourself? [Andrew] is selling hardware packs for the ray gun, but you’ll have to scrounge the parts yourself if you want to build the Wunderwaffle.
Are you a Grinch who wants to keep kids off of your lawn? Scare ’em off with a giant NERF gun.
Continue reading “DIY Wunderwaffe And Others Make Up This Open-Source Arsenal”