One of the Holy Grails of desktop 3D printing is the ability to print in multiple materials, for prints that mix colours or textures. There are printers with multi-way hot ends, add-ons that change your filament, or printers with tool changers, that swap hot ends as needed. [Amy] has taken the final route with her Hypercube, and her Doot Changer allows her to print in two materials with ease. Best of all, she tells us it only cost her $20 to make.
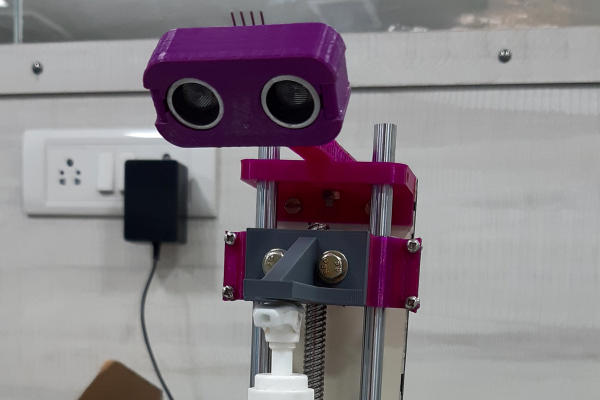
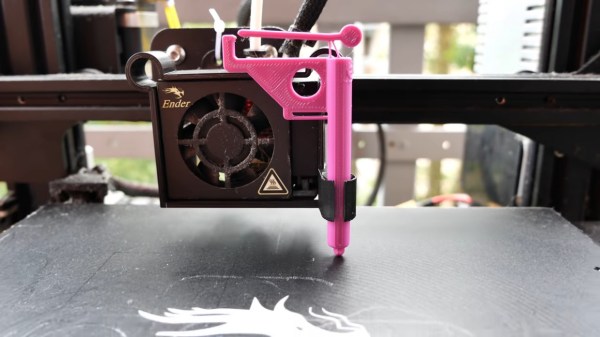
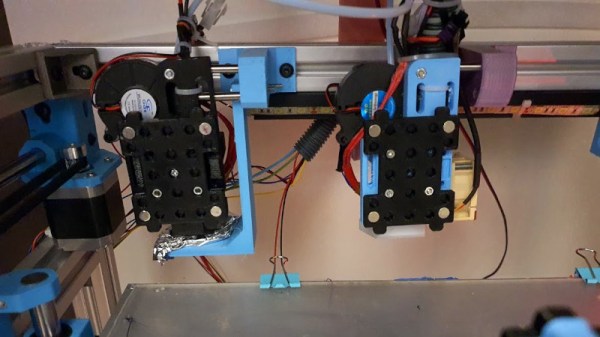
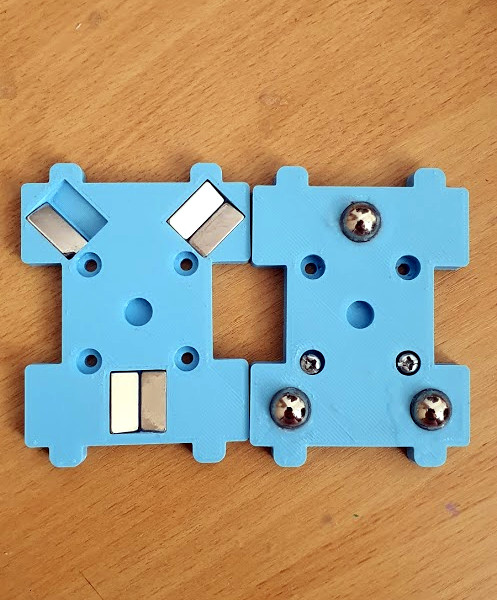
For those not familiar with Hypercube-style printers, they have a roughly cubic frame made using aluminium extrusion. On the rear upper rail are a couple of receptacles with metal locating pins onto which a hot-end unit can be slotted. The printer carriage has a magnetic coupling that can pick up or disengage a hot end from its receptacle at will, as can be seen in action in a short video clip.
All the parts can be found on Thingiverse, and there is a photo album with plenty of eye-candy should you wish to see more. Meanwhile as far as tool changers go, we’ve been there before in great depth.