The coolest stories from the hacker community this year are the rapid manufacturing efforts that have gone on in response to COVID-19. But [Mark Rehorst], frequently featured on these pages for his clever takes on 3D printing, shared a couple of really useful prints that are out of the ordinary for what we’ve been seeing: bias tape folders and ear savers.

Tailors around the world have threaded the needle on grass-roots face mask production. One of the more labor intensive parts of sewing a face mask is the fastening mechanism. With elastic straps, the size of the loops needs to be just right, but when you run out of elastic you need to sew straps. Bias tape is a popular material for that, but it’s finicky to fold and hold it for sewing.
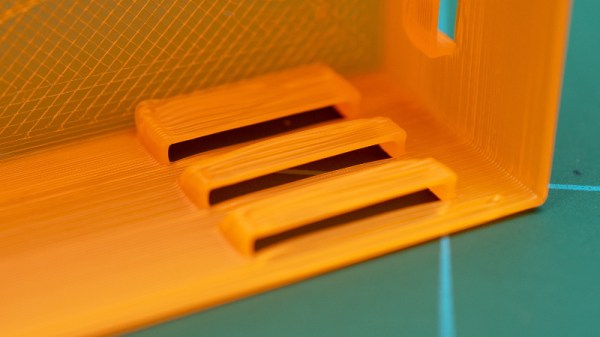
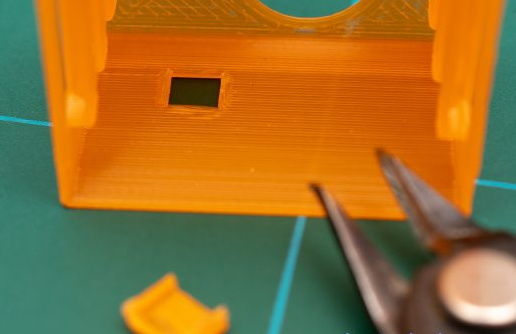
[Mark] heard of the need and grabbed a bias tape folder design from Thingiverse. These work kind of like a zipper, pulling in the unfolded tape on one side and feeding it out the other, folded nicely for the needle and thread to take over. But of course he did one better, refining the original design to use less plastic to get more parts, faster, with less material use — win, win, win.
Speaking of those mask straps, it turns out the backs of your ears don’t like being rubbed raw for back-to-back-to-back 12-hour shifts at the hospital. We’ve seen health workers, themselves skilled hackers, recommend sewing buttons onto a headband to hold the mask straps.


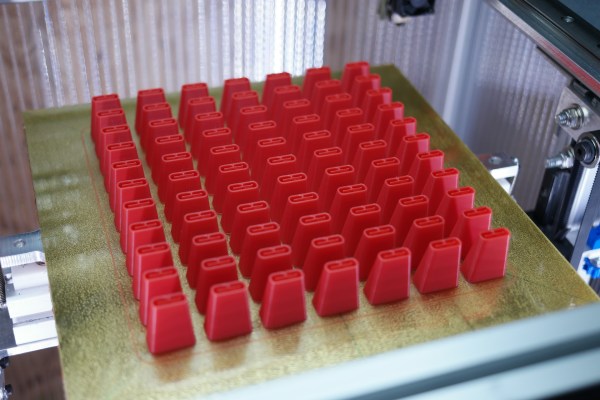
But the 3D-printing world has an “earsaver” that provides a series of hooks on a plastic band that loops behind your head. Once again, [Mark] iterated on the standard design, finding ways to reduce material use while also fitting more units onto a single printer bed.
These functional prints are glamorous in their own ways. We love seeing hard-working 3D-printed items, but we love it even more when we see them getting better and better with each new version. The back story and the design files for the improved versions are available on his project writeup. Go [Mark]!